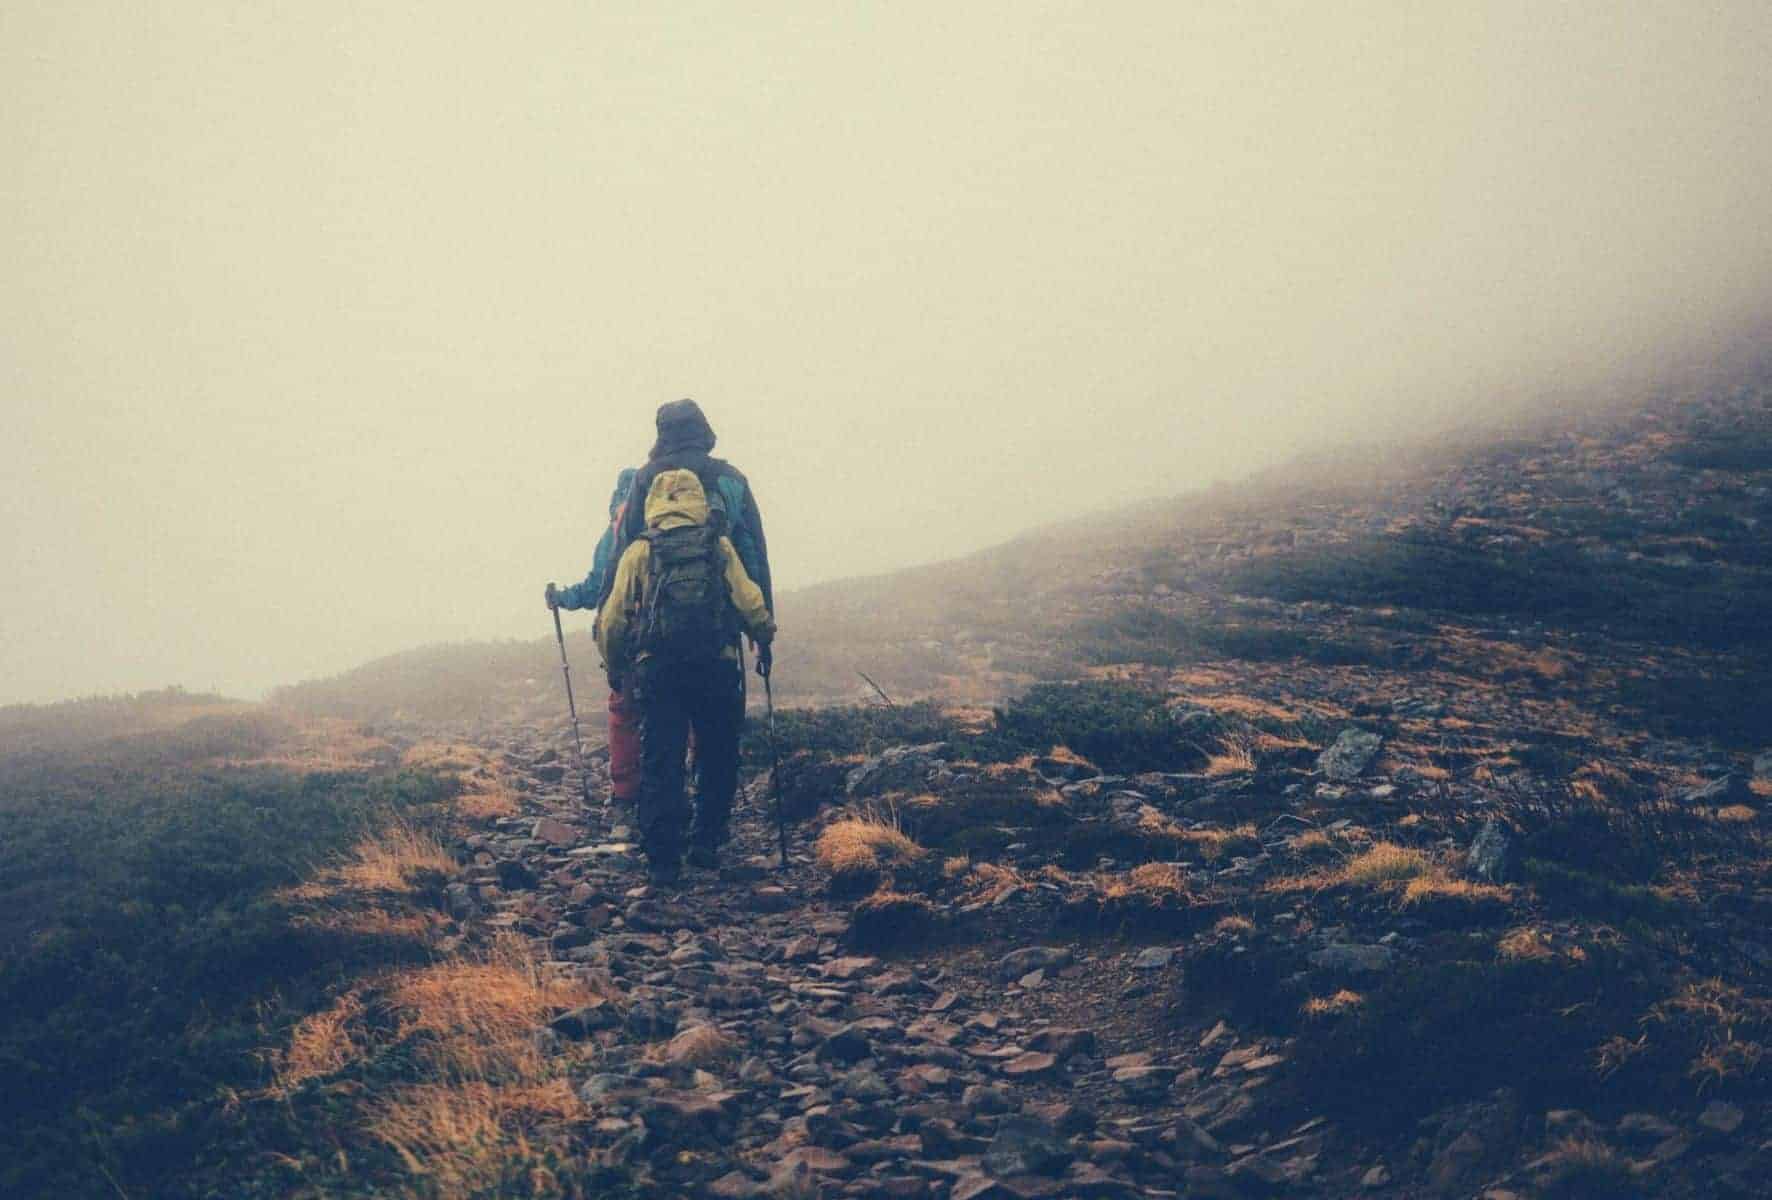
Whiteout, Fog and Darkness: How to Navigate in Low Visibility
While prevention is better than cure. Learning How to Navigate in Low Visibility is a useful skill. Learn how with our tips.
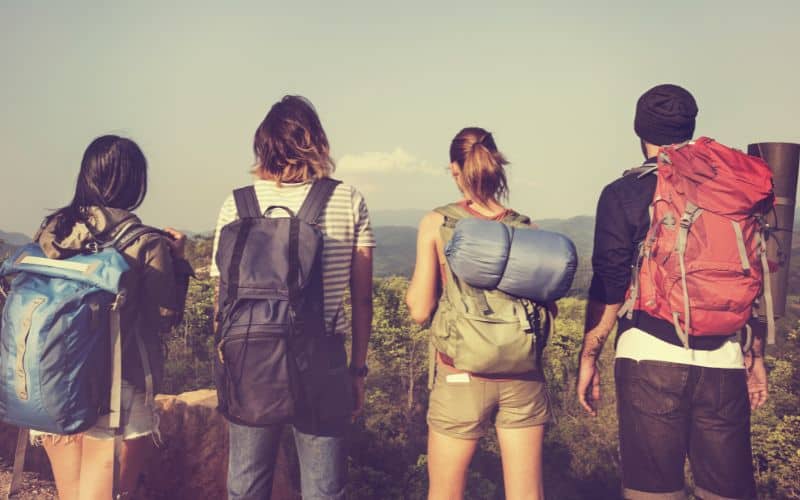
Types of Backpacks: The Ultimate List of 23 Pack Styles
Wondering which type of backpack works best for you? This detailed list covers what you need to know to choose a new backpack, including descriptions for each style and what they are used for.
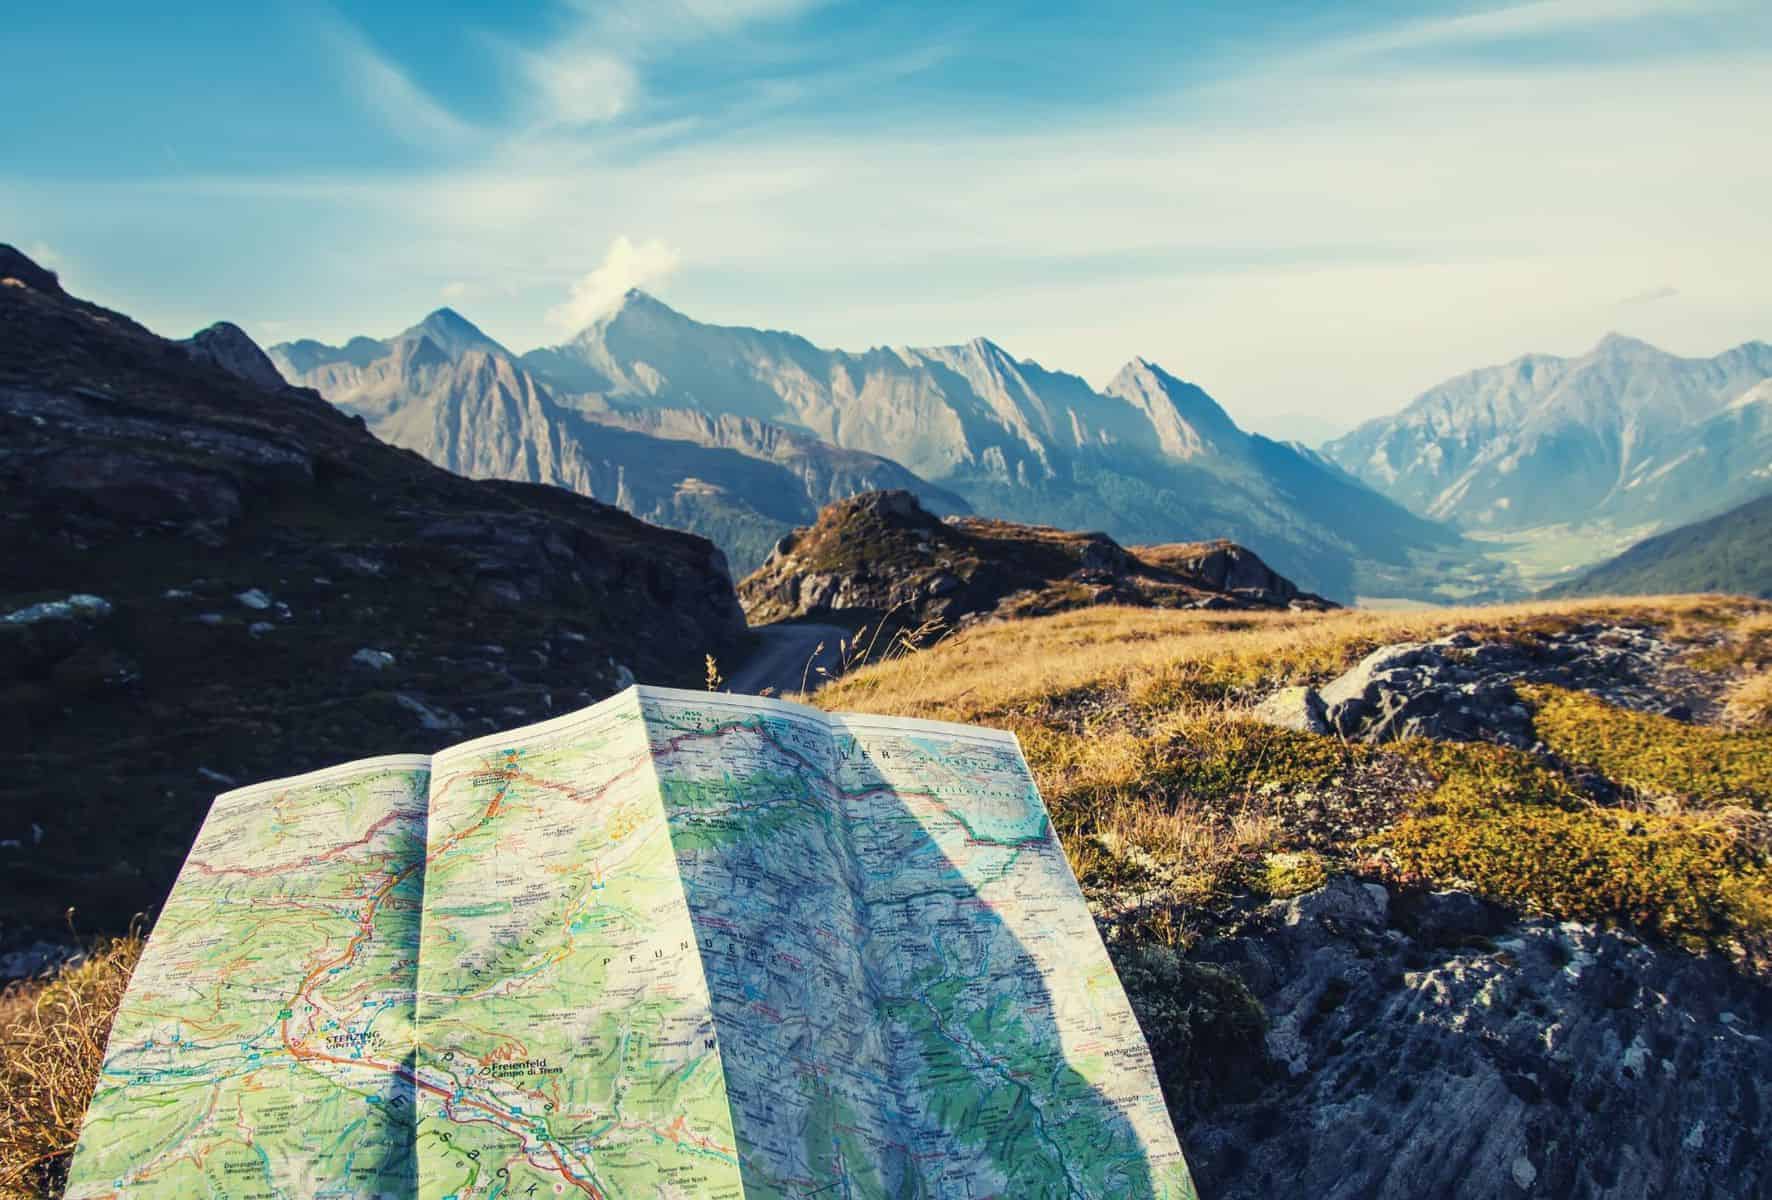
Topographic Map Hiking Symbols and Colors: Navigation Training 101
Key to knowing where you are is understanding the topographic map symbols in front of you. Check out our 101 guide to learn more.
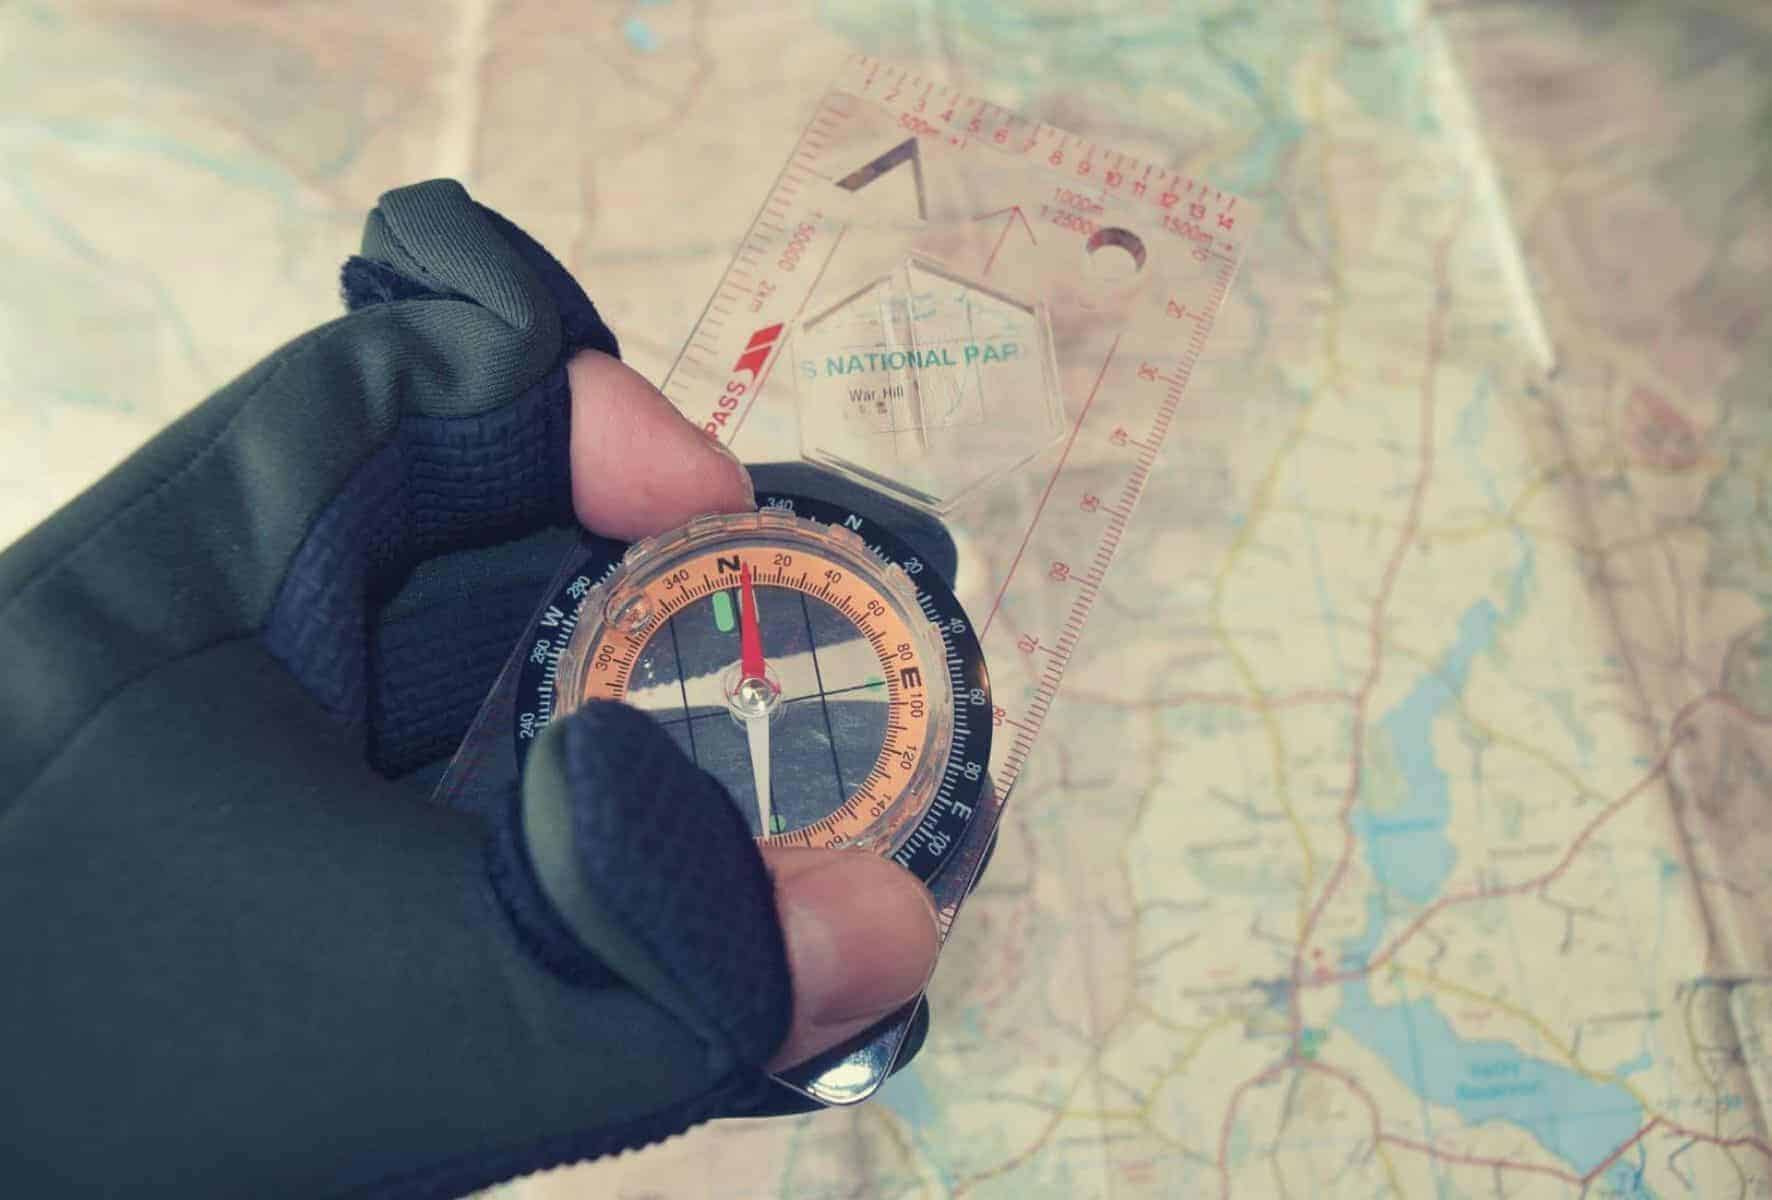
5 Excellent Reasons Why You Should Learn Map Reading
Thanks to smart devices, true map reading is becoming less prevalent - we give 5 reasons why learning to map read is still an important skill to learn.
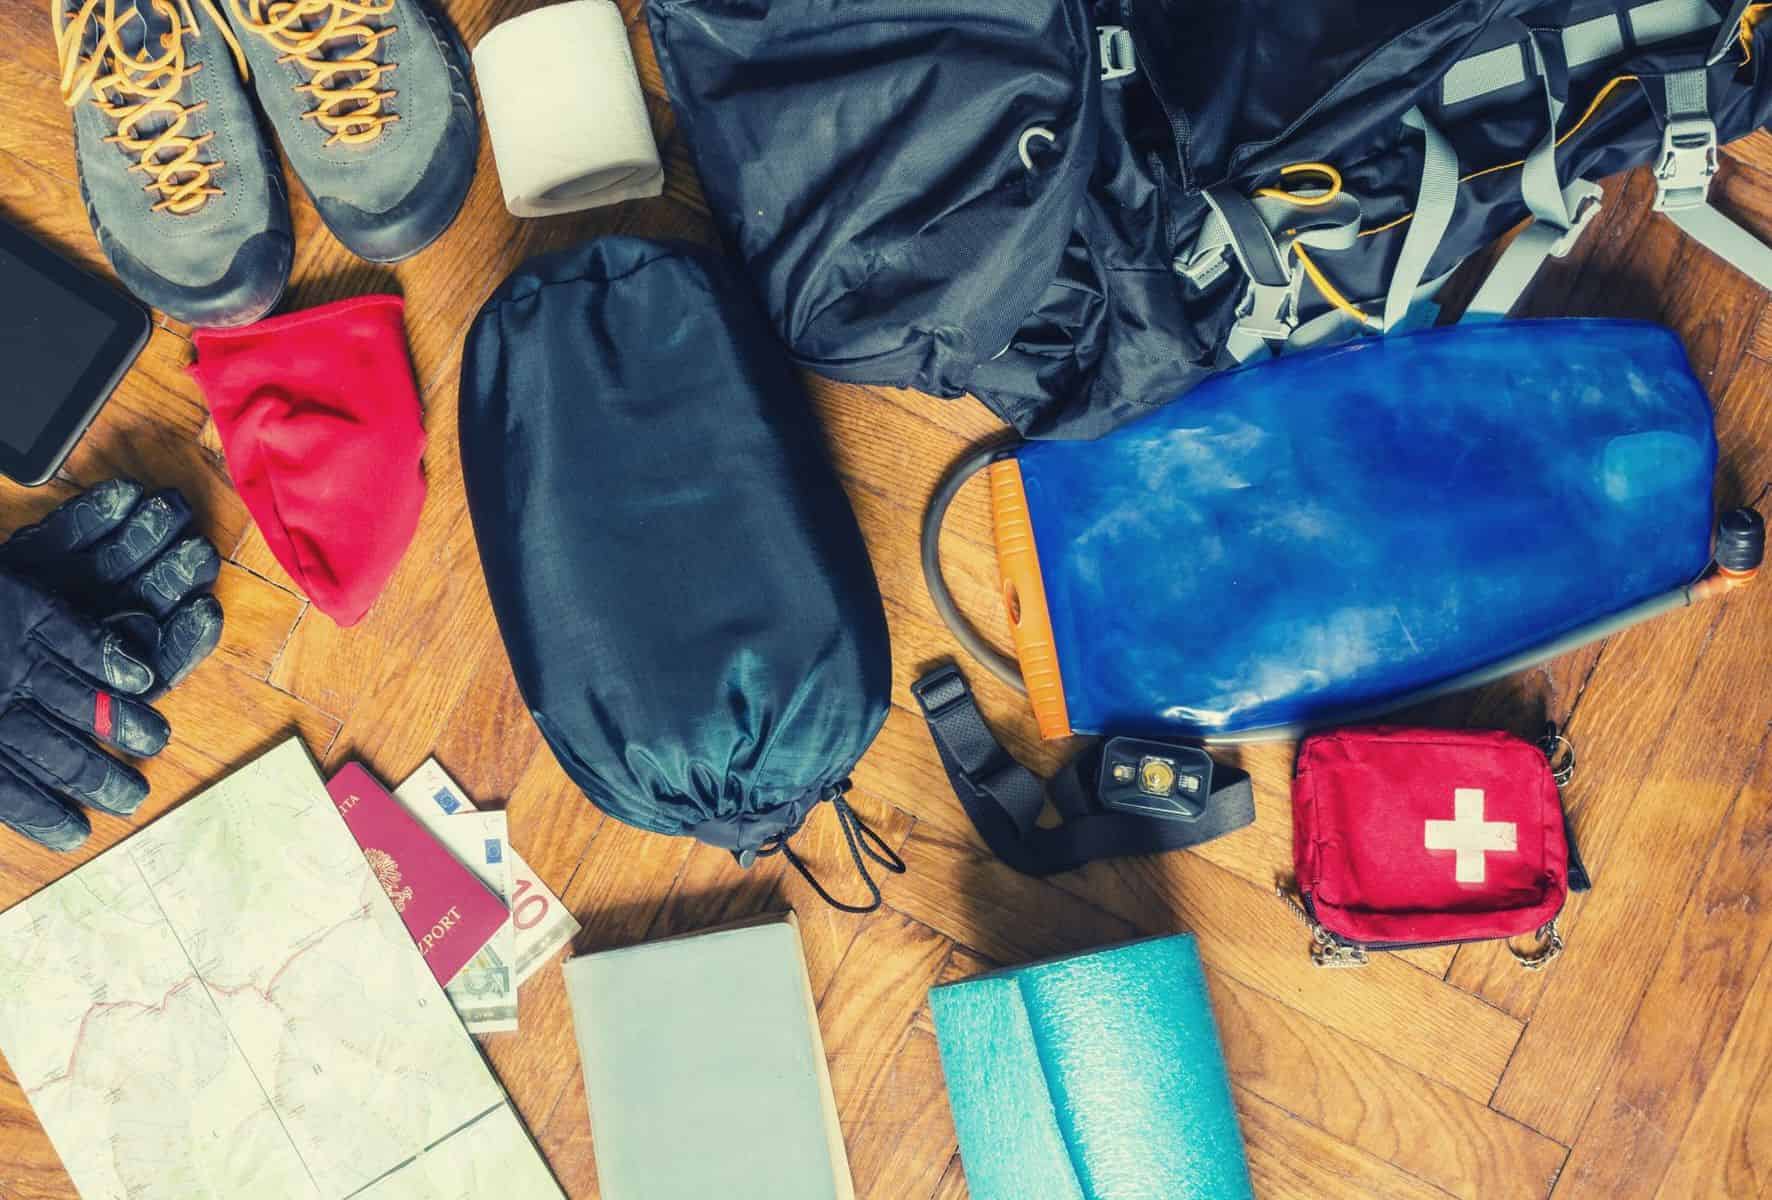
10 Essentials for Hiking & Backpacking
Many a backpacking or hiking trip gone wrong can trace the root cause back to not carrying the ten hiking essentials, or not being able to use them. Come with us as we break down the what? why? and how? to help you keep your future adventures on trail and without incident.

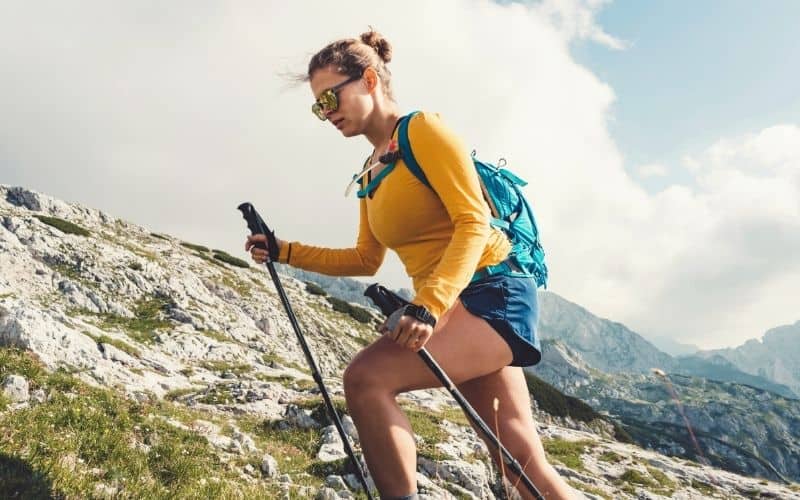
The 19 Physical & Mental Benefits of Being Outside
It really should come as no surprise that we humans are spending less and less time outdoors and it's having an effect on our physical and mental wellbeing. We take you through 19 scientifically backed benefits of being outside to help convince you to get out there once in a while!
Best Gifts For Hikers: 32 Top Ideas
Treat the hiker in your life to something special with one of the awesome gifts on our list, which includes everything from gadgets and stocking stuffers to hiking boots, tents, backpacks, and more…!
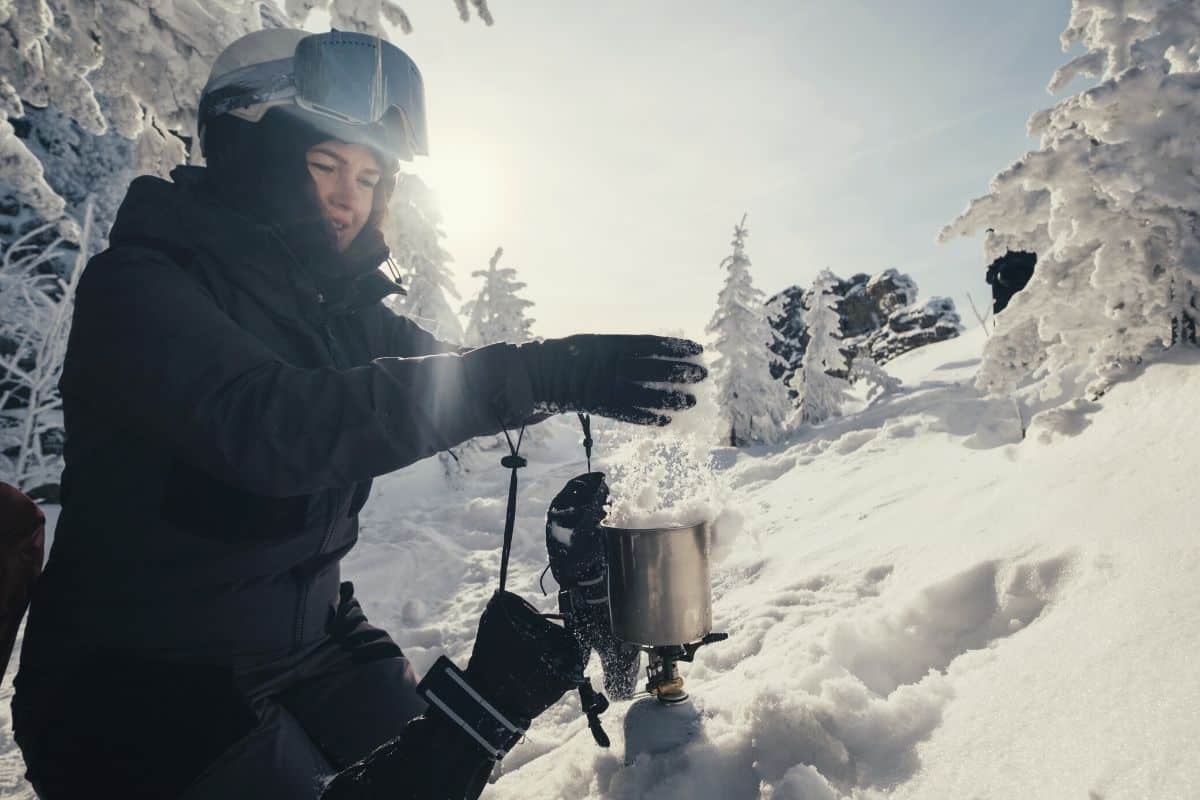
Can You Melt Snow and Drink It?
It can be hard to find fresh water while winter camping. Here’s what you need to know about melting snow for drinking water in the great outdoors.
Butt Chafing: Prevention And Cures For The Hiker’s Curse
Prevention and remedial treatments for chafing while hiking are easy to learn and apply, and in this article, we'll be taking you through each of them step by step.