
Hiking is all about the joy of being out in the wild, enjoying the scenery, and spending time with friends doing the things that you love. But for all of the above to happen, we have to first take care of a few practicalities.
One of the most important of these practicalities is gauging how long our hikes will take, which is where learning your average pace comes into the equation.
Knowing this lets you choose a trail that’s appropriate for your fitness levels. It allows you to estimate the time required to cover different stages of your trip (vital on a thru-hike!). It gives you bragging rights over your slow-moving friends… and a solid excuse when lagging behind the fast-moving ones!
More than this, it’s a tool that can help you ensure you don’t overextend yourself and suffer the consequences of benightment, being late for dinner, or stumbling about in the dark trying to find your way back to your car or campsite.
In this guide, we’ll show you how to calculate yours in various types of terrain, with varying pack loads, and using 4 different (and simple!) methods.
Table of Contents
How to Calculate Speed & Why It’s Important
The pace at which you walk over a certain period of time will vary from person to person and depend on multiple factors, including incline, trail conditions, weather conditions, pack weight, and altitude.
According to a New York Times article on “speed hiking”, most hikers average about 2 mph (miles per hour). For trail runners, that rises to 6-10 miles per hour, and speed hikers to 4-5 mph.
Why Knowing Your Pace Is Important
Whether you’re more likely to be hitting Kilian Jornet-like speeds or just plodding along and enjoying the experience like a normal human, knowing how fast or slow you’re apt to go is important for several reasons.
Firstly, it allows you to avoid biting off more than you can chew. If, for example, you know it takes you five hours of steady hiking to cover ten miles in moderate terrain and a trail you’re considering taking on measures 13 miles, over steeper terrain, and/or you only have five hours before dark, then it’s probably wise to alter your plans.
Secondly, in many mountainous areas, afternoon storms are not uncommon. In this case, knowing your hiking speed will let you know just how early you have to set your alarm to make it to safety before the heavens open.

Thirdly, no matter the length of your hike, having a more accurate idea of how long it will take you to complete it will help you avoid benightment and all the fun and potential danger that entails.
Finally, if you’re on an overnight or thru-hike, knowing your estimated hiking speed will allow you to gauge how quickly you’ll reach food drops, accommodations, and campsites along the way.
Why Walking Speed Varies On the Trail
Several variables impact your hiking speed. Below, we’ve compiled a brief overview of the most important ones.
Incline
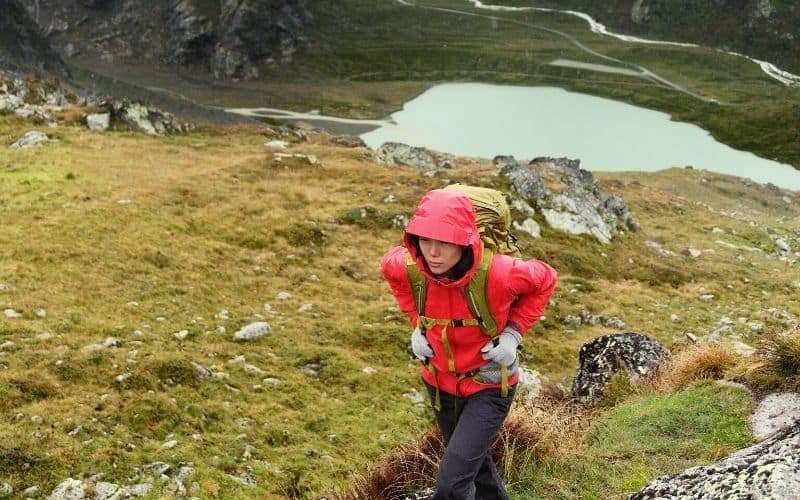
Going uphill is the Marmite/Taylor Swift/pineapple on pizza of hiking: you either love it or you hate it. Whatever the case, there’s no denying it slows you down.
But how much?
Well, you should expect your pace to drop by roughly a third for every 5.5 degrees of incline.
This means that if your average pace on flat terrain is 3 mph, on a 5.5-degree incline you can expect to slow down to 2 mph. And if the incline increases to an 11-degree angle, then your speed will drop to around 1 mile per hour.
At this point, however, it’s worth reiterating the impact of variables. With inclines, variables impact upon the variable(!), and your pack load, leg strength, body weight, and altitude will all influence your rate of minutes per mile.
Pack Load
Carrying a pack heavily loaded with extra gear is one surefire way to slow your rate of progress.
You should expect every 1% of your body weight that you carry in your pack to slow you down by around 6 seconds per mile.
That doesn’t seem like much, granted, but let’s do the math.
Hiker weight = 150 lbs
Pack weight = 15 lbs
Trail length = Ten miles
With these figures, that 15-pound pack will prolong our 150-pound hiker’s journey by 10 x 6 seconds (1 minute) per mile, giving a total of 10 additional minutes for the 10-mile trip.

Ten minutes might not seem a great deal, granted. But once further deductions are made for inclines, conditions underfoot, fatigue, and altitude, it all adds up…
Fitness Level
Your cardiovascular endurance, muscle strength, and overall fitness level play a large part in determining your average hiking speed. If you’re relatively new to trail-going or are aware your fitness levels are low, then it’s natural that maintaining your max speed over the duration of a longer hike is unlikely.
As such, when planning your hikes, be sure to account for fatigue by allowing an additional 5% of walking time for every mile you walk beyond the point where you expect fatigue to set in.
So, if your regular walking speed is 2 miles per hour, that means you walk 1 mile per 30 minutes. If you know you tend to slow down after 8 miles (or 4 hours), allow 33 minutes for each subsequent mile. This means a 12-mile hike would take closer to 6h 12m without stops.
Terrain
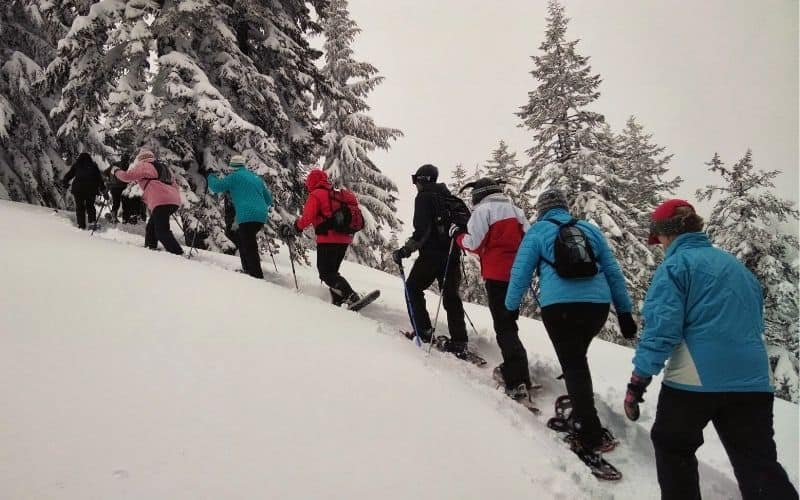
Your pace will also be affected by the difficulty of the terrain. Flat, well-maintained trails are, naturally, the most conducive to progressing at your max natural speed. Hiking off-trail or on more rugged trails that are rocky, muddy, snowy, or icy, on the other hand, is likely to slow you down significantly.

When plotting a route or estimating how long any trail may take you, make sure you get an idea of underfoot conditions before setting off. This can be done by calling park information stations, reading recent trip reports, or guesstimating according to recent weather in the area.
Weather
Heavy rain, high temps, strong winds, and ground snow are all factors that can slow down your hiking speed. This isn’t just because they make the going tougher underfoot, but also because they often complicate route-finding, force you to change gear frequently, and/or force you to take shelter every so often to take a breather, dry out, or cool down.
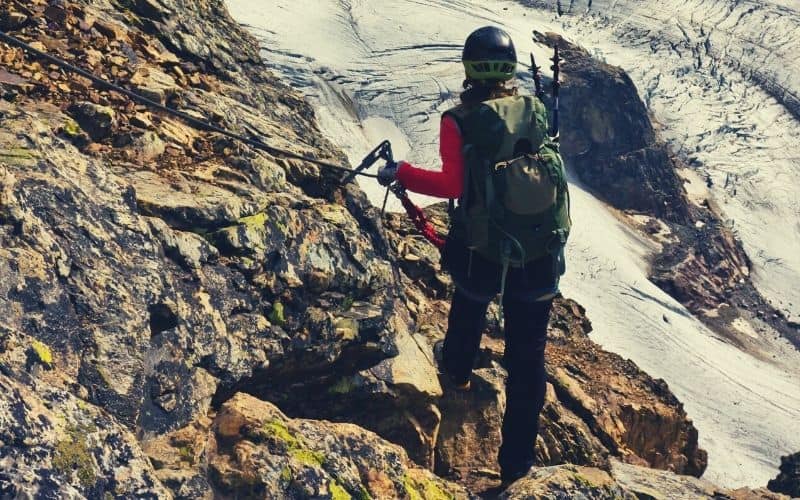
Elevation
Depending on the altitude, elevation gain can have a serious impact on your hiking speed.
While you’re unlikely to be affected by altitude on hikes under 6,500 feet, the thinning air above this point means your lungs will have less “fuel” (oxygen) to pump the blood around your body. This both slows down your rate of progress and makes you likely to feel fatigued far sooner.

Methods of Measuring Your Average Hiking Speed
Doing It Manually
This method involves using a watch, a pen, and a pocket-sized notepad to measure the time taken between two points out on the trail.
You can get a ballpark estimate of timing by dividing the time taken by the trail’s overall mileage. By breaking the trip down into smaller sections with similar gradients (flat, incline, decline), however, you’ll get a more accurate picture of how you’ll perform on different gradients (i.e. slope angle) and at different stages of your hike (beginning, middle, and end) in future.
GPS Watches and Apps
Several free and downloadable running and hiking apps can help provide a more detailed look at your hiking speed.
Strava, in particular, is popular among many outdoor enthusiasts because it can record your movement, location, elevation, and the distance covered. It also includes several other super-handy tracking and timing features. Other useful apps include Map My Walk and Walkmeter Walking & Hiking GPS.

GPS watches, on the other hand, are the most accurate measuring instrument in this list. In addition to recording distances, and times for stages of your journey, and providing your location, they also display temperature, elevation, barometric pressure, maps, and an approximation of how many calories you’ve burned.
For pre-trip planning, this handy hiking calculator from TrailsNH is very useful if you know how many miles you’ll be covering and the trail’s total ascent.
Wearing a Tracker
Fitness trackers record your distance, pace, and other vital signs out on the trails. They’re lightweight, waterproof, and conveniently shaped like tiny watches. One thing to note, however, is that they often don’t provide accurate readings of your pace compared to GPS watches.
Naismith’s Rule
One of the easiest ways to calculate hiking speeds and timings before you get the chance to personalize your own measurement system is using Naismith’s Rule.
Developed by Scottish mountaineer William W. Naismith back in 1892, this formula uses a more generalized (perhaps optimistic!) formula to calculate the amount of time it takes to get from A to B while also accounting for elevation gain.
Naismith states that hiking three miles on flat land should take 1 hour for a healthy, able-bodied person, giving an average speed of 3 miles per hour. An additional hour should be added for every 2,000 feet of elevation gain (600M), or 10 mins per 100 m (328 ft) of ascent.

For example, if your trail is 15 miles long with a 1,000 ft ascent, you should be able to hike it in 5 hours and 30 minutes (without counting rests/your lunch break). That’s 5h for the distance plus 30m for the ascent.
Eric Langmuir later adapted Naismith’s formula to account for variables and differing hiking abilities. He reduced the basic speed to 2.5 mph (4 km/h) and recommended adding 10 minutes for every 300 m of elevation gained on steeper ground (over 12 degrees) and subtracting 10 minutes for every 300m of elevation lost on descents on gradients of 5 to12 degrees.
The bottom line? Both of these rules offer decent ballpark estimates that can help gauge timing on paper, but fail to account for the specifics of the individual and the conditions you’ll be hiking in.
This being so, apply both with a pinch of salt and try to personalize your calculations/formula asap using the pen-and-watch method described above, or with a GPS device.
How Can I Improve My Speed?
An often-quoted quip tells us that “the only way to train for the mountains is in the mountains”. Fortunately, this is really only applicable to technical and high-altitude mountaineering and is best filed under ‘baloney’ as regards its relevance to hiking.
For those of us with no ambitions of scaling 8000ers, there are plenty of ways to work on our walking speed:
Head to the Gym
At the end of the day, hiking is an endurance activity that requires a decent level of fitness. Achieving that level of fitness can be simplified and sped up by hitting the gym regularly to do hiking-specific workouts.
“Hiking-specific”?
Yes! While any endurance or cardio workout will help, spending time doing low-intensity, long-duration endurance training on your calves, thighs, glutes, and core will help you hike at more consistent speeds, reduce fatigue, prevent injuries, and put in more miles per day.
And if your gym happens to have a climb mill stepper machine, you can prep for the trails by setting yourself total ascent targets every time you visit, gradually upping the ante until you’ve reached your goals.
Go Running
To increase your stamina, nothing beats a good old-fashioned jog around the park. Running (and trail running in particular) is a great way to strengthen your cardiovascular system and raise your heart’s capacity to send blood and oxygen throughout your body.

If you can throw a few hundred feet of ascent into your route to really get your heart rate going, all the better…!
Pack Light
A good rule of thumb to remember is to aim for an absolute maximum of 10% of your body weight in your pack if you’re out for a day hike, 20% for overnight trips, and 30% for thru-hikes.
A better one is to remember that less is more on the trails, particularly as regards your hiking speed, and try to shave around 5% off of these maximums whenever possible.
It’s also worth bearing in mind that a 250-pound hiker is unlikely to need to lug around 25 pounds of gear on a two-hour day hike. Equally, a 120-pound hiker/backpacker is unlikely to have all the gear they need for their Appalachian Trail expedition in a pack weighing just 40 lbs. And, of course, there are far more variables to consider than body weight alone.

The take-home? Stick to what feels comfortable.
The bottom line? Comfortable is more likely to happen with less weight as opposed to more, especially if you’re putting in many miles in a day.
Time Your Breaks
Taking regular rest stops is a good way to break up your trip, take a breather, and give your muscles a bit of respite.
However, because stopping too long can let your muscles cool down and stiffen up, it’s better to take shorter (5/6-minute) and more frequent breaks than a smaller number of longer breaks.
Fuel Your Engine
Hiking burns more than 450 calories per hour. Like any other sport, trying to do without adequate nourishment or on an empty stomach is unlikely to yield the best results.
The best foods for hiking are calorie-dense eats that keep your pack weight to a minimum but give you the fuel needed to put in all those miles. Some examples of great trail foods include peanut butter, nuts and seeds, dried fruits, and granola bars.

Between hikes, a healthy, balanced diet that includes plenty of protein for muscle growth and repair as well as complex carbs and healthy fats is optimal. And don’t overlook the power of supplements, especially vitamin C, which is amazing for your joints.
It’s Not About Being Fast, People!
We hope the above post has shown you that measuring your pace is something well worth doing and an important tool that can help you both plan hikes better and enjoy a safer time on whatever trails you may be hitting.
How did you enjoy our article? If you have any questions or comments, please feel free to post them in the comments box below. And if you’d like to share this post with your friends, share away!
