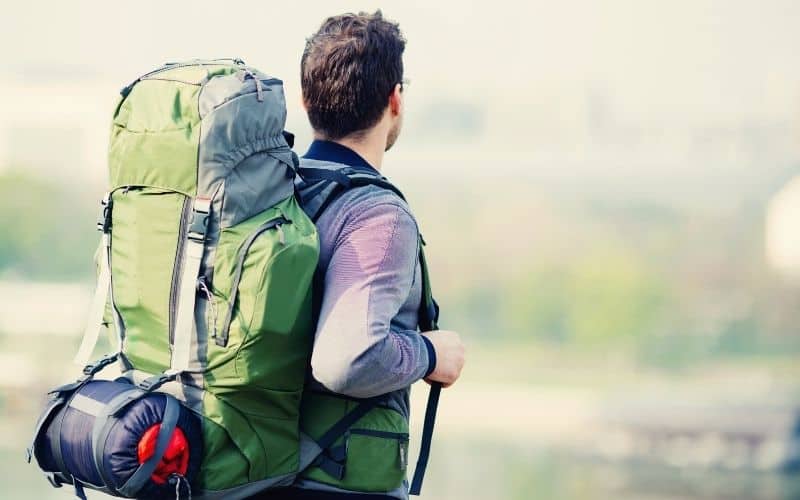
So, you’ve gathered all your gear for your camping trip, laid out your backpack, and then discovered something awry: there’s no room at the inn for your sleeping bag.
While we’d always recommend carrying your sleeping bag inside your backpack whenever possible, sometimes it ain’t.
This is most likely to happen when you’re packing for an extended trip on which you’ll need more gear and more food. If it does, don’t sweat it! There are a handful of ways you can get around the problem, all of which we’ll reveal in this guide.
Table of Contents

Why Carry Your Sleeping Bag on the Outside of Your Pack
There are several reasons why carrying your bag on the outside of your pack might be preferable or necessary. Here are some scenarios:
- The capacity of your pack is insufficient to store it inside (not all sleeping bags are as compressible as the manufacturers suggest!).
- You have a wet sleeping bag and want to keep it separate from the rest of your gear.
- You want to keep your sleeping bag safe from sharp items inside your pack.
- You’re on a multi-day trip and need to use the designated compartment to carry extra supplies.
- In most cases, your bag will be lighter than your tent. As such, carrying it on the outside of your pack (instead of the tent) is the way to go. Doing so will ensure your load is more evenly distributed as you’ll have less weight at the rear of the pack tugging you backward (or sideways!).
- You save yourself the hassle of wrestling your unwieldy bag into your pack!
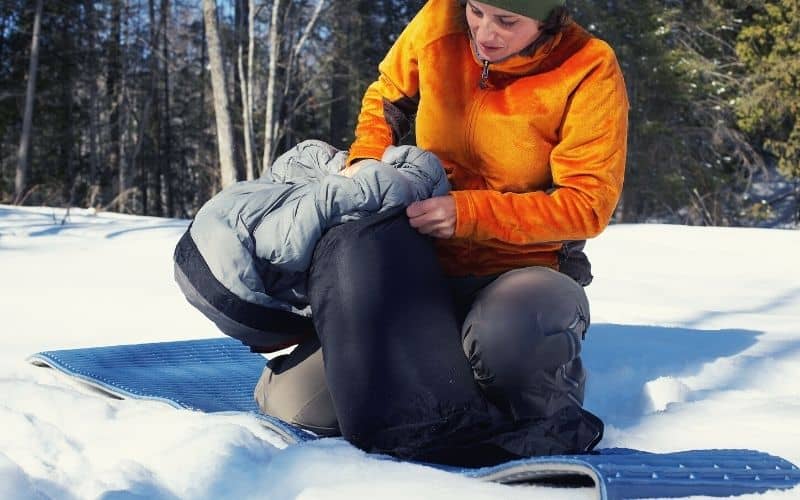
How to Attach a Sleeping Bag to a Backpack: 5 Methods
1. The Hood
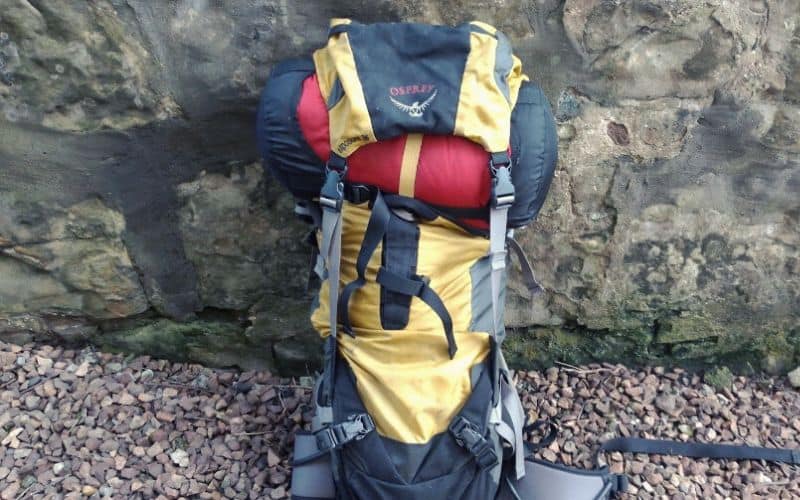
The simplest way to carry your bag when there’s no storage space inside your pack is to pop it under the hood, also known as the ‘lid’ or the ‘brain’.
The benefits of this method are numerous.
Firstly, it frees up the other external storage points on your pack for other things, as well as leaving more room in the pack’s central well or sleeping bag compartment.
Secondly, it will help keep your dry sleeping bag dry if your carrying sack is not fully waterproof.
Finally, having the added weight on the top of your pack as opposed to the rear helps to create a more centralized, stable load which makes it easier to maintain balance while you’re hiking.
Using this method, however, depends on having an adjustable hood with long, extendable straps.
2. Compression Straps
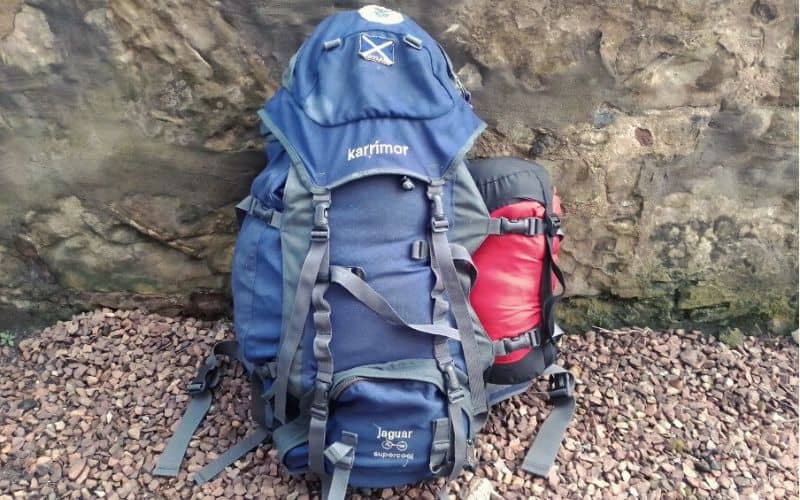
Compression straps are designed to let you consolidate your pack’s load. In a pinch, however, they can also be used to carry wet gear, poles, and even bulkier items like your sleeping bag.
There are, however, a few caveats.
First of all, the straps will need to be long enough to accommodate a sleeping bag when fully extended. With most backpacks, this won’t be the case, especially if you have a larger three- or four-season bag.
Secondly, attaching a sleeping bag here will significantly alter the pack’s weight distribution by adding several pounds to one side, something that will make it tricky to keep your balance while hiking.
Finally, compression buckles on many packs have a habit of popping open under strain, so make sure yours are up to the task before trusting them to carry the most precious and pricey part of your sleep system.
3. Gear Loops
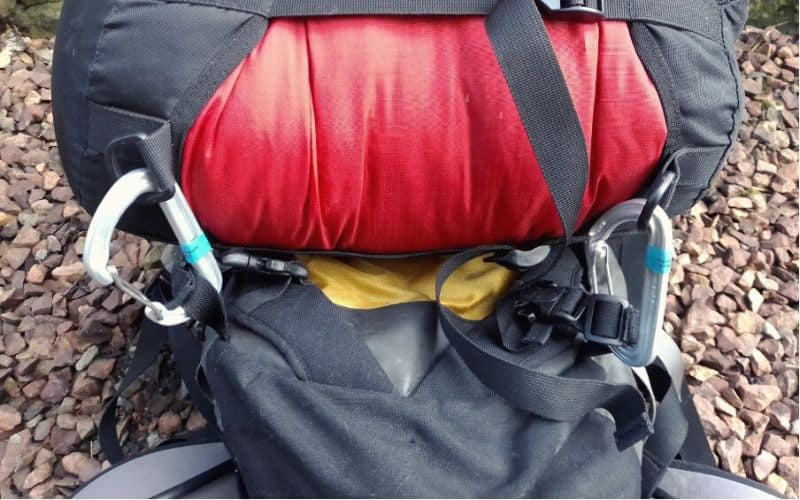
Some backpacks have dedicated gear loops for bulky items. These can be used for attaching your sleeping bag to your pack if, as above, they are long enough.
If your bag’s stuff sack has loops, you can also attach these to gear loops with a carabiner or cord. The only downside is that the bag will swing around as you move, so you’ll need to use two carabiners or extra cord – both of which will add weight – to keep it stable.
4. Sleeping Pad Loops
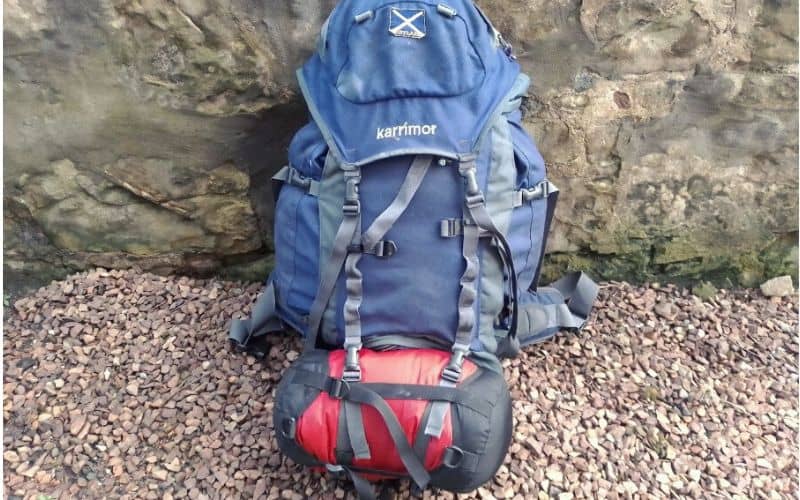
Most backpacking packs are blessed with myriad straps, but none of them are designated as sleeping bag straps. Many backpacks do, however, have tie points at the base for sleeping pads. If these two straps are long enough, they can be used to attach your bag.
If you’re using an inflatable pad, this method is ideal. In most cases, your pad will be small enough to fit under the hood, in the pack’s central well, or even in a side pocket, thus leaving the adjustable straps at the base of the pack free for larger cargo.
5. Bungee Cords
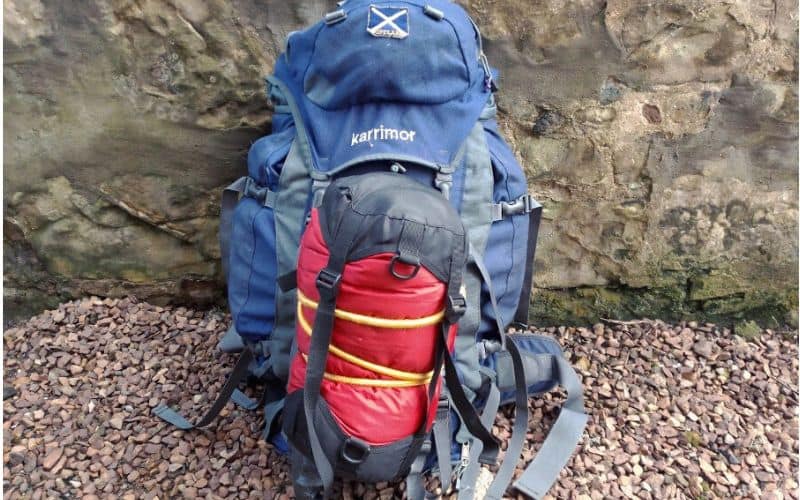
If the straps on your pack aren’t long enough, and there’s no room under the hood, one failsafe option is using bungee cords. These cords are elasticated and have a hook on either end.
With an internal-frame backpack, all you have to do is attach one of the hooks to one side of your pack (on the daisy chain or compression straps), then crisscross your pack with the cord several times before attaching the second hook on the other side. Simple! For added security, you can loop the cord through your bag’s stuffing sack straps.
With external-frame backpacks, you can simply attach the hooks to the frame. If the cord feels loose, just wrap it around the frame a few times until it holds your sleeping bag tightly.
The only real downsides to this method are that you’ll have one more piece of gear to remember and a little extra weight to carry.
Happy Backpacking!
Attaching gear to the outside of your pack is always a little worrying – will it get damaged, dropped, or soaked when a rainshower sweeps in?
As long as you are careful when hiking under trees, attach your sleeping bag carefully, and stow it in a waterproof bag, all of the above methods will work and save you plenty of precious cubic inches inside your hiking backpack for other things.
If you liked this article or have any questions about how to attach a sleeping bag to a backpack, let us know in the comments box below. And if you’d like to share it with your friends, please do!
