How to Prevent & Treat Hiking Blisters

For most peeps life’s great inevitability's are death and taxes. For hikers: death, taxes, and… blisters! In this simple, straight-shooting guide, learn why this needn’t be the case...

BrianBioAvatar
Written by: | Reviewed by: Kieran James Cunningham
Last Update:

Few things have the ability to put paid to a good time on the trails like the humble blister. 

These small party-poopers are one of the most common ailments suffered by trail-going peeps the world over. However, few know how to prevent blisters from forming in the first place, or what to do in the way of treatment once their dreaded “hot spots” have developed into full-blown bringers of pain.

In this article, we aim to do our bit for the welfare of hiking feet around the globe by walking you through everything you need to know about how to avoid blisters from forming, or if it’s too late, then how to treat them.

What Causes Blisters?

Blisters are caused by a combination of different factors, all of which you’re likely to encounter during a hike. These are pressure, heat, and moisture.

Blisters form as a result of friction caused by skin rubbing against skin, your socks, or your shoes.

This first generates a “hot spot” of irritated skin that subsequently develops into a liquid-filled bubble as the tougher outer skin of your foot separates from the delicate inner layer…

…and a blister is born! 

Several factors can contribute to the friction that causes blisters, but the most common are damp feet or socks, ill-fitting shoes, boots or trail runners, and debris, or hard, abrasive seams inside your footwear.

hiker blister on the heel

How To Prevent Blisters on Feet Forming

Build Up Mileage Gradually when Hiking or Backpacking

Like the rest of our bodies, the skin on our feet has to be slowly acclimatized to the rigors of the trail. Logging a ton of miles on your first trip rarely ends well. 

If you plan on hiking a long route, it’s a good idea to prepare your feet by starting small and increasing your mileage in increments. This will help to thicken and toughen the skin and allow your footwear to conform to the shape of your feet, which helps minimize rubbing. 

Keeping Your Feet Dry

Keeping your feet moisture-free is the key to preventing blisters.

Moisture inside your socks and boots both softens the skin and increases the movement responsible for blister-forming friction.

To keep your feet as moisture-free as possible throughout your hike, there are a few things you can do: 

Wear Great Hiking Socks

Socks are one of the most neglected pieces of equipment in a hiker’s arsenal. They are, however, our feet’s first line of defense against blisters and abrasions.

The best hiking socks for blister prevention may use varying fabrics and designs. What all of these socks have in common, however, is breathability, cushioning in blister-prone areas, high-wicking capacity, and an ability to dry quickly when wet. 

hiking boots and socks drying

Carry An Extra Pair Of Socks 

Wet socks are the prime culprit in blister formation. And even if you set off for the day in the best hiking socks available, there’s no saying they’ll be in optimal, blister-blocking condition for the duration of your hike. So always pack an extra pair and change your socks whenever you feel them getting a little moist.

Even if you don’t happen to get your socks soaked in a downpour or river crossing, carrying spares will add little more than a few ounces to your pack weight and could come in mightily handy if your socks develop a hole or are unable to wick sweat quickly enough in high temps.

Pack Some Powder

Foot powder helps to minimize moisture on your feet and reduce friction. Some powders also have antibacterial qualities, meaning they not only help you keep your feet dry but also stave off odors.

Use Well-Fitting Footwear

Few things are more likely to contribute to the formation of blisters as ill-fitting hiking boots. 

Boots that are too tight will force your toes to clump together and rub against both each other and the top side of your shoes’ toe box. Boots and socks that are too big will allow your foot to shift around inside, which is a surefire way to create hot spots in the heel, toes, and even the lower Achilles.

But what does a good fit feel like?

Your toes should have just enough room to wiggle freely inside the toe box, while the heel should feel snug enough to prevent it from rising while you walk. Your forefoot should also rest against the tongue of the shoe without seams or laces digging in.

If your hiking shoes are a fraction on the large side, a pair of beefier insoles might provide the added volume needed for a snugger fit. Likewise, if your boots are a little tight, swapping out the manufacturer’s insole for a slimmer version might give you the millimeter or two needed to reduce pressure in the toes, forefoot, and heel.

hiking boots closeup

Break In Your Hiking Boots

Hiking boots or shoes are usually a fraction on the stiff side when newly purchased. This is particularly true of leather boots and three-season or four-season boots.

But what’s the problem with stiff boots?

Well, because boots aren’t precision-molded to the shape of any individual’s feet, their from-the-box architecture will create added pressure in certain points and less pressure in others. This gives rise to two of the main causes of blisters: mobility and excess pressure on certain points of your skin. 

Breaking in your boots allows two things to happen: First, it softens your boots’ materials, which will significantly reduce the degree or force of friction on your skin. Second, it makes the materials in your boots more supple and allows them to conform to the shape of your feet, thus eliminating or minimizing pressure points and movement.

Know How To Lace Your Hiking Shoes 

Hiking boots and shoes are far more adaptable than people give them credit for. Given that feet come in different shapes and inexact, non-standard sizes, we need to use every means available to ensure we get the optimal fit. The most important of these means post-purchase is tweaking the lacing, which allows us to adjust the shape of our boots to get a more dialed-in fit. 

hiker lacing hiking boots

Lacing our boots in certain ways can also help to ensure our boots don’t loosen during our hike, which can lead to slippage and excess friction. 

Here are some ways you can tie your boots to avoid or minimize boot-related problems:

  1. Surgeon’s knot – If your laces loosen repeatedly.
  2. Window Lacing – If you have high arches or feel too much pressure on top of your feet.
  3. Toe-Relief Lacing – If your shoes are too tight at the toes.
  4. Heel-lock lacing – If you keep getting blisters in the heel or toe areas or if your toes hit the front of your shoes/boots on descents.

Keep Debris Out Of Your Shoes

Wear Gaiters

Gaiters will ensure that your shoes or boots stay cleared of sand, dirt, pebbles, and other debris that easily increases the rub factor inside your footwear. 

Gaiters also help to keep your feet dry by blocking out rain and groundwater.

Remove Debris ASAP

Stopping when you’re in full flow is never fun. But if you feel debris inside your shoes, the sooner you stop and take it out, the smaller the chances are that you’ll have to stop for far longer further down the trail to deal with a developing blister. 

Deal With Hot Spots Immediately

As with most ailments, preventing the problem from arising is always far easier than fixing it once it has developed. This is never more true than in the case of blisters. 

If you start to feel a hot spot developing, there’s still time to stop it from evolving into a fully-fledged blister. 

When you first notice the tell-tale signs of a blister-in-the-making (discomfort, irritation, and heat in the affected area), stop immediately and remove your hiking shoes. Dry the affected area, apply powder or cream, then cover it with moleskin, a specialized blister bandage, tape, or a standard band-aid. 

hiker with a bandages around toes

How To Treat Hiking Blisters

Bring A Blister First Aid Kit

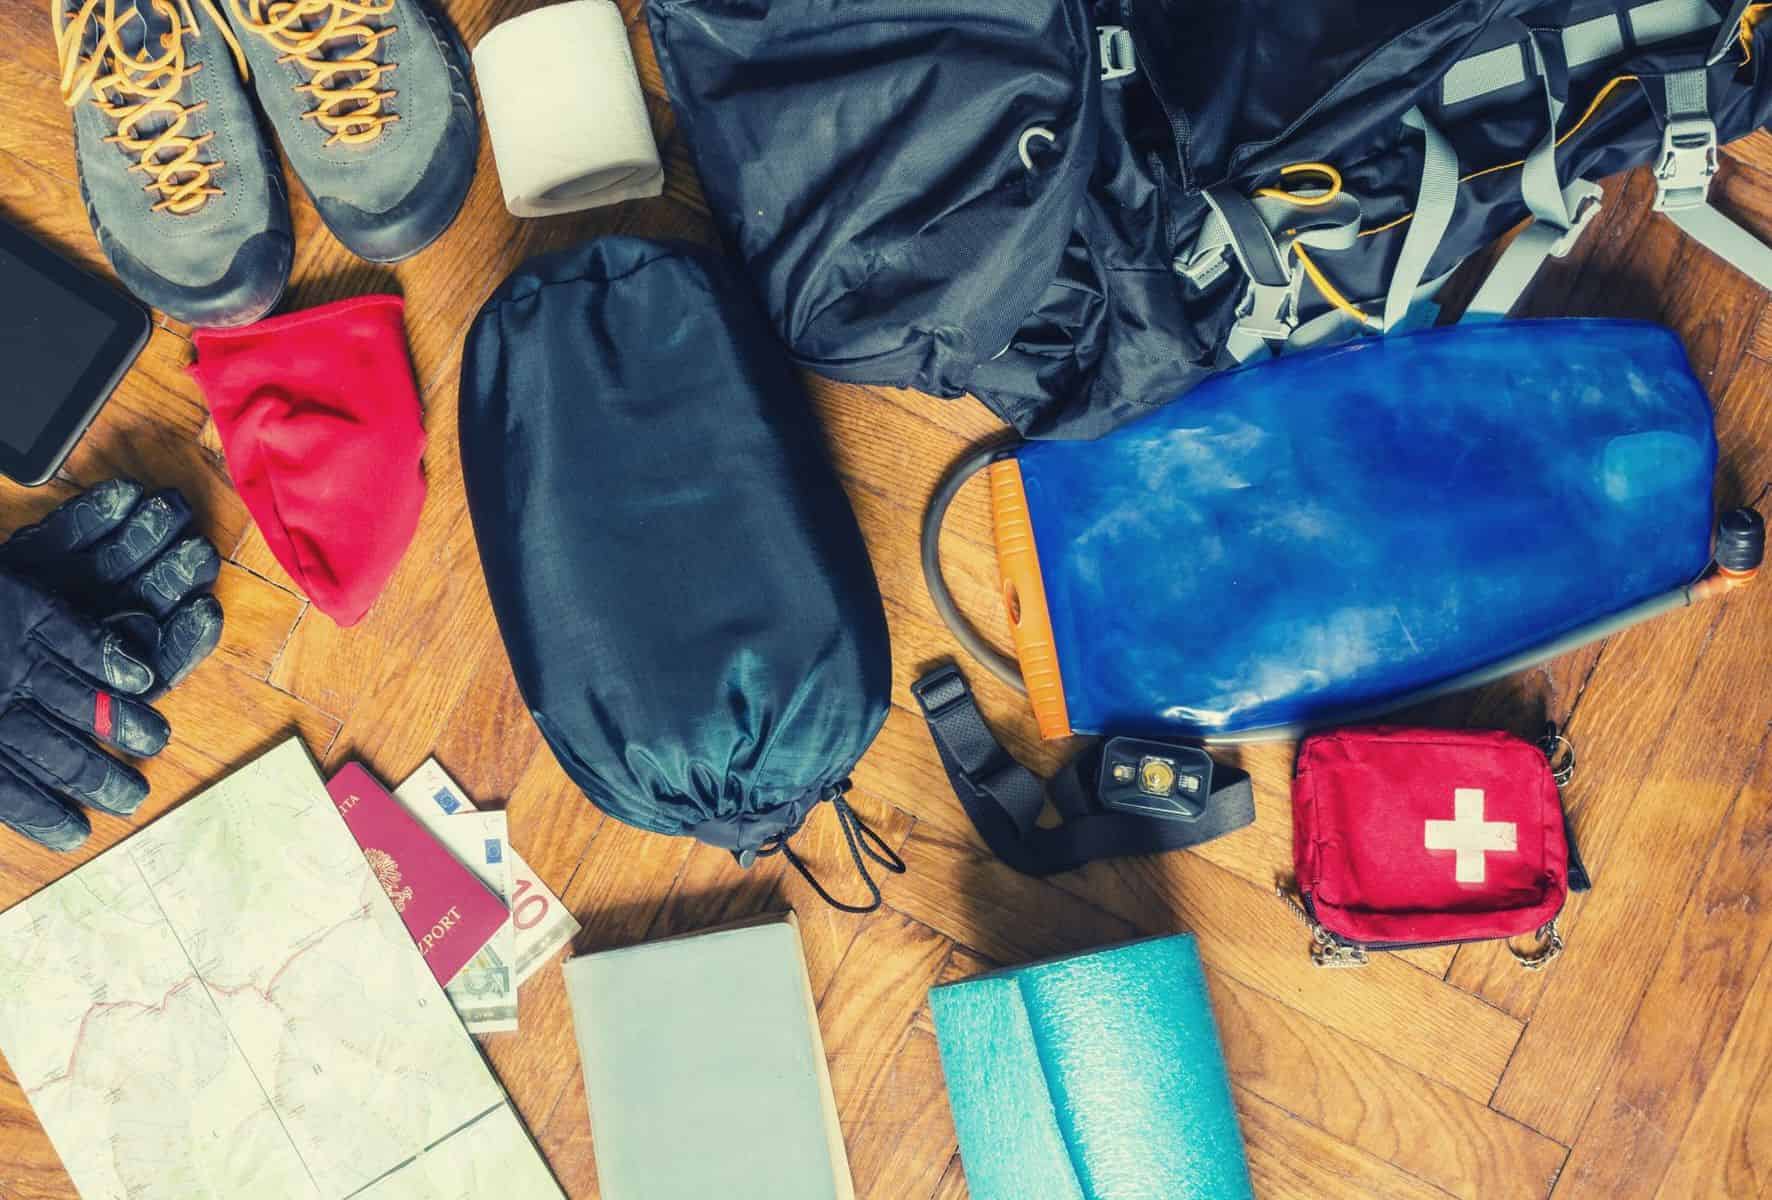
Treating blisters can be a tricky task, but it’s made a whole lot easier if you happen to have the right tools and first-aid supplies at your disposal. Here are some items you may find useful:

  • Duct tape or surgical tape
  • Moleskin and/or molefoam
  • Lightweight multitool with scissors, tweezers, and a small knife
  • Soap, alcohol, or antiseptic wipes
  • Safety pin, sewing needle, or scalpel blade
  • Band-aids or blister bandages
  • Gauze

Treating Blisters: Step-By-Step Instructions

Stage 1: Hot Spot Treatment

  1. If you start to feel any irritation in your feet, stop immediately and find a place where you can sit. Take off your shoes and socks to inspect the sore spot.
  2. If there is still no blister, you can reduce the risk of one forming later by covering the affected area with a band-aid, moleskin, or surgical tape to reduce the friction between your skin and hiking socks or shoes. To reduce skin-on-skin friction in the toes, wrap each toe in the affected area separately.
  3. If your skin is red and raw, make sure you disinfect the area and apply antibiotic ointment before covering it with tape or a band-aid.

Stage 2: Formed Blister Treatment

  1. First, clean the affected area using soap, water, alcohol, or an antiseptic wipe.
  2. Next, sterilize a pin or knife using boiling water, alcohol, or by heating it under a flame. 
  3. Pierce the bottom of the blister and gently press the fluid out, starting from the top.
  4. Covering the wound with a layer of antibiotic ointment.
  5. Take a piece of moleskin measuring roughly half an inch wider than the blister and cut out a hole in the middle big enough to fit the blister.
  6. Place the donut-shaped moleskin around the blister then cover it with a second layer of moleskin.
  7. Finally, cover the moleskin and the skin in the affected area with a large band-aid, surgical tape, or duct tape.
hiker with a pad over her blister

Blister Care: Duct Tape Method

There are three ways in which you can use good old trusty duct tape to treat and prevent blisters.

Firstly, duct tape can be used to cover any rough surfaces or sharp seams inside your shoes to reduce friction and abrasion.

Second, you can preempt blister formation by covering hot spots with a thin layer of tape if you don’t have any moleskin patches or the adhesive in your band-aids fails to keep the band-aid in place. If using duct tape over a hot spot, it’s a good idea to place a path of gauze over the affected area first because extra-sticky tape could rip off the skin during post-hike removal.

Finally, you can also use duct tape as blister protection, by reinforcing or covering an inner dressing made with different materials (moleskin, band-aids, surgical tape) to ensure the dressing stays put for the remainder of your hike.

Should You Pop Blisters?

Yes and no.

As a general rule, popping a blister is not advised. This is because the fluid inside the blister is there to protect the sore spot and assist healing by enabling new skin to grow underneath.

On the trail, however, the blister might gradually become bigger, more painful, and more irritated without treatment. In such cases, and if you think the blister may pop on its own, then a preemptive pop with a needle is recommended. Doing so allows you to control the pop, treat the wound, and then dress it before it gets any worse.

If the blister is still small, then cover it as described above, keep an eye on it, and prepare for self-popping if its condition deteriorates later in the day.

Additional Foot Care Tips

To further reduce the chances of developing blisters, it’s important to practice proper foot care, too. Here are some things you can do:

  • Trim – Keep your toenails short and neat to eliminate sharp edges around the corners.
  • Clean – Rinse thoroughly to reduce the buildup of dead skin and the risk of fungal infections. 
  • Soak – A warm-water foot bath after you hike can hasten the healing process with any sores, hot spots, or blisters.
  • Rest – Before heading on your next hike, make sure that your feet have ample time to heal and recover.
  • Treat – Apple cider has antibacterial properties, so dropping a shot in your post-hike foot bath could help prevent infection after the blister pops.
  • File – To prevent blisters from forming under thick calluses, take a few minutes the day after a hike to file away the top layer of dead skin on the calluses, particularly in the heel and big toe. While your feet need to be tough, when your skin’s alive, pliable, and healthy it’s less likely to blister.

How to Avoid Blisters 101: Blitz Those Blisters!

Knowing how to prevent and treat hiking blisters is one of those easy-to-learn skills that can make a huge difference to both your time on the trails and decompression days post-hike. 

Instead of hobbling through your hikes and spending days or weeks recovering, by employing the above tips you’ll be able to look forward to blister-free backcountry wandering and decreased downtime between trail time.

Did you enjoy reading our article? If you have any comments or questions, please feel free to leave them in the comments box below. And if you’d like to share this post with your friends, share away!

Last update on 2023-05-28 / Affiliate links / Images from Amazon Product Advertising API

BrianBioAvatar

Brian has been an avid hiker and backpacker since he was a small kid, often being taken out into the wilderness on trips with his father. His dad knew everything about nature and the wilderness (or at least that's how it seemed to a ten year old Brian).

After high school, he went to university to read for both a BS and MS in Geology (primarily so he could spend his time outside rather than in a classroom). He's now hiked, camped, skied, backpacked or mapped on five continents (still need to bag Antarctica) & 30 of the US states.

Email - Portfolio

Leave a Comment