Keen to impress your camping chums with some next-level survival skills? If so, there’s no better trick in the book than starting a fire using nothing more than a little tinder and a chunk of frozen water.
In this guide, we lay out the step-by-step instructions needed to master this ice-based technique to get your campfire going.
What You Will Need
- Gloves
- Tinder, kindling, firewood
- Aluminum Foil
- Water and freezer (for practice at home)
- Hatchet or sharp knife (to take ice from the surface of a pond, puddle, or lake)
Table of Contents
How An Ice Magnifying Glass Works
When light hits a curved surface, its rays become concentrated. If these light rays are directed at and focused on a flammable material, they can produce enough heat to start fires.
For this reason, many wildfires have begun as a result of broken glass refracting sunlight. This is also the explanation for those elementary school science experiments that start fires with a magnifying glass.

Shaped in the right way, clear ice has the ability to magnify objects in the same way as a magnifying glass, through a process known as angular magnification and refraction. This magnification doesn’t just make objects appear bigger but also focuses and intensifies the heat of light rays as they pass through it.
If this heat is directed towards a dry, flammable material, it can (and will!) start a fire.
How to Start a Fire With Ice: Step-by-Step Instructions
1. Make an Ice Tray
To do this, you can either use a small plastic tray or make your own tray using aluminum foil. Ideally, this should have a spherical shape. You want your ice to be roughly three-quarters of an inch to an inch thick – bear this in mind if constructing a tray with foil.
2. Boil Your Water
To make sure you have crystal-clear ice when your water molecules freeze, you need to remove the gas from your water. To do this, boil the water for ten minutes and then leave it to cool. Once cool, boil it for another ten minutes and leave it to cool again before moving on to the next step.
If you don’t have the patience or time to boil water, you can skip it and use distilled water instead – it won’t be quite as clear, but it should do the trick.
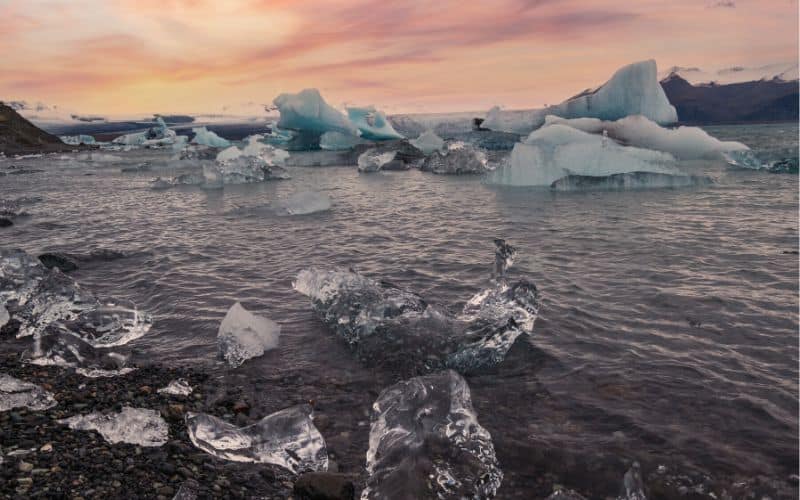
If you want to try this trick in the great outdoors, use ice from a frozen river or pond – it’s generally clearer than the stuff in puddles.
3. Freeze Your Water
Pour your cold water into your tray. It should be roughly the depth of a regular ice cube (0.75 to 1 inch).
4. Gather Your Tinder, Kindling, and Firewood
To get a fire going, you’re going to need three types of combustibles for fuel – dry tinder, kindling material, and larger logs or chunks of wood as your main fuel. At this point, you can set the kindling and firewood aside and focus on the tinder.
You can use a variety of materials for tinder. Some of the most effective include dryer lint, dry grass, dry leaves, and newspaper.
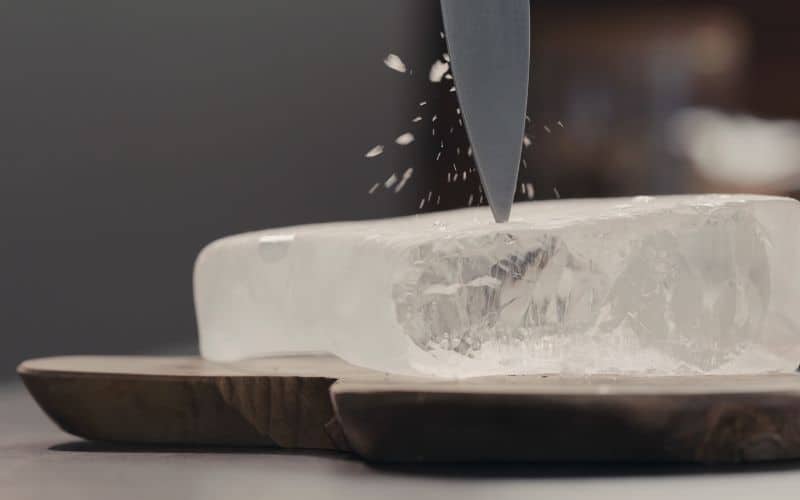
5. Shape Your Lens
Use a sharp knife (and gloves!) to carve your big block of frozen water into the shape of a lens. This means spherical, with a slight curvature rising from the edges to the midpoint.
6. Focus the Sun’s Rays Onto Your Tinder
Place your tinder on the ground, ideally in a spot where it will be sheltered from the wind. Hold your lens so the surface is perpendicular to the sun. Move it until the focal point of the rays passing through it is directed onto the center of your tinder.
At this stage, your lens may begin to melt, so take care not to let any drips land on your tinder.
If there is strong enough sun and you have a steady hand, your tinder should begin to smoke after a minute or two.
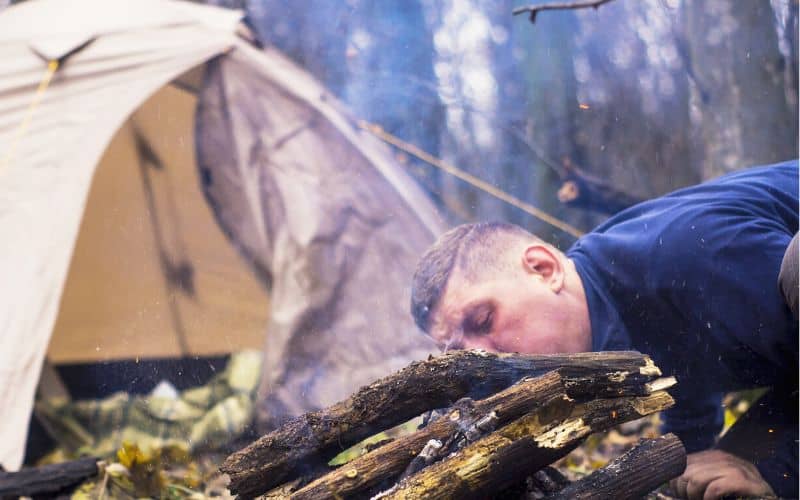
7. Blow!
Fires need oxygen to burn. Once your tinder has started smoldering, blow on it gently until you see a flame.
8. Done!
Start a fire with ice… done! With your tinder aflame, it’s now time to get a real campfire roaring. To do this, add very small pieces of kindling (small sticks and twigs) to begin with, then gradually increase the size as they burn.
Final Thoughts
Congratulations! If you managed to get a blaze going using the steps listed above, you have officially joined the ranks of card-carrying backcountry badasses!
If you enjoyed this article or have any questions, let us know in the comments box below. And if you’d like to share it with your friends, please do!
