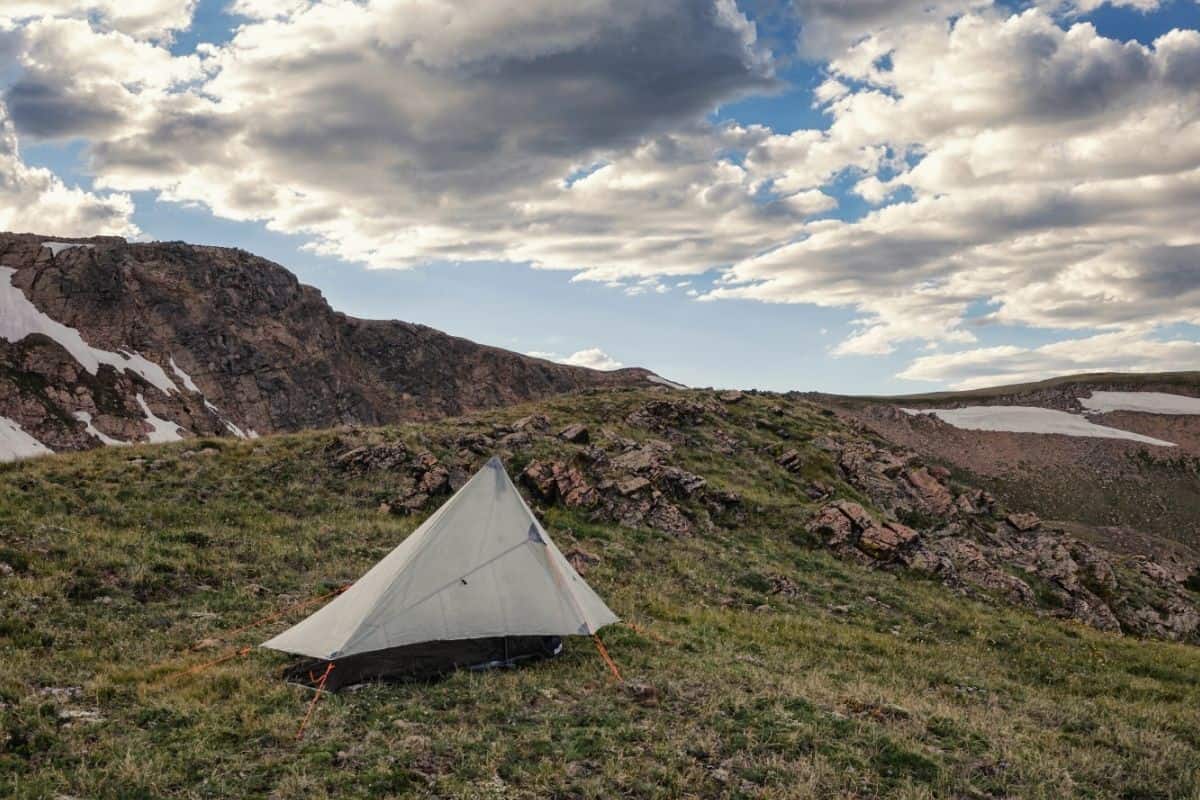
Tarps are among the most useful pieces of gear that any camper can carry. There are myriad ways in which this lightweight, inexpensive piece of kit can be used. In wet weather, the best of them involves suspending it over your shelter to double down on waterproofing. Trust us, once you’ve tried it, you’ll wonder how (and why!) you ever went without!
Hanging a tarpaulin over your campsite is simple once you’ve learned the ropes, yet can be a bit tricky at first. To help you out, this guide will demonstrate two foolproof ways to tarp up and keep your shelter and camping supplies dry in stormy weather.
Table of Contents
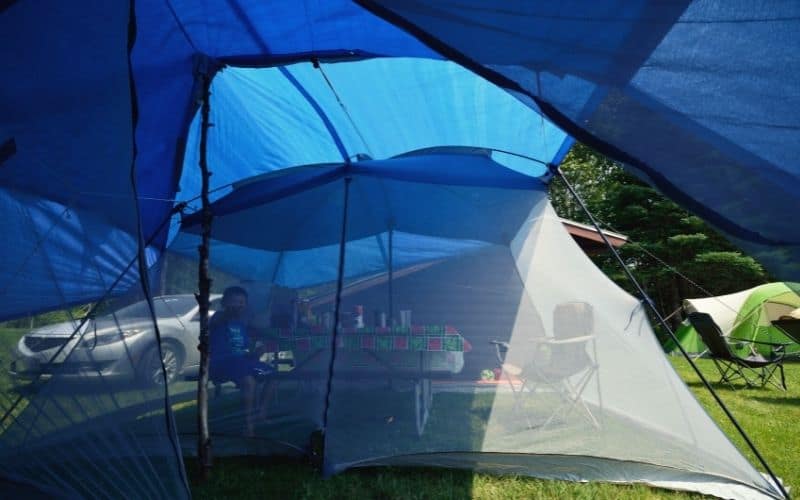
Why Use a Tarp When Camping?
- Creates an extra layer of protection against precipitation
- Improves ventilation and breathability
- Creating a basic shelter with a tarpaulin sheet is easy to do
- Creates a sheltered area for camping gear storage
- A dry tent is easier to pack and carry home than a wet tent!
- You can create an impromptu shelter with your tarpaulin when on the trails
- If you don’t use it over your shelter, you can use it as a tent footprint
How to Put a Tarp Over a Tent: 2 Methods
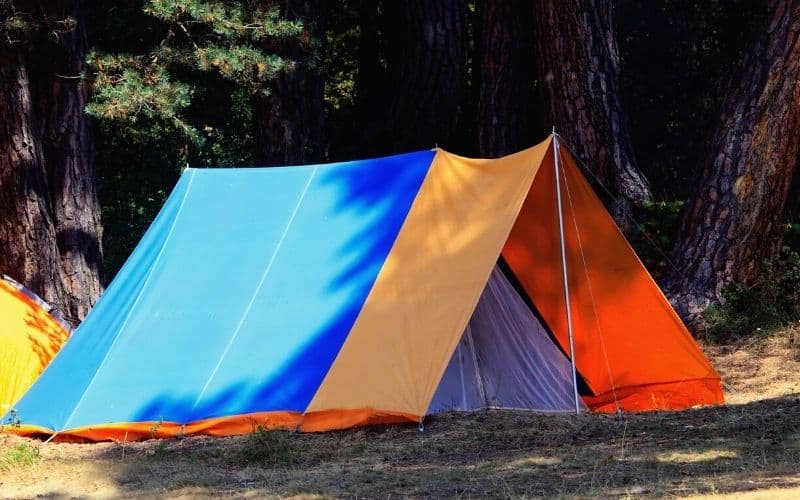
Method 1: With Trees
This is your simplest tarp shelter. When using this method, keep wind direction in mind, and be sure to hang your cordage a little higher than you think as it’s likely to sag once weighted with the tarpaulin. Also, remember that you can use your tent floor or groundsheet in place of a tarpaulin.
Step 1: Create a Ridgeline
Create a ridgeline and tie your rope to a tree on one side of your tent. Do the same on the other end. Pick two good trees that won’t sag or bend. Be sure the tarp height is higher than you think it might need to be to allow for sag.
The best knot for tying the rope around a tree is the bowline. If you’re an avid camper or outdoors person, you probably have a few tricks up your sleeve when it comes to knots, but in this case, the bowline works best because it’s extra-secure and easy to adjust.
Here’s how it’s done:
- Place the rope across your left hand with the long end – also called the standing end – loose.
- Make a small loop with the line.
- Wrap the rope around the standing end and thread it back through the loop.
- Tighten the whole shebang by pulling on the loose end while holding the standing end.
Step 2: Put Your Tarp in Place
Drape your tarpaulin over the ridgeline and spread it out as much as you can. You’ll want a taut cord to help protect you from the wind. Remove any wrinkles or overlapping material.
Step 3: Secure
Stake down the four corners of your tarpaulin to the ground with tent pegs through the holes or grommets on all corners, or use guy lines if necessary. Make sure your guy lines are taut so rain can flow off the tarpaulin! This will also ensure your tarpaulin provides added protection against the wind.
Step 4: Eliminate Wrinkles and Pooling Points
Make sure you have the material of your tarp flat on both sides of the ridgeline. Rain is likely to pool in any wrinkles or creases and the increased water pressure could cause a leak.
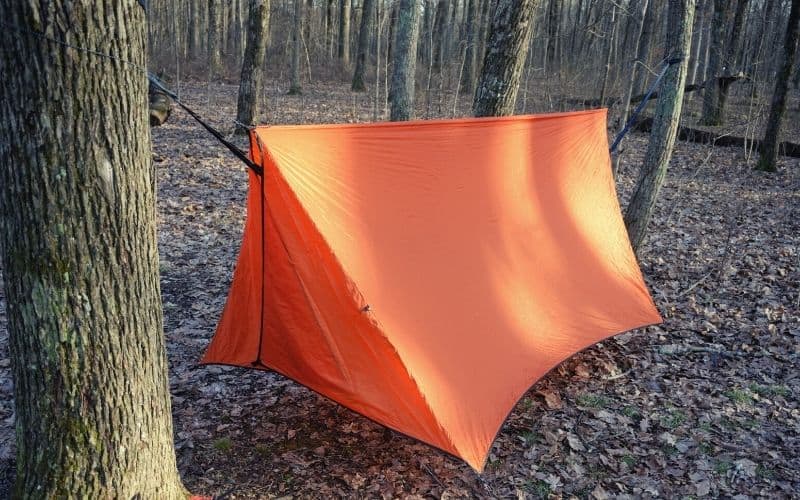
Method 2: Without Trees
While there are a few different ways to set up a tarpaulin, the A-frame method is our go-to in the absence of trees. An A-frame shelter involves similar knots and principles as the tree method, but you can use tent poles, trekking poles, or sticks from dead trees instead of living, standing trees.
Step 1: Create Two Poles
You can either use trekking poles (if long enough) or forage for dead branches from a nearby tree. Either way, the poles/branches should be a foot taller than your shelter as the tarpaulin will sag a bit in the center.
Step 2: Prop Your Poles
Place a pole on either side of the tent. If you use branches, sharpen the ends with a knife or multitool to be sure you can get those sticks deep enough into the ground that they won’t break, bend, or collapse in rain or wind. You’ll also want the opposing end to be sharp and narrow so that it fits through the tarp grommets.
Step 3: Create a Ridgeline
Extend a piece of your cord from one end to the other and secure using a bowline. You can also use an adjustable hitch to tighten down your tarpaulin even further and make the height of your ridgeline adjustable.
Step 4: Put Your Tarp in Place
Sling your tarpaulin over the top of the ridgeline, ensuring you don’t have wrinkles or overlapping material where rain may pool.
Step 5: Add Guy Lines
Here you will utilize the remaining corners and grommets of your tarp to pull the tarpaulin taut. You can again use the bowline knot here to attach your cord to the grommets.
Step 6. Peg Out
Peg out and adjust guy line tension to suit. Secure the guylines to pegs or stakes that you’ve hammered deep into the ground away from the sides of your tent.
Step 7: Add Driplines
To put it simply, a “dripline” is a length of rope or cord that is attached to the ridgeline to divert water away from your shelter when it rains. Using a foot or two of cord, tie a hitch over the tail end of your ridgeline and leave the ends of the cord dangling in space at the point where they’re furthest away from the edge of your tarpaulin.
Happy Camping!
For those that love camping, tarpaulins are an inexpensive way to add extra protection and shelter to your campsite. It may seem intimidating to learn how to master this setup, but with a little bit of practice and by following the above steps you’ll soon be pitching a tarp over your tent like a pro!
What did you think of our article? Comment below if you have any questions or know of any tips and tricks we missed!

