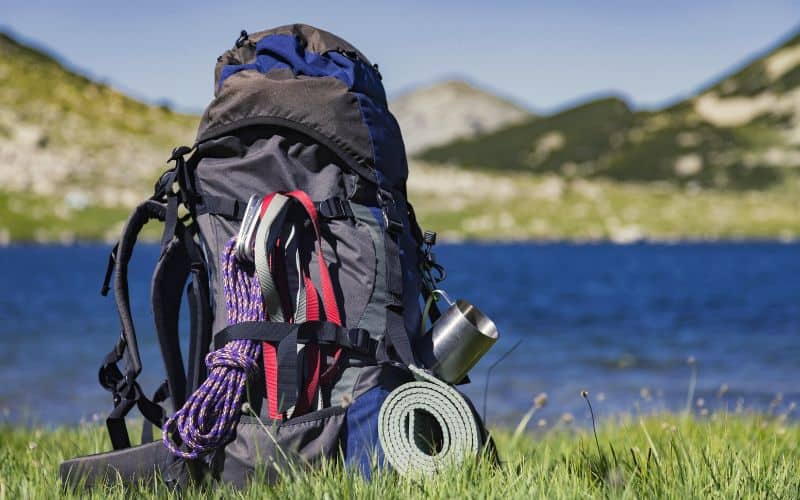
5 Places Where You Can Rent Camping Gear
Hiring out camping equipment is a smart alternative to buying a setup you might only use once. This guide covers five places you can rent from, so you can try before you buy.
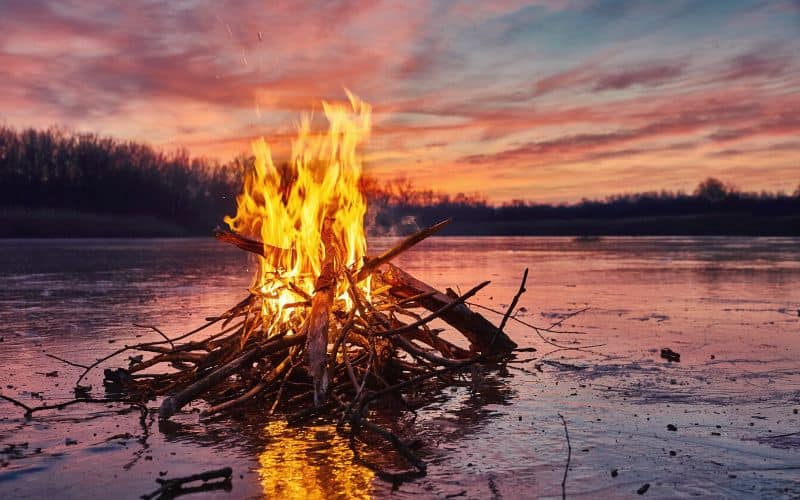
How to Start a Fire With Ice: Step-by-Step Instructions
No matches, lighter, or firestarter? No problem! In this guide, we’ll teach you how to start a fire using nothing more than a chunk of ice, the sun’s rays, a little tinder, and a steady hand.
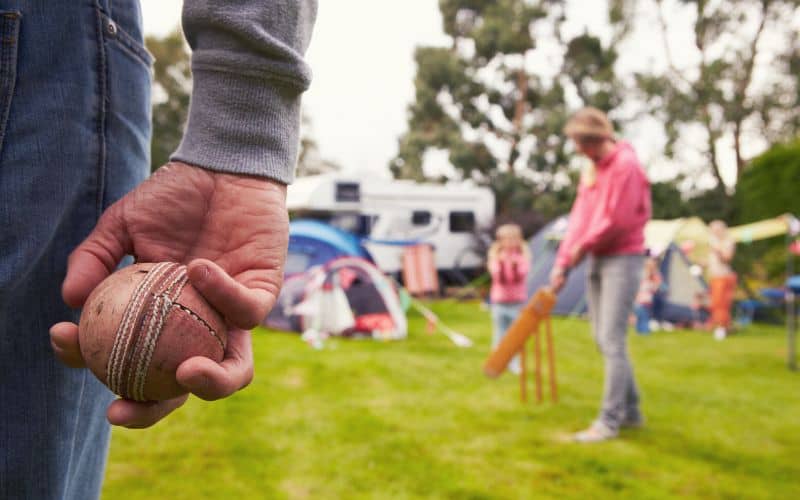
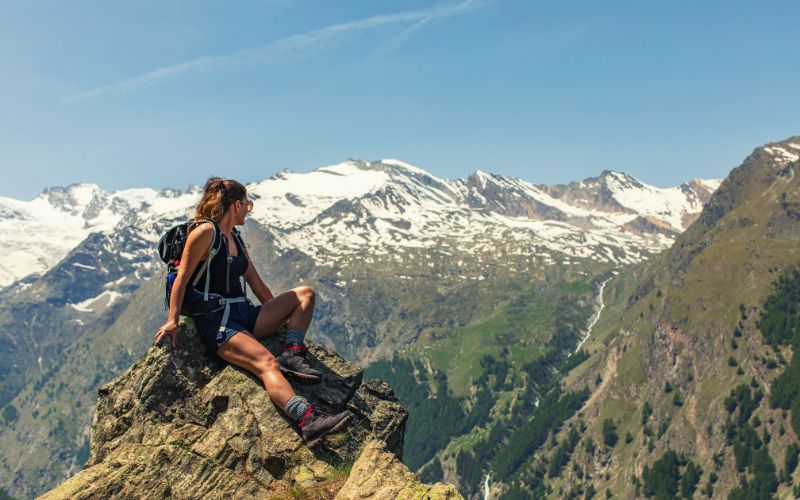
21 Best Camping Games for All the Family
Whether you’re throwing a frisbee or going on a scavenger hunt, this list of our favorite games to play while your camping is sure to keep you entertained in the great outdoors.
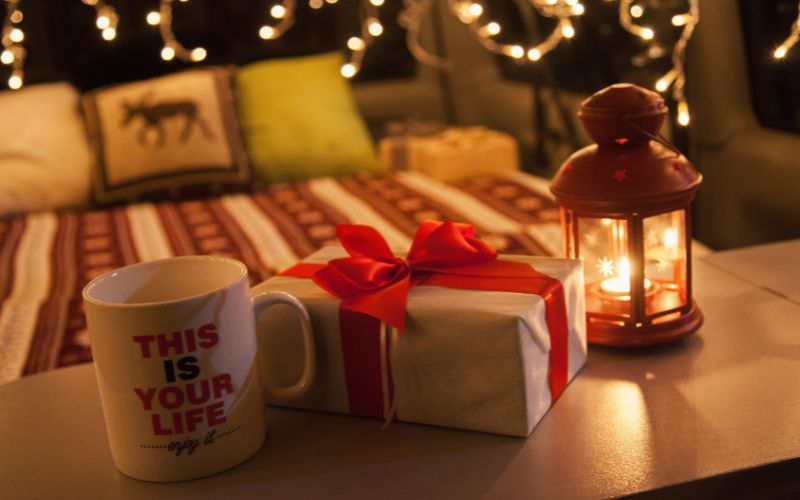
Best Camping Gifts: 28 Ideas for Outdoors-Lovers
Whether it’s for the keen mountaineer, blazing trail-runner, or family car camping enthusiast, our 28 gift ideas will make gift-buying a whole lot easier for you this holiday season!
Best Gifts for Outdoor Women: 27 Gear, Clothes & Novelty Ideas
Looking for the perfect gift for that outdoorsy gal in your life? Our gift-giving guide includes both practical and just-for-fun gifts that will get her excited about her next outdoor adventure!
Best Gifts for Outdoorsmen: Gear, Clothing, and Novelty Ideas
Whether the outdoorsy men in your life are backcountry trail-blazers or simply like to be outside, our list of 25 outdoor gifts will make gift-buying easier for you this holiday season!

13 Best Vegetables to Dehydrate for Camping and Backpacking
Looking for healthy and delicious snacks to bring while hiking, backpacking, or camping? Try dehydrated vegetables! Learn how to create these tasty treats for yourself with this handy guide.
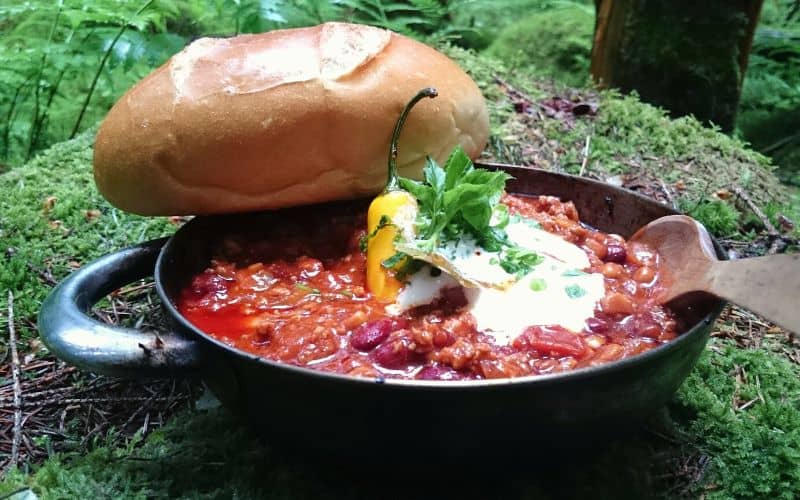
Campfire Chili: How to Make Every Camper’s Favorite Meal
Nothing warms the soul like a bowl of delicious chili enjoyed around a campfire! In this post, we share the only recipe you’ll ever need to impress your camping pals.
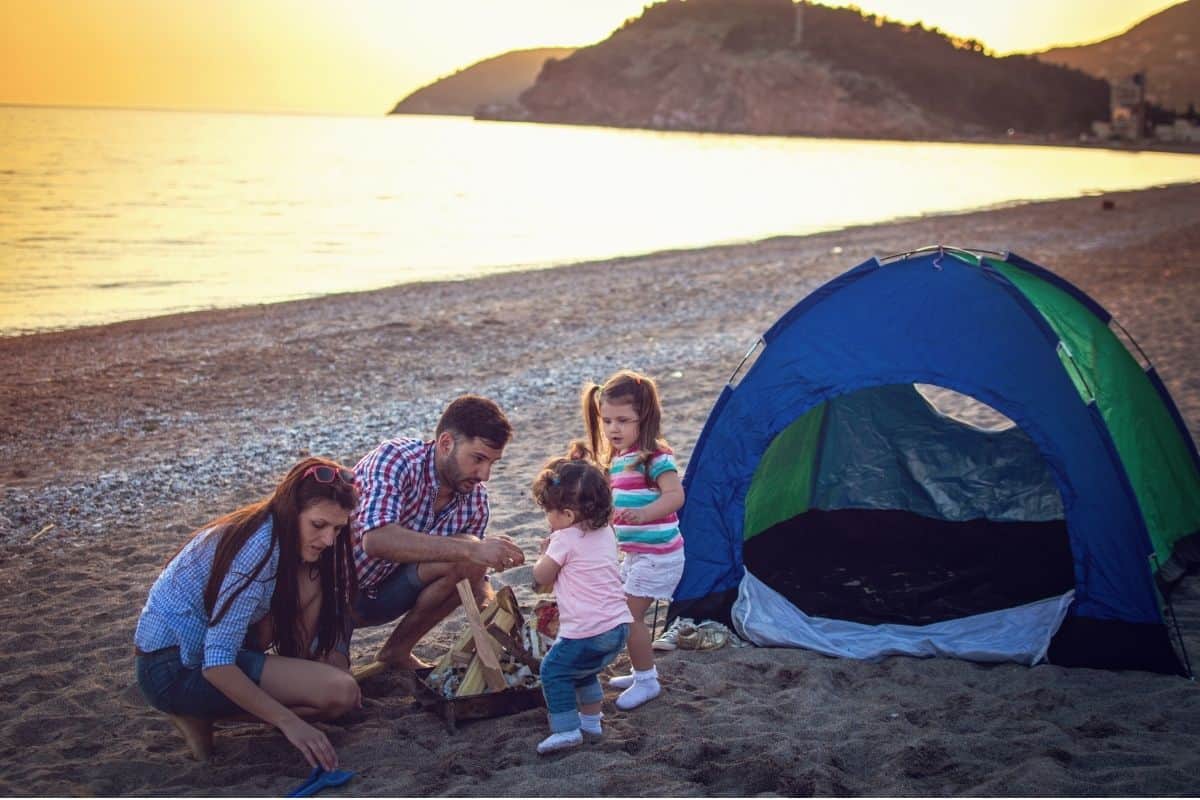
Camping With Kids: 27 Tips for Stress-Free & Fun Family Camping Trips
Going camping with your baby, toddler, kid, or teen? Don’t hit the panic button yet! Our comprehensive guide and game-changing tips will teach you how to survive (and enjoy!) your trip.