It can be challenging to stay warm when camping out on a chilly winter’s night. The lack of insulation in a tent, combined with limited heating options can lead to discomfort, sleep disturbances, or even health risks if not properly addressed.
With the right cold weather camping gear and a little bit of know-how, however, staying cozy and comfortable all night long is a piece of cake.
Do
Don’t

Save for later!!! ⤵️
In this article, we cover the following 21 great tips for keeping warm while camping.
- Bring Winter Camping Gear
- Dress Warmly Around Camp
- Dress Warmly in Bed
- Pitch Your Tent Wisely
- Eat Late
- Do A Pre-sleep Warm-up
- Prep For Tomorrow
- Pack a Hot Water Bottle
- Use Sleeping Bag Liners
- Bring a Pee Bottle
- Repurpose Unused Clothes
- Improve Your Tent’s Thermal Efficiency
- Buy a Tent Heater
- Keep Your Tent Ventilated
- Snuggle Up To Tentmates
- Use Hand & Foot Warmers
- Use Two Sleeping Pads
- Bring a Blanket
- Pack Tent Slippers
- Keep Your Head Covered
- Bring Winter-Friendly Fuel
1. Bring Winter Camping Gear
Packing winter-appropriate camping gear is crucial for staying warm in a tent. The following list outlines the main considerations when choosing your cold-weather camping kit.
- A tent rated to the season you are camping in – if it’s cold then this most likely means a 4-season model
- Good sleeping bag with a comfort temperature rating at least five degrees below the lowest temps you expect to encounter on your camping trip
- Sleeping pad with an adequate R-value to provide a layer of insulation between your body and the cold floor
- Groundsheet to limit the cold air rising through the tent floor
2. Dress Warmly Around Camp
On a cold night, it’s imperative to dress warmly around camp to maintain your body’s core temperature before hitting the sack (or sleeping bag). Remaining warm is far easier than raising your body temperature again once it drops, and going to bed cold is likely to result in staying that way for the rest of the night.
When you arrive at your campsite in the afternoon or evening change out of your hiking clothes asap. This will help you avoid losing body heat through the moisture (sweat) in the fabric, which will begin to cool as soon as you stop moving.
After removing any sweaty base layers, throw on an extra layer up top, and be sure to change into a pair of dry, warm socks.
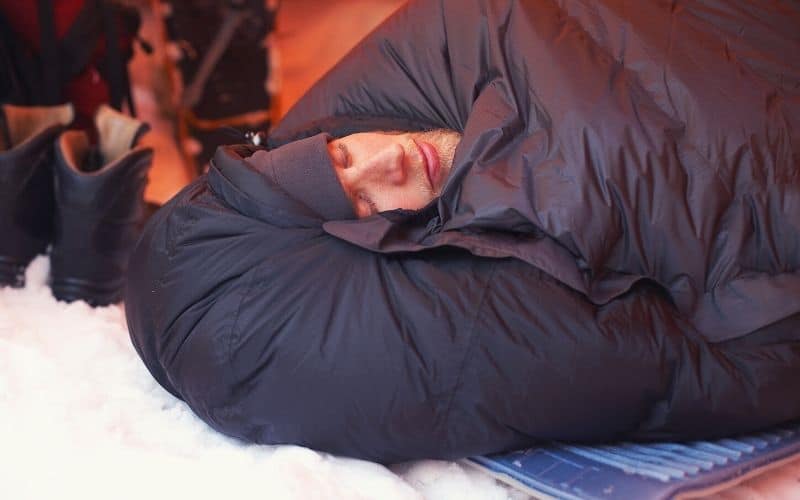
3. Dress Warmly In Bed
Wearing thermal long johns may not earn you any kudos with your camping buddies, but neither will spending a night tossing and turning or fumbling for a fleece at 3 a.m. because you thought you’d be warm enough sleeping in the nude!
4. Pitch Your Tent Wisely
When pitching your tent, there are several steps you can take to maximize your chances of beating the cold come nighttime. This includes positioning your tent door downwind to avoid drafts, pitching in a spot sheltered by natural features like trees, boulders, bushes, hillocks, or ridges, and choosing a location where the tent will be exposed to both the evening and morning sun.
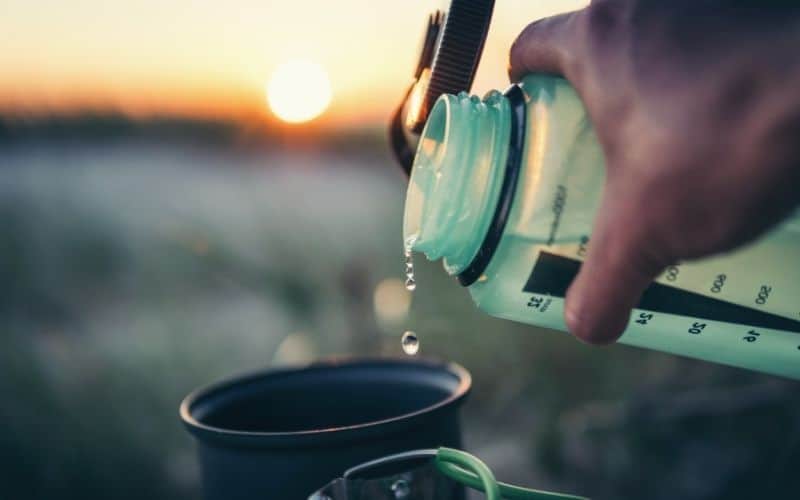
5. Eat Late
Delay your evening meal to benefit from diet-induced thermogenesis, a process in which your body heats up during digestion. Having a hot drink before hitting the hay can also turn your belly into a small boiler room for the rest of your body and have you falling asleep in no time.
6. Do A Pre-sleep Warm-up
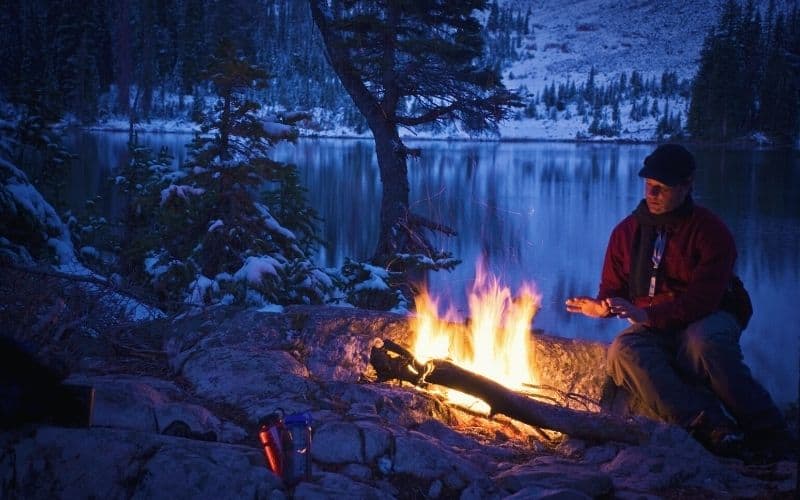
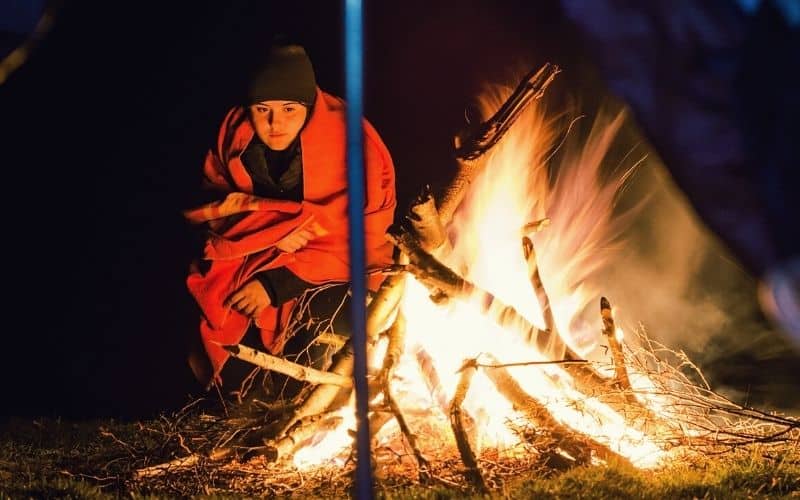
Another way to prevent your core temperature from dropping before getting in your sleeping bag is to do a short pre-sleep warm-up session to get the blood flowing. Any mildly aerobic exercises will do the trick, but star jumps, push-ups, squats, and jogging on the spot work particularly well. Doing these in front of a roaring campfire is sure to help too!
7. Prep for tomorrow
Easy tasks to help you prep for the next day include stuffing tomorrow’s clothes inside your sleeping bag to make them toasty warm to put on in the morning, keeping your boots inside the tent so they’re tolerably warm, and sourcing water for your morning brew to avoid a cold, bleary-eyed wander in search of a stream at 6 a.m.
These simple tasks mean that getting out of your warm sleeping bag on a cold morning becomes slightly less of a hardship. Your morning self will definitely be thanking you!
8. Pack a Hot Water Bottle
We get it, a hot water bottle might not be the most badass backcountry accessory out there. However, you’re unlikely to care when you’re snuggled up in your sleeping bag, enjoying the warmth of your hot water bottle on a bitterly cold night.
Hot water bottles are also, of course, far cheaper than buying an insulated tent or a “hot tent” (aka stove jack tent) with a wood-burning stove.
9. Use Sleeping Bag Liners
Sleeping bag liners are a tiny, lightweight addition to your camping kit that can provide an extra 5° to 15°F of warmth to your sleeping bag and as well as being far easier to launder. Owning a sleeping bag liner could also save you from having to purchase two sleeping bags (one sleeping bag for warmer weather and one for colder weather).
10. Bring a Pee Bottle
Bringing a wide-mouthed bottle for peeing allows you to answer nature’s calls in the warmth of your tent instead of venturing out into the cold in the middle of the night. Strong, secure lids are highly recommended and make sure you can distinguish it from any drinking bottles. We know we said “drink warm fluids” before bed, but…
11. Repurpose Unused Clothes
Repurpose spare, unused clothes idly sitting in your backpack at night by laying them underneath your sleeping bag and pad. This provides an added buffer and increases insulation between you and the cold ground.

12. Improve Your Tent’s Thermal Efficiency
To enhance the thermal efficiency of your tent, stow your bag and as much other gear as you can inside. This reduces the interior cubic footage that your body heat has to warm up inside the tent. While it may only boost the temperature by a degree or so, every little bit helps in a pinch!
13. Buy a Tent Heater
If your sleeping bag isn’t warm enough or temperatures are particularly frigid, an easy way to heat a tent to a tolerable temperature is by using a tent heater. A portable electric heater can be worth its weight in gold when conditions are gnarly, and it won’t cost you an arm and a leg. Just remember to turn it off before you fall asleep!
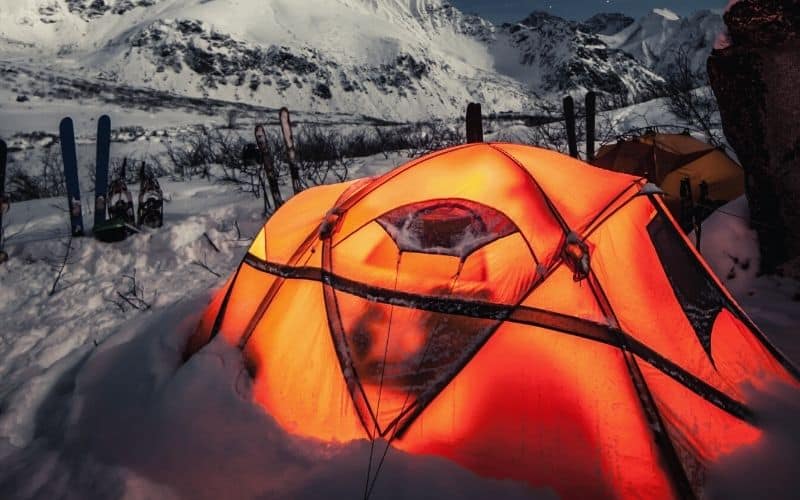
14. Keep Your Tent Ventilated
Keeping your tent well-ventilated may seem counter-intuitive when aiming for a warm tent, but a poorly ventilated tent is sure to develop condensation. Condensation forms when the inside temperature is much higher than outside, often the case when camping in winter. This causes gaseous water molecules (from your breath, body, wet clothes, etc.) to change to liquid, and before you know it, your tent is as wet as an otter’s pocket.
While dry tents aren’t necessarily warm tents, a wet tent is almost always a cold tent. What’s more, damp conditions will seriously hamper your sleeping bag’s ability to insulate, especially if it uses down insulation, a notoriously poor performer in wet conditions.
15. Snuggle up to Tentmate’s
If you have a tentmate or pet, snuggling up and sharing your combined body heat is one of the best ways to stay warm in a tent.
The body can lose heat in two ways: by conductive heat loss (the transfer of body heat to something it’s touching, i.e. the ground) and by convective heat loss (the transfer of heat to ambient air).
The flip side of this is that these are also how your body can gain heat. Concerning convective heat, see the tips above and below. For conductive heat, there’s nothing better than heat radiation from another human (or canine) to raise your core temperature, so be sure to bring one (or a few) along for the ride when camping in cooler weather.
16. Use Hand & Foot Warmers
Since your extremities are apt to feel the cold before the rest of you does warming up your hands and feet makes a world of difference. While it’s always wise to wear a good pair of gloves and socks to bed, reusable or disposable heat packs are great for getting fingers and toes warmed up quickly.
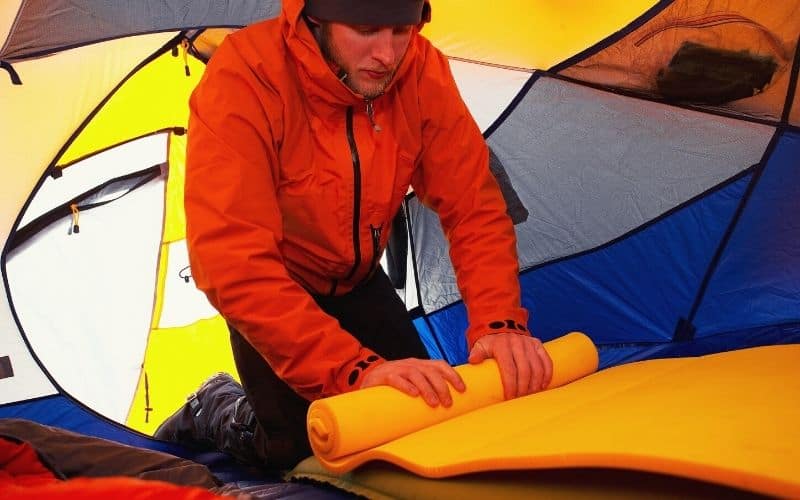
17. Use Two Sleeping Pads
The thermal resistance or “warmth” of sleeping pads is rated using the “R-Value” system, which measures how well a pad protects against heat loss (the higher the value, the better). The bad news is that buying a pad or air mattress with a high R-value can be expensive. The good news is that R-value ratings are cumulative. You can use two pads with an R-value of 3 (or 4) to achieve a total R-value of 6 (or 8).
Now you just need to convince your friend/partner/camping cohort to lend you their pad for your trip…!
18. Bring a Blanket
Heavy blankets might not be ideal for backcountry camping trips, but for car camping, they’re an easy way to give your sleep system a heat boost. A blanket can be used in a number of ways: to bolster the insulation of your sleeping pad, to throw over your sleeping bag, or as a carpet to keep your feet warm when moving around inside your shelter.
Mylar blankets (aka space blankets) don’t do the same job as fabric blankets, but when you need as much heat as you can get, they’re better than nothing!
19. Pack Tent Slippers
They might not be sexy, granted, but tent slippers are among the most practical cold tent camping accessories out there. First, they keep your feet warm when walking around the cold floor of your shelter. Second, they let you dash outside for a 3 a.m. pee without doing so in your bare feet or cold hiking shoes. Finally, they let your feet breathe and recover from your hikes far better than boots, hiking shoes, or even a pair of socks.
20. Keep Your Head Covered
Keeping your head covered to stay warm is wise advice, especially given the saying that 50% of your body heat is lost through your head. This is actually a load of baloney. However, the real figure of around 10%, quoted by authorities such as the folks at Live Science, is still a significant amount of heat to be losing. Wearing a good beanie for keeping warm in a tent is therefore definitely the way to go.
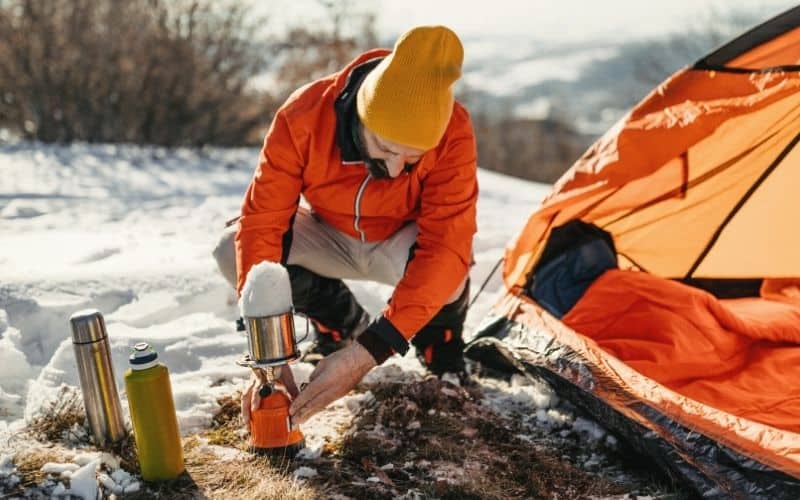
21. Bring Winter-Friendly Fuel
As mentioned, a hot pre-bedtime drink or meal is a great way to turn your belly into a central heating system for the rest of your body, but to make them you’ll need to have packed some winter-friendly fuel for your camping stove. The three most popular fuels for campsite cooking and drink brewing are butane, propane, and liquid fuel with each having their own advantages and limitations at cold temperatures.
Liquid fuel burns well in freezing temps but is a slow burner and generates less heat than the other two alternatives. Butane, on the other hand, is the most energy-efficient of the three but vaporization is slowed down at around 32°F and so is not a good option in extremely cold conditions. Propane is the quickest burner of the bunch but will freeze at around -40°F.
How to Stay Warm In a Tent: Check!
When temperatures are low, getting a good night’s rest in a warm tent takes a little more effort than during the warmer months. By following these winter camping tips, however, you’ll be able to hit the sack snug as a bug and carry on camping even when temperatures are freezing!
Did you like our article? If you have any questions or feel we missed anything, let us know in the comments box below! And if you want to share this post with any friends who you think could benefit from the above tips, share away!
Save for later!!! ⤵️