The comfort and success of hiking adventures are greatly influenced by our choice of hiking footwear. Choosing the wrong hiking shoes or boots can lead to prolonged discomfort and turn an exciting journey into an unpleasant experience, unlike the less critical selections of backpacks or jackets.
Navigating budget options can be challenging, but there are still plenty of high-quality budget hiking boots available.
In this guide, we’re going to usher you around those pitfalls by delivering a detailed buyer’s guide to the best pairs on the market along with our top 7 picks for this year, why we’ve selected the Timberland White Ledge as our top choice, and what are the important considerations you should weigh when choosing the best budget hiking boot for your needs.
Do
Don’t

Table of Contents
At a Glance: Quick Recommendations
-
Editor’s Choice:
Timberland White Ledge Men’s Boot
“Lightweight, waterproof, durable, and incredibly comfortable.” -
Runner Up:
Salomon Quest Prime GTX
“A little on the heavy side, and pricier than the other options, but otherwise the perfect 3-season boot, inexpensive or otherwise.” -
Best Value:
Columbia Newton Ridge Plus II
“Durable, waterproof, and one of the most comfortable models we tested.” -
Bargain Buy:
Hi-Tec Men’s Altitude Lite I
“As one of the cheapest hiking boots on our list, they are the ideal pick for occasional hikers on a tighter budget.” -
Best Lightweight:
Merrell Moab 2 Vent Mid
“What they lack in durability and waterproofing they make up for in comfort, traction, breathability, and weight savings for your feet.” -
Best Waterproof:
Adidas Terrex Eastrail Mid Waterproof GTX
“Pricier than most, but a great choice for wet-weather hikes and very supportive for such a lightweight boot.” -
Best Leather:
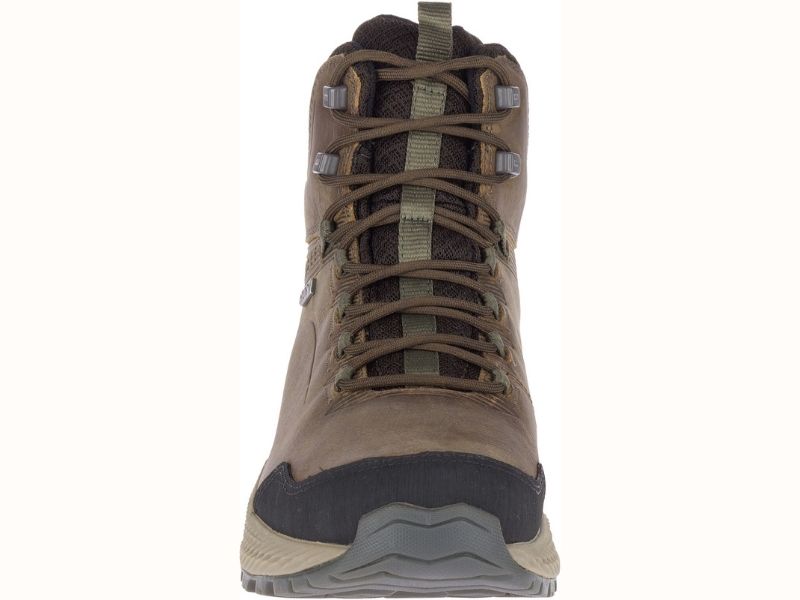
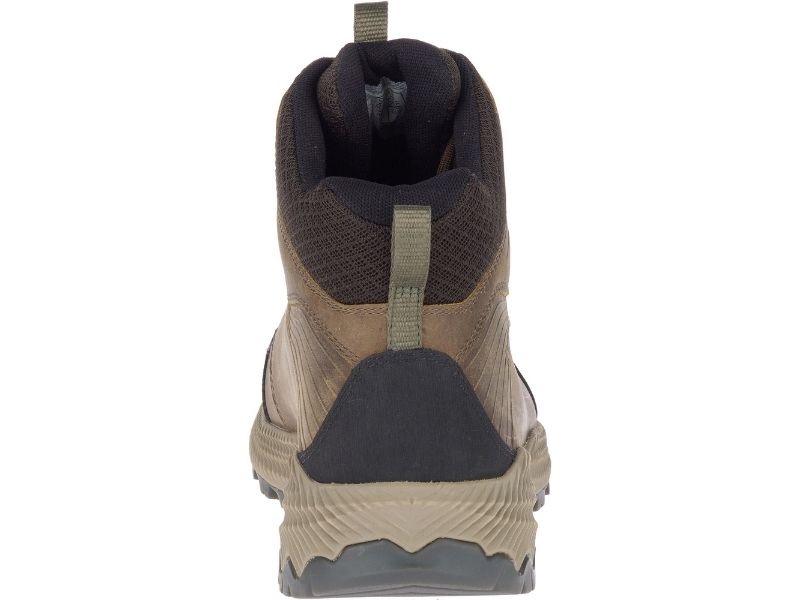
Merrell Forestbound Mid
“A classy-looking, robust boot with an effective waterproof membrane.”
Top Choices by Category
3-Season: Merrell Forestbound Mid, Salomon Quest Prime GTX, Timberland White Ledge
Lightweight: Merrell Moab 2 Vent Mid, Timberland White Ledge, Adidas Terrex Eastrail Mid GTX
Leather: Merrell Forestbound Mid, Timberland White Ledge
Waterproof: Merrell Forestbound Mid, Salomon Quest Prime GTX, Timberland White Ledge, Adidas Terrex Eastrail Mid GTX, Hi-Tec Men’s Altitude Lite I, Columbia Newton Ridge Plus II
Which model is the best affordable hiking boots?
We’ve taken a number of affordable boots and shoes through their paces on the trail, and have shortlisted the following budget-friendly hiking boots.
- Timberland White Ledge Men’s Boot
- Salomon Quest Prime GTX
- Columbia Newton Ridge Plus II
- Hi-Tec Men’s Altitude Lite I
- Merrell Moab 2 Vent Mid
- Adidas Terrex Eastrail Mid Waterproof GTX
- Merrell Forestbound Mid
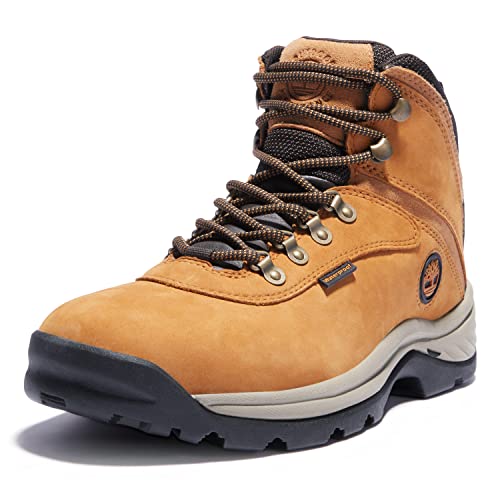


Timberland White Ledge Men’s Boot
Editor’s Choice
The Timberland White Ledge hiking boots are lightweight, durable, supportive, waterproof, and comfortable for all-day wear on challenging trails.
The White Ledge are made from full-grain waterproof leather uppers, which make them waterproof, highly protective, and resistant to abrasions. Inside, a high-wicking textile lining helps to prevent sweaty feet, while a dual-density EVA midsole provides great cushioning and arch support.
We found the White Ledge remarkably comfortable from the box and lightweight for an all-leather boot. The outsole didn’t feel quite as sticky as Vibram, but the deep, multidirectional lugs offer great grip in mud, loose ground and rocky terrain.
The only imperfections we found in these boots were the poor-quality laces and the lack of a waterproof membrane, though it’s worth noting that laces can be picked up for a few dollars and the all-leather construction makes the White Ledge waterproof enough for all but the most serious and sustained downpours.
PROs
- Very comfortable
- Waterproof
- Burly, all-leather construction
- Great foot and ankle support
- Good traction
- Cushy EVA midsole
CONs
- Not the best laces
- On the heavier side
Bottom-Line: A robust, protective hiking boot and yet still super cheap!


Salomon Quest Prime GTX
Runner Up
The Salomon Quest Prime GTX is a strong contender for its robust support, waterproofing, and trail-running shoe comfort combined with high-performance boot capabilities.
The Quest is one of the most popular boots on the market, and with good reason. It may be a little pricier than most hiking boots on our list, but it ticks every box to a standard far higher than many far pricier competitors.
The Quest is made with a suede leather upper, Gore-Tex waterproof liner, EVA “advanced chassis” midsole, and Salomon’s proprietary Contagrip outsoles. Combined, these make it one of the most comfortable, supportive, and versatile boots out there.
During our tests, the Quests really shone. They felt great straight out of the box and required virtually no break-in period. In wet conditions, the Gore-Tex membrane kept our feet perfectly dry, though also allowed them to breathe when we took them for a spin on an 80-degree day.
The Quest are definitely a little on the heavy and bulky side compared to other options on our list. The biggest compliment we can pay them, however, is that we barely noticed this due to the good work they were doing otherwise. Their traction is outstanding, their comfort sneaker-like, and their support and padding are up there with the top models.
PROs
- Nicely padded collar
- The perfect backpacking boot
- Breathes well in warmer weather (ideal if prone to sweaty feet!)
- Waterproof
- Tough enough for off-trail hiking and rugged trails
- Roomy toe box
CONs
- Quite heavy
- Pricier than other waterproof shoes on our list
Bottom-Line: Inexpensive hiking boots that perform just as well as expensive ones – what’s not to love?


Columbia Newton Ridge Plus II
Best Value
The Columbia Newton Ridge Plus II are a cost-effective choice, offering quality with leather and synthetic uppers and an Omni-Grip rubber sole. Their Techlite midsole is light, resilient, and provides lasting comfort.
The Plus II’s mid-height cut means they lack the solid ankle support of models like the Salomon Quest, but it also makes them a little lighter and more nimble on the trails. We found the outsole to be a little less grippy on rock and slick surfaces, but great in mud and loose gravelly terrain.
While the Newton Ridge don’t have a waterproof membrane, the leather uppers do a good job of keeping your feet dry in rainy conditions.
PROs
- Excellent waterproofing
- Good arch support
- Excellent traction and grip
- Good traction
- Wide toe box
CONs
- Take a while to break in properly
Bottom-Line: A lightweight waterproof boot with a grippy outsole and plush midsole. Ideal for three-season day hikes.


Hi-Tec Men’s Altitude Lite I
Bargain Buy
The Hi-Tec Men’s Altitude Lite I are a great option for occasional hikers who want a well-made, reliable budget hiking boot for easier trails.
These mid-cut boots are made with a suede and synthetic upper with a Dri-Tec membrane. While this membrane isn’t quite as effective or breathable as Gore-Tex, it will keep your feet dry in all but heavy rainfall.
The midsole consists of compression-molded EVA and an OrthoLite sock liner, both of which we found to provide plenty of comfort even after long days on the trail. The outsole is nothing to write home about, but its multi-directional tread pattern and relatively deep lugs performed well on gritty and wet terrain.
PROs
- Decent waterproofing
- Comfortable on easy hikes
- Break in quickly
- Good traction
CONs
- Run a little large
- A few durability issues
Bottom-Line: Not a standout compared to the options above, but great for the price.


Merrell Moab 2 Vent Mid
Best Lightweight
The Merrell Moab 2 (click here for women’s version) are lightweight hiking boots that don’t cost the earth. The insides are lined with a breathable mesh and the unique Merrell air cushion in the heel absorbs shock and adds stability.
The toe is covered with a protective rubber toe cap, and the sole is made from extra-grippy Vibram TC5+. The model nylon arch shank provides extra support and leverage on steep ascents while the springy EVA midsole provides additional stability and comfort. The best bit? You get all of this at a weight of just 2 lbs. 2 oz.!
The Moab 2 are one of the most comfortable boots out there, cheap or otherwise, and has gained legions of followers in warmer portions of the globe on account of their outstanding ventilation and breathability. They may lack waterproofing, but they’re ideal for warm weather hiking and backpacking.
If you’d prefer a little more water resistance, check out the Merrell Moab 2 Mid Waterproof. And if you’re looking for a cheap hiking shoe, check out the Moab 2 Low.
PROs
- Very comfortable
- Grippy Vibram soles
- Breathable
- Great arch and heel support
- Lightweight
- Wide feet option available
CONs
- Not waterproof
- Not the most rugged upper
Bottom-Line: A lightweight, supremely comfortable boot that’s ideal for hot-weather hikes.


Adidas Terrex Eastrail Mid Waterproof GTX
Best Waterproof
If you’re keen to get your hands on a pair of hiking boots that feel just like cushy trail running shoes, the Adidas Terrex Eastrail are a shoo-in for your shortlist.
The Eastrail weigh in at just 13.8 ounces per boot, making them among the lightest on our list. Nevertheless, they come with a Gore-Tex membrane, a plush EVA midsole, and are surprisingly durable for a boot with all-synthetic fabric uppers.
The Eastrail’s uppers are a combo of mesh and PU panels. These are backed by a Gore-Tex membrane that makes them highly waterproof and also as breathable as any other boot on our list, aside from the Merrell Moab Vent.
While the Eastrail are sleek and low-profile, the tongue and ankle cuff are nicely padded and the outsole and midsole are as substantial as many of the burlier models we have reviewed. On the trail, the midsole felt great providing plenty of cushioning and bounce. The Traxion outsole, meanwhile, was up there with any variety of Vibram for traction and grip.
A good nutshell description of the Eastrail – and high praise – would be to dub them a lighter, more nimble alternative to the Salomon Quest.
The only quibble we have with the Eastrail is their slightly narrower fit and fiddly lacing system.
PROs
- Gore-Tex waterproofing
- Comfortable
- Lightweight
- Great cushioning
- More nimble than a traditional hiking boot
CONs
- Awkward lacing system
- A touch narrow
Bottom-Line: Offers the comfort of a sneaker but the support and performance of a 3-season boot.
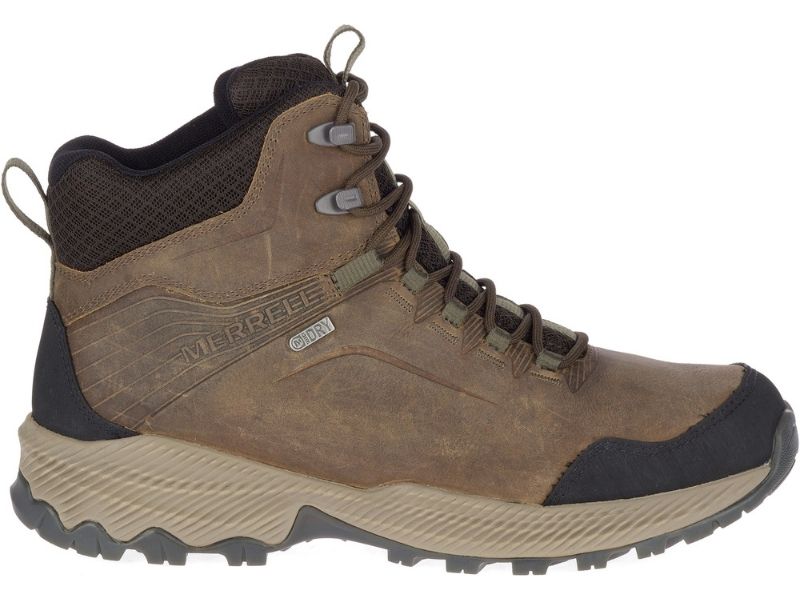
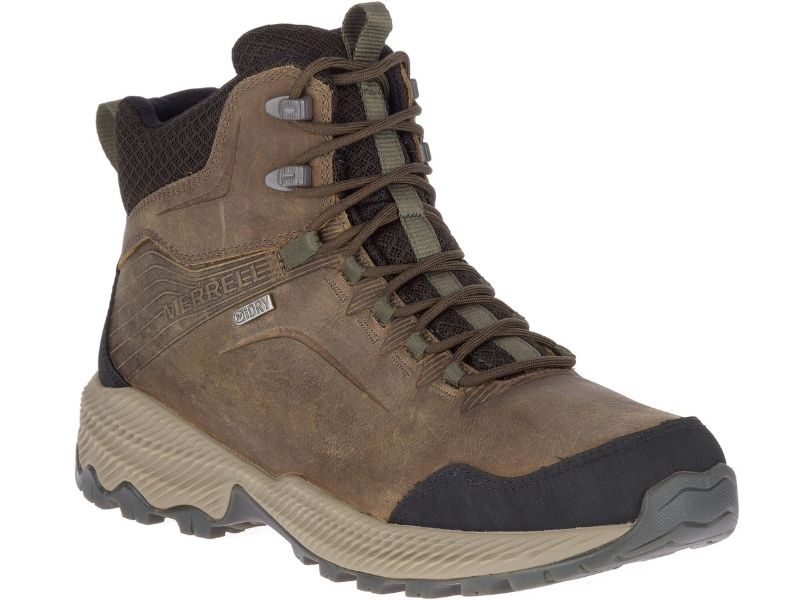
Merrell Forestbound Mid
Best Leather
Merrell Forestbound Mid are high-quality leather hiking boots that are reasonably priced and are lightweight!
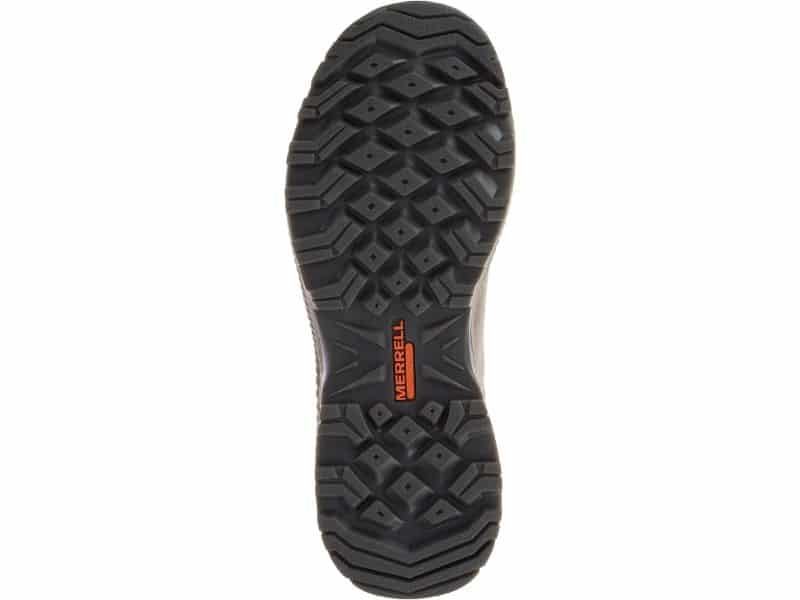
The main selling points of the Forestbound are their robustness and waterproofing, but they have a lot more going for them beyond this. In addition to those full-grain leather uppers, these mid-cut budget hiking boots boast an EVA midsole with a molded nylon arch shank for added stability and cushioning, deep lugs (5mm), an aggressive tread, and a waterproof membrane.
While that in-house, proprietary membrane doesn’t provide the same robust protection as Gore-Tex, it’s plenty waterproof for the needs of most hikers. And although the outsole isn’t quite Vibram, we found it adequately grippy on a variety of surfaces.
PROs
- Full-grain leather upper
- Lightweight for leather
- Great price
- Waterproof
- Protective toe cap
CONs
- Heavier than other options
Bottom-Line: Great for forest hikes but warm enough for cold-weather hikes and tough enough for rough and rocky trails.
What Should I Consider When Buying Cheap Hiking Boots?
When buying, there are a few things you need to look out for. The most important are the cut, upper material, midsole material, outsole material, traction, weight, and water resistance.

Cut: Low, Mid, Or High?
Hiking shoes and boots come in a variety of cuts (i.e., shoe heights), which are classified as low-, mid-, or high-cut.
Low-cut shoes are ideal if you want to travel fast, are hiking in warm conditions, and/or want to save some weight on your feet, though offer less support for your ankles, less protection, and less water resistance. We haven’t included any low-cut shoes on our list. If this is the style you want, check out our guide to lightweight hiking shoes.
High-cut boots are the best bet for three-season hiking or hikes in rougher terrain. While heavier and more likely to lead to leg fatigue on long trail days, they offer superior ankle support, protection for your lower legs, and waterproof models will keep your feet dry even when you’re hiking through boggy terrain or in heavy rain.
Mid-cut models like the Columbia Newton Ridge and Merrell Moab 2 are becoming an ever more popular pick with hikers everywhere. The reason for this is that they’re highly versatile, striking a happy medium between the support and stability of a high-cut boot and the nimbleness and light weight of a trail shoe.
Upper
The upper of a hiking boot comprises the top and sides and is typically made from leather, suede, or synthetic materials. Leather and suede uppers are usually more durable but also heavier and require a longer break-in period.
Leather is also naturally waterproof, so a good bet if you tend to do a lot of wet-weather hiking. While many synthetic models use waterproof membranes and score better than leather models in breathability, their main shortcoming is their tendency to get torn up by rough trail conditions. If durability is a priority leather is the way to go.
Midsole
The midsole of your boots is the insert wedged between the rubber outsole and the (usually removable) insole. It is primarily responsible for arch support and cushioning.
The two most common types of midsole are EVA and PU. EVA is often considered more comfortable than PU, but tends to lose its bounciness over time. PU retains its cushioning capacity for years and is also slightly stiffer, which means it’s a better option for hiking rougher trails and more supportive when hiking uphill.
All of the boots on our list use some form of EVA midsole. We found the one used in the Salomon Quest Prime GTX the cushiest of the bunch.
Outsole & Traction
The outsole, the bottom part of your boot, ensures stability. Hiking boot outsoles have deep lugs and aggressive tread patterns for enhanced grip on rough or slippery surfaces.
“Lugs” are the indentations in the rubber of the outsole, which dig into the ground underfoot. An “aggressive tread pattern” means that the pattern of the tread is multidirectional, which gives you added grip when hiking uphill, downhill, and when changing direction. This can be contrasted with the tread and lugs on regular footwear, which are usually shallow and unidirectional.
Waterproofing
Unless you are a fair-weather-only kinda hiker, buying boots with some degree of waterproofing is highly recommended. Even if you don’t get caught in a downpour, a waterproof boot will help keep your feet dry if you have to hike through shallow streams, dewy grass, boggy terrain, or puddles on the trail.
The only downsides to waterproof boots are that they tend to cost more than non-waterproof models and are less breathable.
The most waterproof boot on our list? It’s a toss-up between the Merrell Forestbound Mid, Adidas Terrex, and Timberland White Ledge, all of which provide solid enough weather protection for three-season hiking.

Weight
Weight is an important consideration, as the saying goes, “A pound on your feet equals five on your back”.
While there’s no real evidence to support this claim, it’s only logical that wearing a few more ounces on your feet is more likely to lead to muscle fatigue in your legs than wearing fewer, something that’s bound to be noticeable on longer hikes.
Here’s the rub: The trouble with opting for a pair of ultralight boots means you almost always have to compromise on one or two important features or attributes. In most cases, this means durability, support, and/or waterproofing. While there are lightweight boots out there that are tough, supportive, and waterproof, they usually cost a pretty penny.
The above is demonstrated by the specs of the lightest and heaviest boots we reviewed.
The lightest boots on our list are the Merrell Moab 2 Vent Mid, which aren’t the most durable and aren’t waterproof.
The heaviest boots are the Merrell Forestbound Mid, whose all-leather upper makes them both fully waterproof and extremely durable.
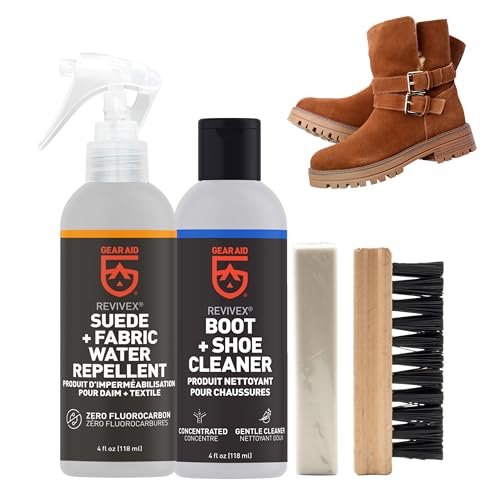
How To Maintain Cheap Hiking Shoes & Boots?
Whether buying a budget hiking shoe or boot a little maintaninence is needed to make sure your hiking boots last.
With leather boots, we recommend using a silicone or wax treatment after every 15-20 hikes. These treatments will not only boost waterproofing but also keep the leather soft and supple, which boosts comfort and makes the leather less prone to cracking.
With synthetic models, we recommend using a fabric cleaner and waterproof spray.
Store your boots in a cool, well-aired cupboard or room, and make sure to dry them out thoroughly before placing them in storage.


Best Budget Hiking Boots: The Verdict
The Timberland White Ledge boots are our top budget-friendly pick for hiking and backpacking. Despite a few drawbacks, they meet all essential criteria and provide excellent value. They’re an ideal choice for those who don’t hike strenuous trails every weekend.
If you’d prefer something a little lighter, we recommend the ever-popular Merrell Moab Vent. The Moab are among the most comfortable boots on the market and lighter than many trail shoes. And if leather’s your bag, check out the Merrell Forestbound Mid, a tough, waterproof, full-grain leather boot at a surprisingly affordable price point.
If you liked this article or have any questions, let us know in the comments box below. And if you’d like to share this post with your friends, please feel free to do so!