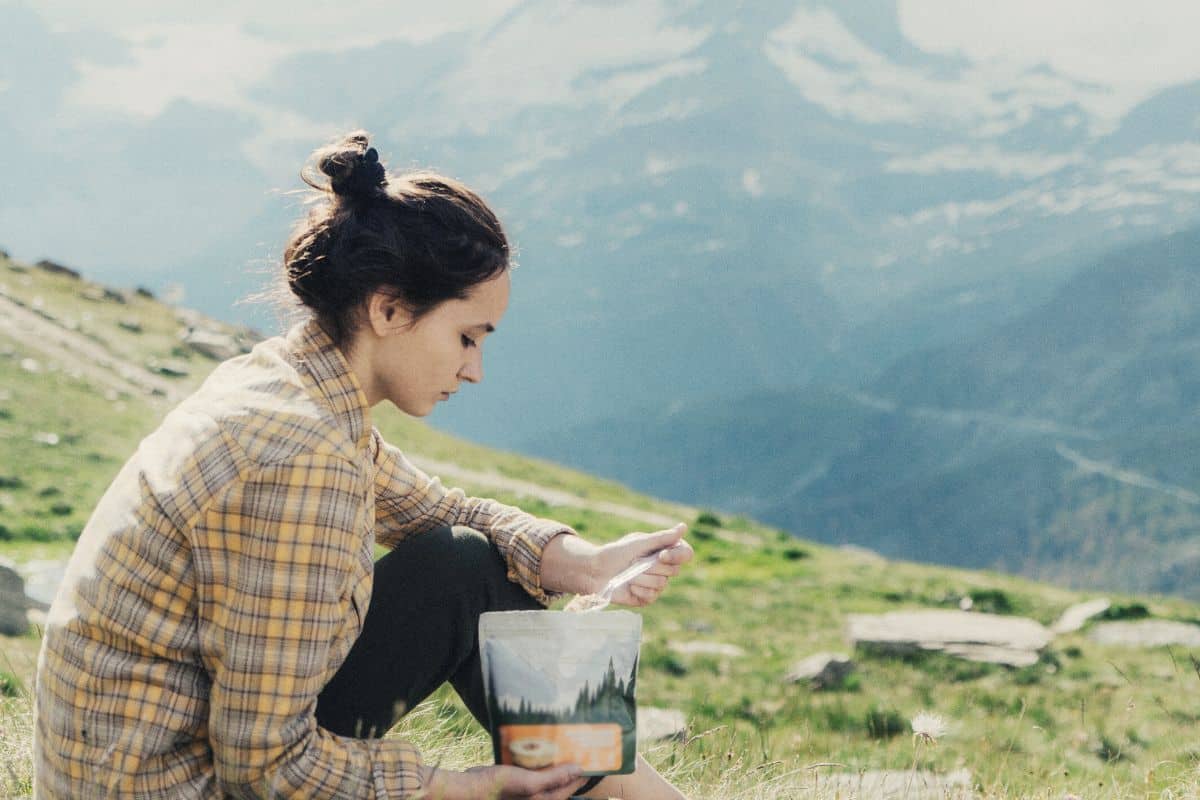
Any backpacker understands the critical role of food selection for the overall success of a trip. Calories, nutrition, weight, taste, and practicality are all important factors to take into consideration. Whether you’re embarking on a two-day adventure or an extended multi-week trek, we’ve got the essential information to ensure your backpacking trip is fueled for success.
With thorough planning, you can guarantee a trip filled with tasty and satisfying meals. To assist you, we’ve compiled a list of breakfast, lunch, and dinner ideas, along with those essential snacks. We also delve into considerations such as the quantity of food required, key factors to consider in backpacking food, cooking techniques on the trail, and additional tips for resupplying during thru-hiking.
Do
Don’t

Table of Contents
- Key Takeaways For Good Backpacking Meals
- How Much Backpacking Food Should You Pack?
- What Should You Know About Backpacking Foods?
- What Are Some Top Backpacking Meal Ideas?
- What Are The Best Backpacking Snacks?
- How Should You Choose Backpacking Meals?
- How To Cook Easy Backpacking Meals?
- How To Pack And Store Backpacking Food On The Trail?
- Ready To Set Off With The Best Backpacking Food?
Save for later!!! ⤵️

How Much Backpacking Food Should You Pack?
The quantity of food you need for your backpacking trip is the number-one question to resolve pre-trip.
When hiking, your body requires more caloric intake to ensure you have enough fuel to make it through the trip. You will need roughly double the number of calories you would usually need to consume. This, however, will depend on certain factors, such as the elevation you will be hiking at, how far your hike will be, and how much ascent it involves.
Body fat fulfills an important role. As it is slowly burned, it supplies energy to our body. This fat, however, needs to be supplemented by food. If your body runs out of calories to burn from food, it consumes more fat. And once the fat supply is tapped out, your body will start burning muscle tissue for the fuel, which leads to fatigue and degradation of the muscles.
The bottom line? Calculating how many calories per day you need and ensuring you get them is vitally important.
To determine exactly how much food for backpacking you will need to take with you on any trip, you will first have to determine how many calories you will have to use. Ready for the math? Let’s do it!
- Weigh yourself.
- Determine the weight of all of the gear you will be taking with you.
- Add the two weights together.
- Multiply the total weight by 30 (30 is the number of calories you will need per pound for extremely active hiking).
- Take the total from step 4 and multiply that by the estimated number of days you will be hiking. This total is the total calories you will need to complete your planned trip.
- Add a buffer of 5% just in case you get delayed en route.
Now that you know how many calories you will need for your trip, the fun part begins. Now you can start making detailed meal plans to ensure your food intake will equal the number of calories needed.
To be on the safe side, we recommend packing a little extra just in case there’s an emergency, you lose some of your supply, or it takes you longer than expected to complete your trail. The above calculations, moreover, don’t factor in elevation gain. Unless your hike is fairly flat, you’ll need more calories to replace the extra burned on ascents.
What Should You Know About Backpacking Foods?
Before you choose your backpacking foods, there are a few things you need to know. These are covered in the list below.
- Maximize Nutrition
- Reduce Weight
- Minimize Hassle
1. Maximize Nutrition
Your main goal when hiking and backpacking is to maximize nutrition so as to meet the activity’s high nutritional demand. In addition to having the right foods, adding in some multivitamins is a good practice.
If sending parcels to drop-off points along your route, or buying in grocery stores in trail towns, make sure you choose nourishing foods that will hold you in good stead for the coming days or weeks and not just satisfy immediate cravings. Look for fresh produce, variety, and foods with a wide range of nutrients.
2. Reduce Weight
To reduce the weight of the backpacking food you’re carrying, plan resupply points for extended hikes. This is common practice for long-distance thru-hikers but often overlooked by backpackers on shorter trips. The reasoning is simple – it saves you having to lug so much weight on your back, allows you to stick to your meal plan, and saves you from worrying about being able to find your favorite foods in stores en route.
While planning your route, check for areas close to a town and find the nearest post office. Mail yourself a resupply package before hitting the trails and calculate how much food you will need to get to this point. Just make sure you send yourself enough food to get you from your first resupply location to the next!
Using this method for the duration of your hike will help to ensure you have enough food for the journey without having to carry the excess weight.
3. Minimize Hassle
Backpacking food ideas that minimize hassle are good ones! Thru-hiking means covering a great distance and the less you have to carry, the better. For this reason, many hikers will skip hot meals, either partially or for the entire length of the hike to save weight. Some easy backpacking meal ideas using foods rehydratable with cold water include:
- Instant noodles, such as ramen noodles
- Instant mashed potatoes
- Instant rice, especially white rice, and beans
- Hummus
- Dehydrated meals you have prepared and cooked at home
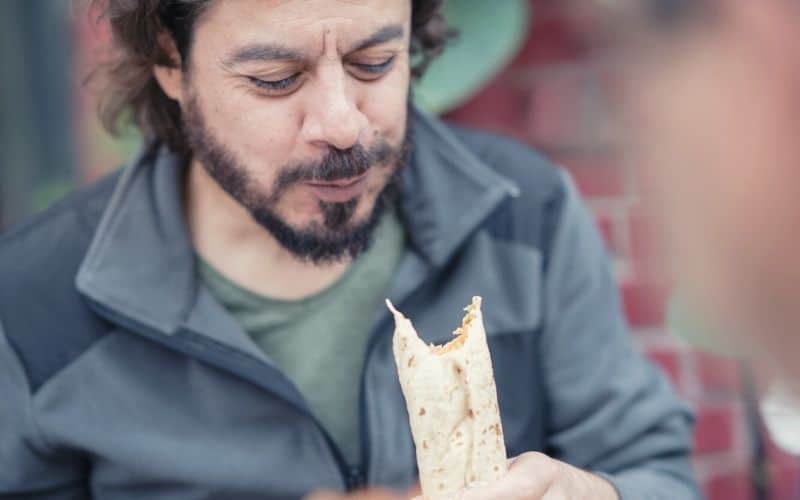
If you decide to use the “no-cook” method for your thru-hike, you don’t have to limit yourself to cold water hydration options. Snacks, wraps, and sandwiches of your own design are also great options to add to your supply.
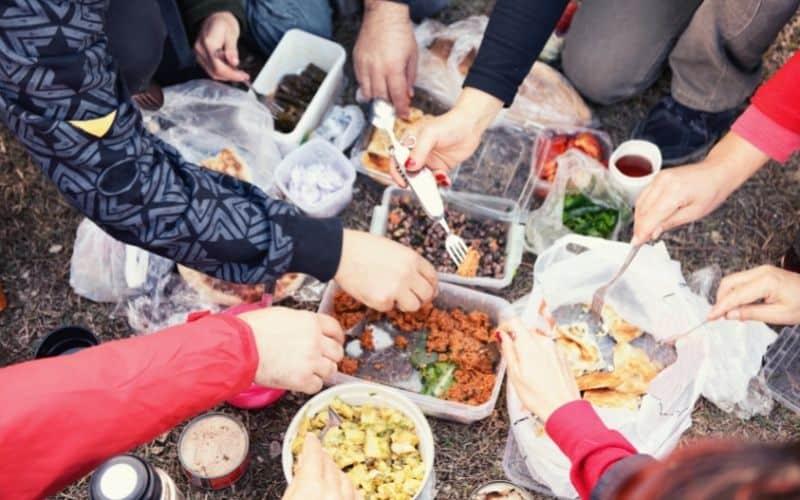
What Are Some Top Backpacking Meal Ideas?
If you’re on the trail for days on end, you are going to need a variety of meal ideas for the different times of day.
- Backpacking Breakfast Ideas
- Backpacking Lunch Ideas
- Backpacking Dinner Ideas
1. Backpacking Breakfast Ideas
Breakfast is the most important meal of the day, and backpacking breakfasts can range from a simple toasted pastry and powdered milk to a full spread with freshly brewed coffee.
While a hot breakfast does provide you with a full belly and an extra boost, it’s also time-consuming to prepare and clean up. A simple snack and water is low-hassle and will let you get started on your day of hiking faster.
Oatmeal is a long-time favorite of backpackers everywhere. It weighs next to nothing, it’s relatively nutritious and simple to make, and it can easily be spiced up by adding ingredients like raisins, cinnamon, or dried banana slices. According to Mountain Leader Lucy Wallace (TGO), oatmeal’s complex carbs also keep you feeling full for a longer period of time than other cereals.
To keep things healthy, avoid instant oatmeal packets, which often contain unnecessary sugars, and go for steel-cut or rolled oats instead.
Best food items for breakfast: instant coffee or tea, powdered juice or milk, water, fruit, instant cereals (hot or cold), nuts and dried fruits, dry cereal or granola, breakfast or protein bars. If you want to be a bit lavish, you can add pancake mix and dehydrated eggs to this list.
2. Backpacking Lunch Ideas
When choosing your backpacking lunches, it’s best to determine whether you’ll be taking a lengthy lunch break or just making a quick pit stop.
While the answer to the above depends on personal preference, we advocate for the latter. The reasons for this are threefold.
If you take a long lunch break, you allow your muscles to cool down, thereby increasing the risk of injury once you start moving again.
Secondly, between unpacking, preparing, cleaning up, and then repacking, you can lose lots of time.
Thirdly, ever notice how your legs feel heavier and more tired after a long break, even though they felt fine before stopping? The reason for this is lactic acid buildup, which can seriously hamper your progress post-pause.
The better option is to snack modestly throughout the day on snacks that provide you with sufficient energy while taking shorter breaks of 5-15 minutes. Ideally, you should try to walk at a slow, steady pace for longer periods between breaks because shorter, more intense periods of walking will put more strain on your muscles.
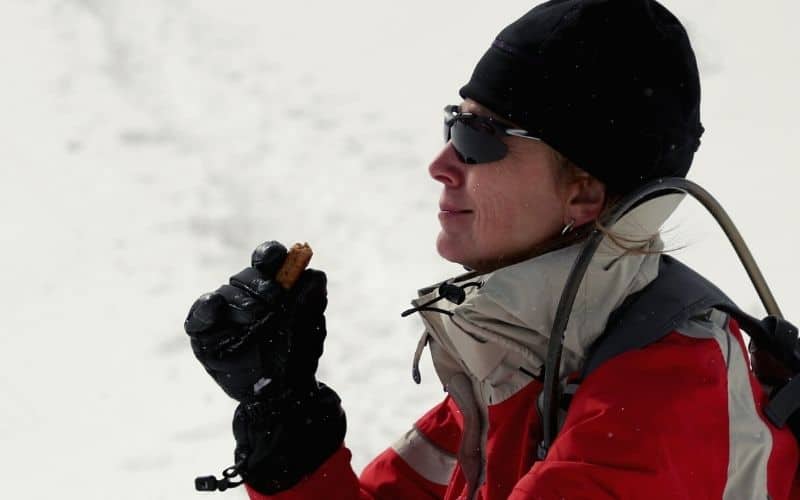
Best backpacking lunch ideas: energy bars, jerky, nuts, dried fruit, granola bars, sealed meat packets (such as tuna or salmon), or anything else that can be consumed and digested quickly without too much messing around.
3. Backpacking Dinner Ideas
Backpacking dinners are all about replenishing lost calories to aid recovery and ensuring your body’s in good condition for next day’s hiking.
While some hikers don’t mind taking the time to create a substantial meal, some are content with only adding some boiling water to a freeze-dried packet.
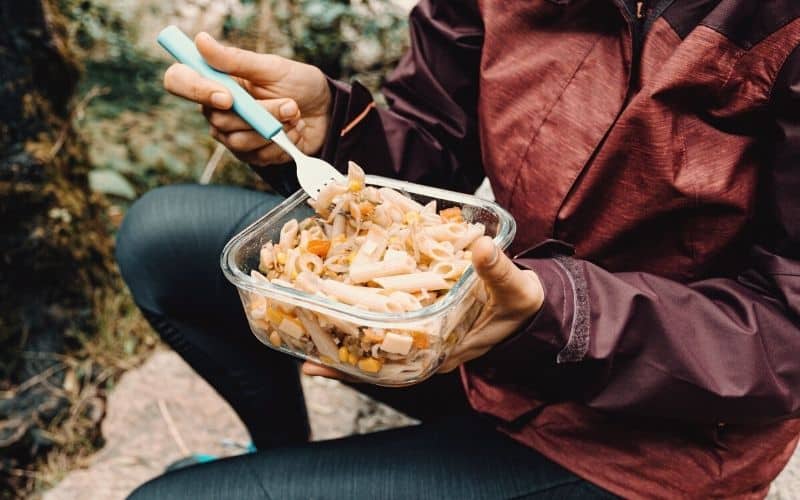
Pasta and noodles are among the most popular dinner-time meals for backpackers everywhere. Penne, spaghetti, elbow macaroni, mac and cheese, or even rotini are our favorites. One serving can provide up to 20 grams of protein and all the carbs you need. Pasta is also lightweight and packable. Throw in some olive oil, and you’ll have an awesome calories-per-ounce ratio in your backpacking dinners.
However, instant noodles provide even more carbs than pasta and are easier to prepare. And adding the seasoning packet to the noodles after they have been crushed makes for a tasty snack while on the go.
If you have space in your pack, consider bringing some of your favorite spices, salt, and pepper. Dinner is the one time when you can relax and enjoy your meal, so make the most of it! To save bulk and weight, carry these in zip-lock baggies or Tic-Tac containers.
Next time you’re at the diner, make sure and pocket some condiment packets for your next backpacking trip. These little packets of ketchup, salt, powdered milk, hot sauce, honey, or olive oil can help spice up your food and add some extra calories per ounce.
Best backpacking meals for dinner: Instant foods (instant soups, noodles, sauces, stuffing), tuna, tortillas, instant rice, couscous, instant potatoes, summer sausage, dried vegetables, packaged freeze-dried meals.
What Are The Best Backpacking Snacks?
Here are some of the best snacks to take on your backpacking trips. Remember, the distance you plan on traveling will be a factor in determining how much you should take with you.
- Nuts
- Seeds
- Dried Fruits
- Granola Bars
- Dark Chocolate
- Cheese, Meats, Bread
- Beef Jerky
- Energy Gels
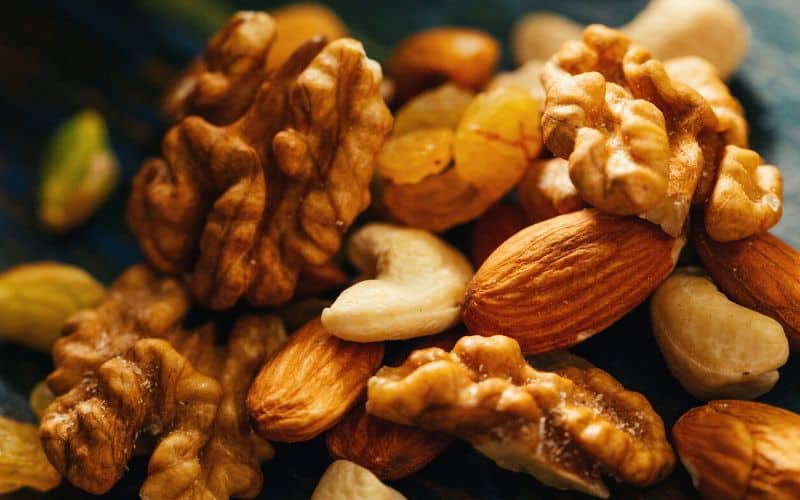
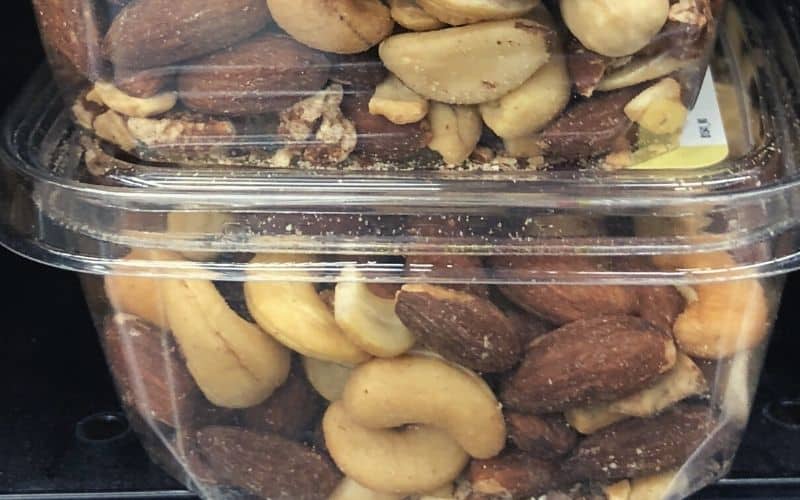
1. Nuts
Nuts are the ideal snack for backpacking. They take up very little space in your pack and provide plenty of nutrition and energy. Additionally, there are a wide variety of nuts available that will suit just about any food preferences you may have.
2. Seeds
Seeds are easy-to-pack backpacking snacks that take up very little space. Along with their great nutritional value and taste, they are perfect for adding to other snacks, such as nuts and dried fruits, or even your evening meals.
3. Dried Fruits
Dried fruits are an awesome lightweight backpacking snack that can help satisfy your sweet tooth and provide you with a tasty energy boost. They’re less bulky than fresh fruit, have a longer shelf life, and are also great mixed with seeds and nuts.
4. Granola Bars
Granola bars are great trail snacks that can provide plenty of nutrition. We’re big fans of Kate’s Real Food Bars and Luna Bars, both of which have no added sugars, and are all-natural and gluten-free.


5. Dark Chocolate
If you want a healthier blast of sugar in your backpacking snacks, dark chocolate is the way to go. Dark chocolate provides you with a great boost of energy. An additional benefit about this snack is that it helps to generate body heat – handy in colder climates.
6. Cheese, Meats, Bread
Sandwiches are low-fuss, low-cost backpacking snacks that give you something to look forward to while hiking.
Storing a sandwich in a container takes up more space than other snacks, but it provides you with a hearty snack that can help to keep you going through the second half of your hike. To cut down on bulk, try packing your sandwiches in aluminum foil.
Alternatively, consider using tortillas or pita bread instead of bread. These two options are more durable than regular sandwich bread and last longer. Bagels are also a good option, though they do take up more pack space.
7. Beef Jerky
Beef jerky’s high protein and sodium content make it a great backpacking snack as you need these nutrients to aid recovery and replace electrolytes. Jerky also has a great shelf life, so is ideal for longer trips.
8. Energy Gels
Energy gels are a quick and convenient carb-delivery system that can be consumed on the go when backpacking. These take up very little space and can be easily stashed in a pant or hipbelt pocket. However, they can be pricey and often weigh more than non-liquid snacks that provide similar nutritional benefits.
9. Powdered Beverage Mix
Powdered beverage mixes are a refreshing, energizing treat to help get you through the rest of your hike. These cost-effective additions to your supplies are also lightweight, take up little space in your pack, and come in several tasty flavors.
How Should You Choose Backpacking Meals?
A number of factors will impact what you’ll need to take into consideration when planning your backpacking meals, as outlined in the following list.
- Calories
- Nutritional Value
- Freeze-Dried Or Dehydrated
- Simplicity
- Weight
- Taste
- Cost
- Fuel Supply
1. Calories
If you are planning a multi-day backpacking trip, your first concern should be ensuring your body will have enough “gas” (read: calories) to get you over the finish line.
On a mellow hike, the average person will burn between 400 and 600 calories per hour. If you’re hiking with a heavy backpack, or at higher elevations, this number increases to around 600-800. If you’re putting in 10-hour days on the trails, that’s a lot of calories in need of replacing! This calculator may give you a better idea of how many calories you will burn on any given hike.
Using these figures, you can estimate how much food you’ll need to carry. Note how many hours you’ll be hiking per day, multiply this by the calories burned per hour, then calculate how much food you’ll need to match the total. When doing so, remember to account for altitude, the weight of your pack, and how much ascent you’ll be doing.
If you’d like to dial in your meal planning a little more, check out our section on ‘How Much Food Should You Take Backpacking?’, below.
2. Nutritional Value
2. Nutritional Value
Many backpackers tend to get too focused on the quantity of the trail food they carry and overlook the importance of quality, i.e. the nutritional value of the fare in question.
The goal should be to fuel your body with the right ratio of protein, carbs, and fats with every snack and meal. This should be roughly 35-50% of calories from carbs, 30-40% of calories from fats, and 15-25% of calories from proteins per serving.
Why so many carbs? Well, if you don’t give your body enough carbohydrates, it will burn muscle protein and stored body fat. This may be helpful short-term if your only goal is to lose weight but not if you aspire to clock up serious miles on the trail day after day.
Trail snacks like dried fruits and nuts provide you with the proteins, healthy fats, and complex carbohydrates your body will need to delay fatigue. For all your meals, try to eat a main dish with chicken, fish, or red meat. If you’re vegan or vegetarian, then seitan, tofu, tempeh, edamame, and lentils are good options.
Don’t overlook sources of key vitamins like fresh fruit and vegetables. Dried fruit and veg will help to a certain extent, but it’s better to get some fresh goodness in the system whenever the opportunity arises, i.e. when passing camp stores or towns.
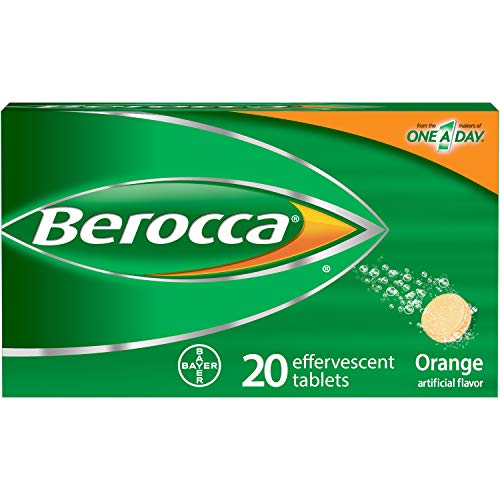
Alternatively, pack a few effervescent vitamin tabs to throw in your water.


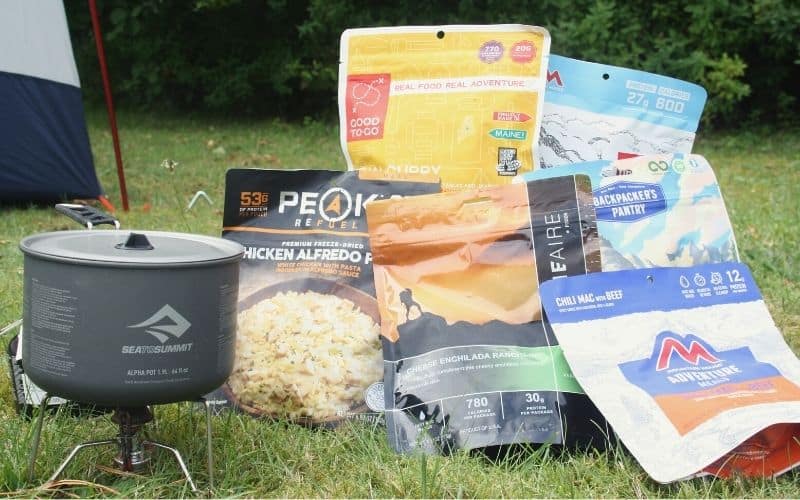
3. Freeze-Dried Or Dehydrated
Dehydrated or freeze-dried backpacking meals can be a huge help in reducing the bulk and weight of your backcountry food supplies. These meals are also easy to prepare – just open the package and add hot water.
To help keep things nutritious, you can also try adding freeze-dried vegetables or even dehydrated vegetables to your dinners or backpacking lunches.
The downside is that these types of products can be expensive. We’ve done the taste tasting for you in our review of the best freeze-dried food for backpackers. Who came out on top? Mountain House, Next Mile Meals, O-meals, Backpacker’s Pantry meals?
4. Simplicity
Simplicity is crucial when preparing your shopping list for the foods you want to take with you on your backpacking trip.
After putting in twenty miles on the trail, will you be happy to slave over your stove for 30, 40, or 60 minutes cooking up an elaborate feast? We didn’t think so. The name of the game here is to plan easy backpacking meals that are simple to make but also deliver on the taste and sustenance front.
The fewer extra ingredients and utensils you need, the better. And the quicker it is to make, the sooner you’ll be able to replenish those lost calories, start recovery, and relax for the evening.
5. Weight
Weight is always a key consideration on backpacking adventures, and the food you carry is one place where savings can be made. Backpack space is prime real estate, so the caloric density of your trail food is important.
Caloric density refers to how many calories any backcountry food packs per ounce of weight, and per cubic inch of volume. High-fat foods like nut butters, nuts, chocolate, olive oil, and trail mix usually have high calorie-per-ounce ratios, while fresh foods like fruit, veg, and bread have less favorable ratios.
To minimize bulk and reduce pack weight, we recommend repackaging all items in a food bag and customizing your own, DIY backpacking meals or creating DIY dehydrated meals instead of relying on store-bought meals. You can also find items such as peanut butter in individual packets, making them more compact than a heavy, bulky jar.
If making your own meals, use resealable baggies. In your local grocery store, you’ll also find proteins like ham, tuna, salmon, and chicken in vacuum-sealed pouches that will save weight and bulk.
6. Taste
The taste of your backpacking meals is way more important than you think. Just because your food has to meet so many criteria doesn’t mean you have to throw personal food preferences out the window. Doing so would largely undermine the purpose of your backpacking trips – i.e., having fun – so we recommend tailoring your meals and treats to make them more enjoyable.
7. Cost
The cost of your backpacking meals can quickly add up if you’re not careful, so it’s wise to budget before making a meal plan. This is especially true if you are posting to food drops on a thru-hike.
Skip prepackaged meals and put together your own adventure meals at home. You can customize your own meals and snacks using freeze-dried food, other dehydrated ingredients, nuts, seeds, and dried fruit for a few bucks less per meal.
8. Fuel Supply
Once you have gathered all of your backpacking food and nutritional supplies, you need to calculate how much fuel you will need to cook it all. Check the cooking time for each one and use the total to gauge how much fuel you will need. Just remember to factor in the fuel you’ll use for that morning coffee!
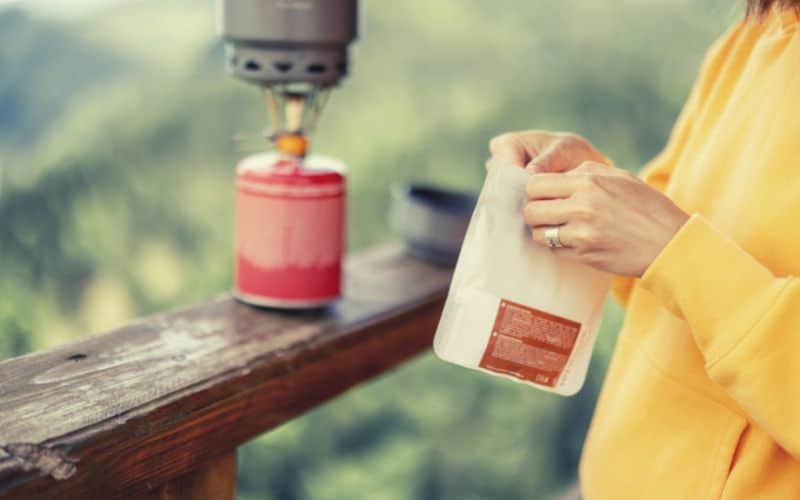
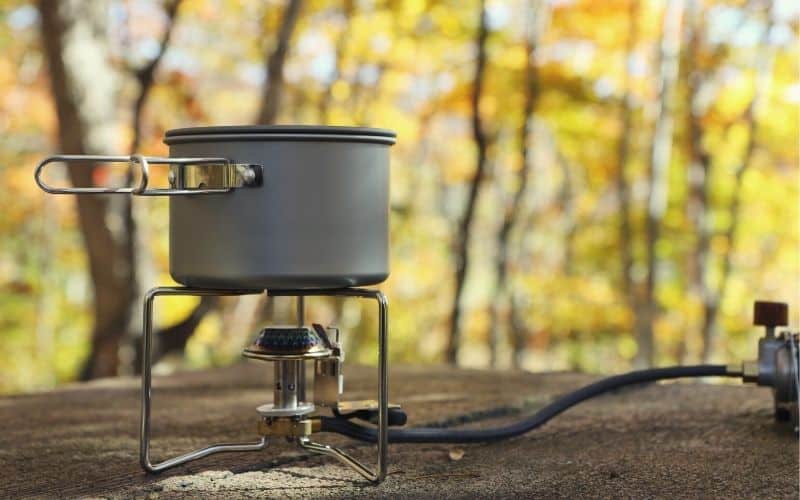
How To Cook Easy Backpacking Meals?
When it comes to cooking on backpacking trips the most important decision to make is which type of stove to use.
Backpacking stoves are primarily categorized by the type of fuel they use. The three main categories are listed below.
- Canister Stoves
- Alternative-Fuel Stoves
- Liquid Fuel Stoves
FURTHER READING: Check out our guide to the best backpacking stoves!
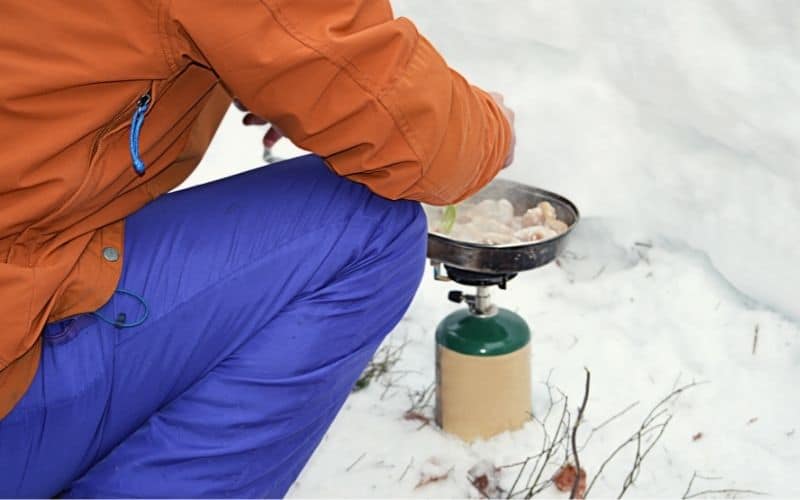
1. Canister Stoves
Canister stoves are the easiest backpacking stove to cook your meals with. They are lightweight and don’t take up much space in your pack. Canister stoves that are equipped with pressure regulators are ideal for high elevations and cold weather.
The downside is that canister stove fuels are more expensive compared to the other types available. An additional drawback is that the arms are often too small to support larger cooking pots.
2. Alternative-Fuel Stoves
Alternative-fuel stoves can cook your backpacking meals burning biomass, solid fuel tablets (e.g., ESBIT tablets), or denatured alcohol.
Alternative fuels can help save weight as they require small amounts of fuel. Stove sizes vary: solid-fuel tablet stoves are also small enough when folded to stash in your pocket, whereas wood-burning stoves are typically heavier and bulkier than other stove types.
3. Liquid Fuel Stoves
Liquid fuel stoves provide you with a cheaper cooking alternative than canister stoves due to the lower cost of their fuel source – white gas.
These stoves work well in freezing, and below-freezing environments and some models can run on kerosene, diesel, or gasoline.
One of the drawbacks to liquid fuel stoves is that they require maintenance and need to be primed before use. They also are heavier than most canister stoves.
How To Pack And Store Backpacking Food On The Trail?
Packing and storing your backpacking food properly is vital. Let’s take a look at some planning tips and ideas in the following list that can help you take care of pre-trip prep more efficiently.
- Pre-Package Your Meals
- Pack Daily Meals Together
- Critter Proof Your Food
- Use Premade Meals
1. Pre-Package Your Meals
If your backpacking meals are not already packed in individual packages, divide them up and use a vacuum sealer to ensure the food won’t spoil. Once packaged, mark each bag with what is inside, the date you sealed it, and, if need be, instructions on how to prepare it.
You don’t need to vacuum seal your food if you are only going to be on the trail for 5 days or less – freezing it will suffice. However, you should consider a vacuum sealer if you plan on being on the trail for any longer.


2. Pack Daily Meals Together
Keep each day’s worth of meals in separate bags labeled with each day. By packing your breakfast, lunch, dinner, and snacks together for each day, you will reduce the risk of selling yourself short by mistakenly eating into a future day’s supplies. Refer to our calorie counting strategy above to help figure out what to pack for each day.
3. Critter-Proof Your Food
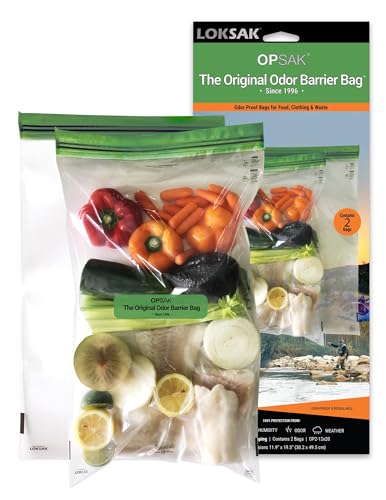
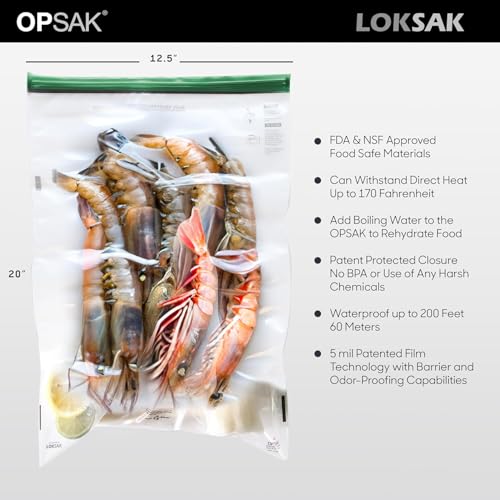
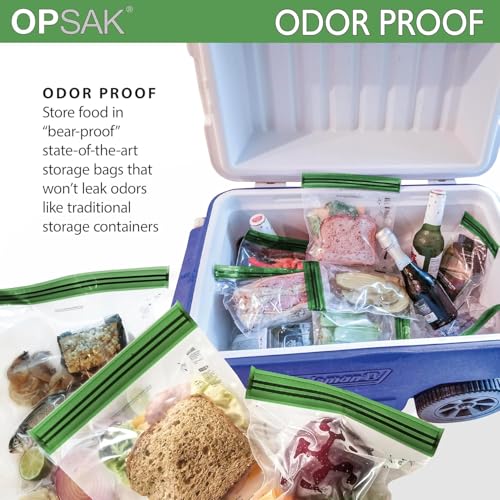
Pack your bags of food in Opsacks or Ursacks. This will help to prevent mice, raccoons, or other rodents from finding their way into your food supply. It will also help to prevent bears from smelling your food and deciding to pay you a visit.


4. Use Premade Meals
Consider using prepackaged, already-made meals to reduce storage space in your pack and ensure your food will not spoil. Although expensive, they’re a great addition to the final days of your backpacking meal plan because they’re ultralight and won’t go bad.
Here are some more resources you can use for tips and ideas on making your meals varied, less bulky, and lighter in weight.
Ready To Set Off With The Best Backpacking Food?
In this guide, we have attempted to shed light on the types of food you should be carrying on backpacking trips, how much of them to carry, how to cook them, and how to plan and prepare your meals. If, however, you have any ‘beta’ we haven’t included, we’d love to hear from you. Use the comments box below and drop us a line!
Have any friends who are taking to the trail on a thru-hike? If so, feel free to share this post with them on social media to spread the love!
Save for later!!! ⤵️

Love this. If anyone wants to explore more in relation to this – look no further than @embersnacks.com
A really comprehensive list of information. An excellent resource.