Spending a few nights in the wild is one of life’s greatest pleasures. We escape the noise and madness of the city, switch off from the hassles of work, immerse ourselves in all the glories of nature, and enjoy the kind of good time that makes us wonder why the hell we don’t do it more often…
…if, that is, we go about things in the right way.
One of the factors most conducive to a successful camping trip—whether out in the wild or at an established site—is how well we set up our slumber spot upon arrival.
But setting up a campsite in a way that will maximize our chances of a pleasant overnight stay isn’t as simple as many are apt to think. The number of ways in which to make your overnighter in the wild suboptimal or downright disastrous on account of set-up slip-ups runs into the dozens.
As such, both old-hands and newcomers to camping alike can benefit significantly from having a simple, systematic set-up ticklist at hand when heading into the wilds. To that end, we’ve made one all of our own, highlighting a handful of must-know nuggets of knowledge that will help you steer clear of the pitfalls and set up your backcountry bolthole like a pro.
Save for later!!! ⤵️
Table of Contents
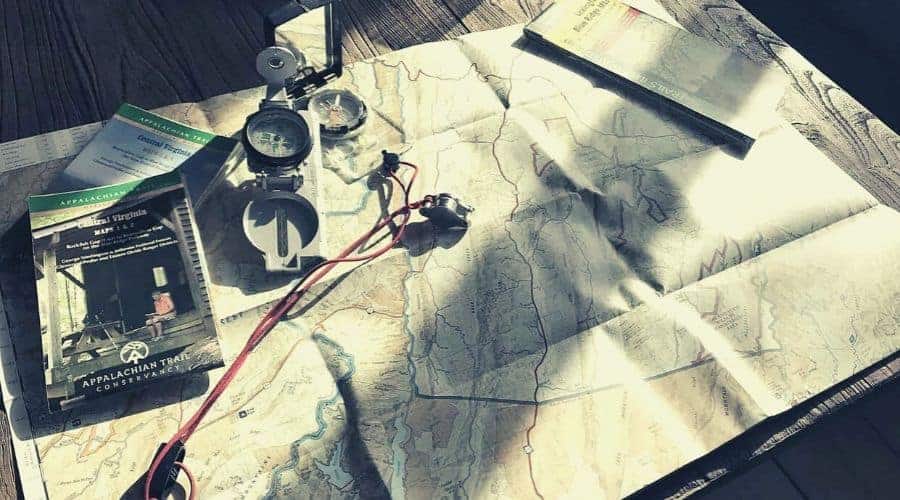
Do your pre-trip research
Before setting off on your camping trip, it’s well worth doing a little internet or map-based recon on your proposed camping sites to get the lay of the land. Doing so will not only give you a little peace of mind, settling any pre-trip doubts concerning what you’re getting yourself into but also help you avoid any nasty surprises when you stagger into that camping spot at the end of a hard day’s hiking.
Some of those unexpected party poopers might include trail closures, a lack of reliable water sources, overcrowding, permit requirements, seasonally unfordable rivers, and—if you happen to be choosing your camping spot on a map—the lack of any suitably flat or stable terrain to pitch your tent on.
In the case of this last example, try to get your hands on the most detailed map available and, if you have a specific location in mind, check the contours or elevation figures to ensure the aspect of the slope isn’t going to be too steep for a comfortable night’s sleep.
Choose your location wisely
The process of selecting where you do your camping comes in two stages: a ballpark area estimation before you set off and a more precise one once out in the field.
Firstly, before setting off carefully check mileages and the overall ascent your hike or approach to your camping spot requires to make sure you aren’t overstretching yourself and either a) Busting a gut to reach a camping spot that’s far harder to reach than you expected, b) Not reaching that proposed camping spot at all and having to improvise a campsite somewhere less than optimal.
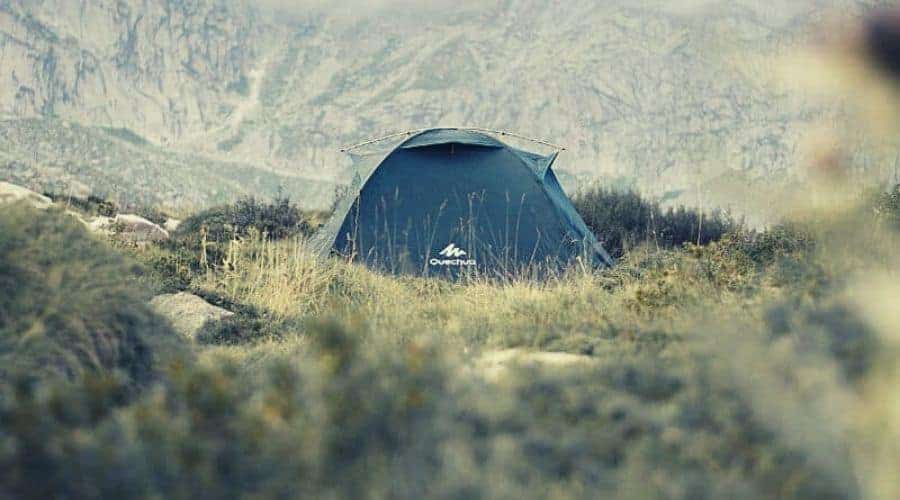
Secondly, at the end of your day’s walking take care to pick a spot for your tent that’s suitably safe, sheltered, and that makes the most of any desirable features in the terrain while also avoiding the unfavorable kind.
This means one that’s on relatively flat ground, reasonably dry, near a water source (but not too near to any that might overflow), mainly free of any rocks that might rip your tent, puncture your mattress, and/or prod various parts of your person during the night, and ideally not exposed to the wind* or at the foot of a slope that might act as a conveyor for rainfall should the skies open while you sleep and turn your formerly prime patch of real estate into a minor swamp.
*If you happen to be doing your camping in midge territory, ignore this piece of advice and take all the wind you can get!
Make use of natural features When Setting Up Your Campsite
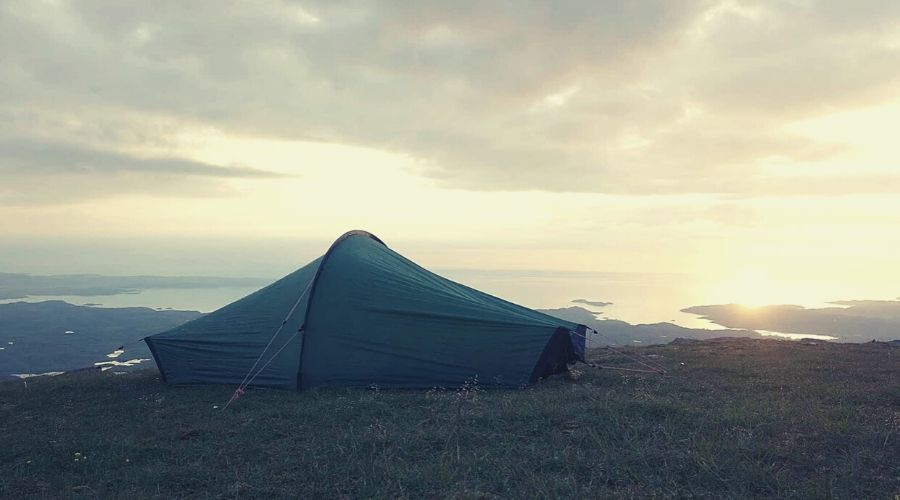
A few natural features can provide a huge helping hand in making your night in the tent all the more comfortable. The most notable of these are features that provide shelter from the elements, such as scrub, hillocks, hollows, boulders, or trees. By pitching your tent in, under, on in the lee of these features, they can serve as natural windbreaks and minimize the impact of any liquids that wind might be carrying should it start blowing sideways.
One often-overlooked natural feature that merits inclusion on any list of potential campsite blessings is the sun. If camping in cooler temps you can avoid having to suffer the full brunt of chilly mornings by pitching your tent in a location where it will receive the big yella fella’s morning rays, i.e., facing east and above any dips in the terrain.
Anticipate problems
One of the great things about camping in the wild is that it removes us from our safe, sterile, deodorized, air-conditioned, and ultimately predictable lives back home. This, however, can also cause a few problems.
Naturally…!
We might arrive at our campsite of an evening in beautiful conditions, with the sun setting in clear skies above, dry conditions underfoot, not a cloud in sight, and no more than a gentle breeze blowing over our custom-made pitch point. But fast forward three hours and things could be looking decidedly different, with biblical downpours, squalling winds, and temps freshly imported from the Arctic all contributing to a sharp downturn in the evening’s outlook.
If our decades of camping in wild places around the world have taught us anything, it’s this: skies are not to be trusted. Nor forecasts. Nor does that over-optimistic, kooky camping buddy who promises us his sighting of a northbound chaffinch that morning ensure the blessing of the weather gods.
The take-home? No matter how favorable and benign the conditions may be when you arrive at your camping spot, don’t be tempted to take a lax or half-hearted approach to setup. This means staking out your tent as if you expect a small hurricane to blow through during the night, stashing your gear safely inside your tent or porch, and using the rainfly or at least having it ready to throw on in a hurry.
In short, hope for the best but prepare for the worst.
Avoid objective hazards
Camping in the wild can expose us to a great many potential objective hazards. That’s the bad news. The good news is that most of these hazards are easily avoidable or can be minimized with a little bit of know-how. Some of the biggies that we should be aware of when setting up at camp include the following (with tips for how to minimize risk):
Avalanche
Be sure to pitch your tent well clear of the run-out path of any snow-laden slopes.
Branches
Trees can make excellent windbreaks, but old, heavy, rotten branches also make great anvils if caused to fall off by high winds, rain or snowfall. Before pitching your tent under any trees, be sure to inspect the canopy above to determine whether or not there are branches liable to make an impromptu landing on your camp while you’re catching your kip.
Flood
The sound of running water is a delight right up until that point where it’s no longer a gentle trickle from a safe distance but more of a roar. Rivers overflow. Puddles become ponds. Slot canyons and dry washes become death traps. When pitching your tent, be sure to do so at a safe distance from any potential flood site to avoid a rude (and/or deadly) awakening, ideally 3/4 feet above the water level of rivers, above marshy dips in the terrain, and never in any narrow ravine, canyon, or flood-prone gully.
Rockfall
Pitching your tent in the shadow of a cliff or crag might seem like a great way to bolster your tent’s defenses against the elements, but every tent we’ve ever met has been far more adept at fending off H20 and wind than airborne granite, schist, gneiss, etc.
While the foolhardy mountain-goer is likely to claim that the mountain or cliff has stood for a reasonably long time and is expected to continue to do so, the most modestly informed geologist will rightly point out that at the beginning of that time said mountain was considerably more substantial, and the pounds (or tonnes rather) it has shed in the meantime are all those rocks, boulders, and slabs now decorating the immediate surroundings of your proposed campsite.
(If that doesn’t convince you to park your tent well clear of the foot of any cliff, be sure to check out those Youtube videos of wildlife and humans casually sending down hillsides pebbles that are more like torpedoes by the time they finally land.)
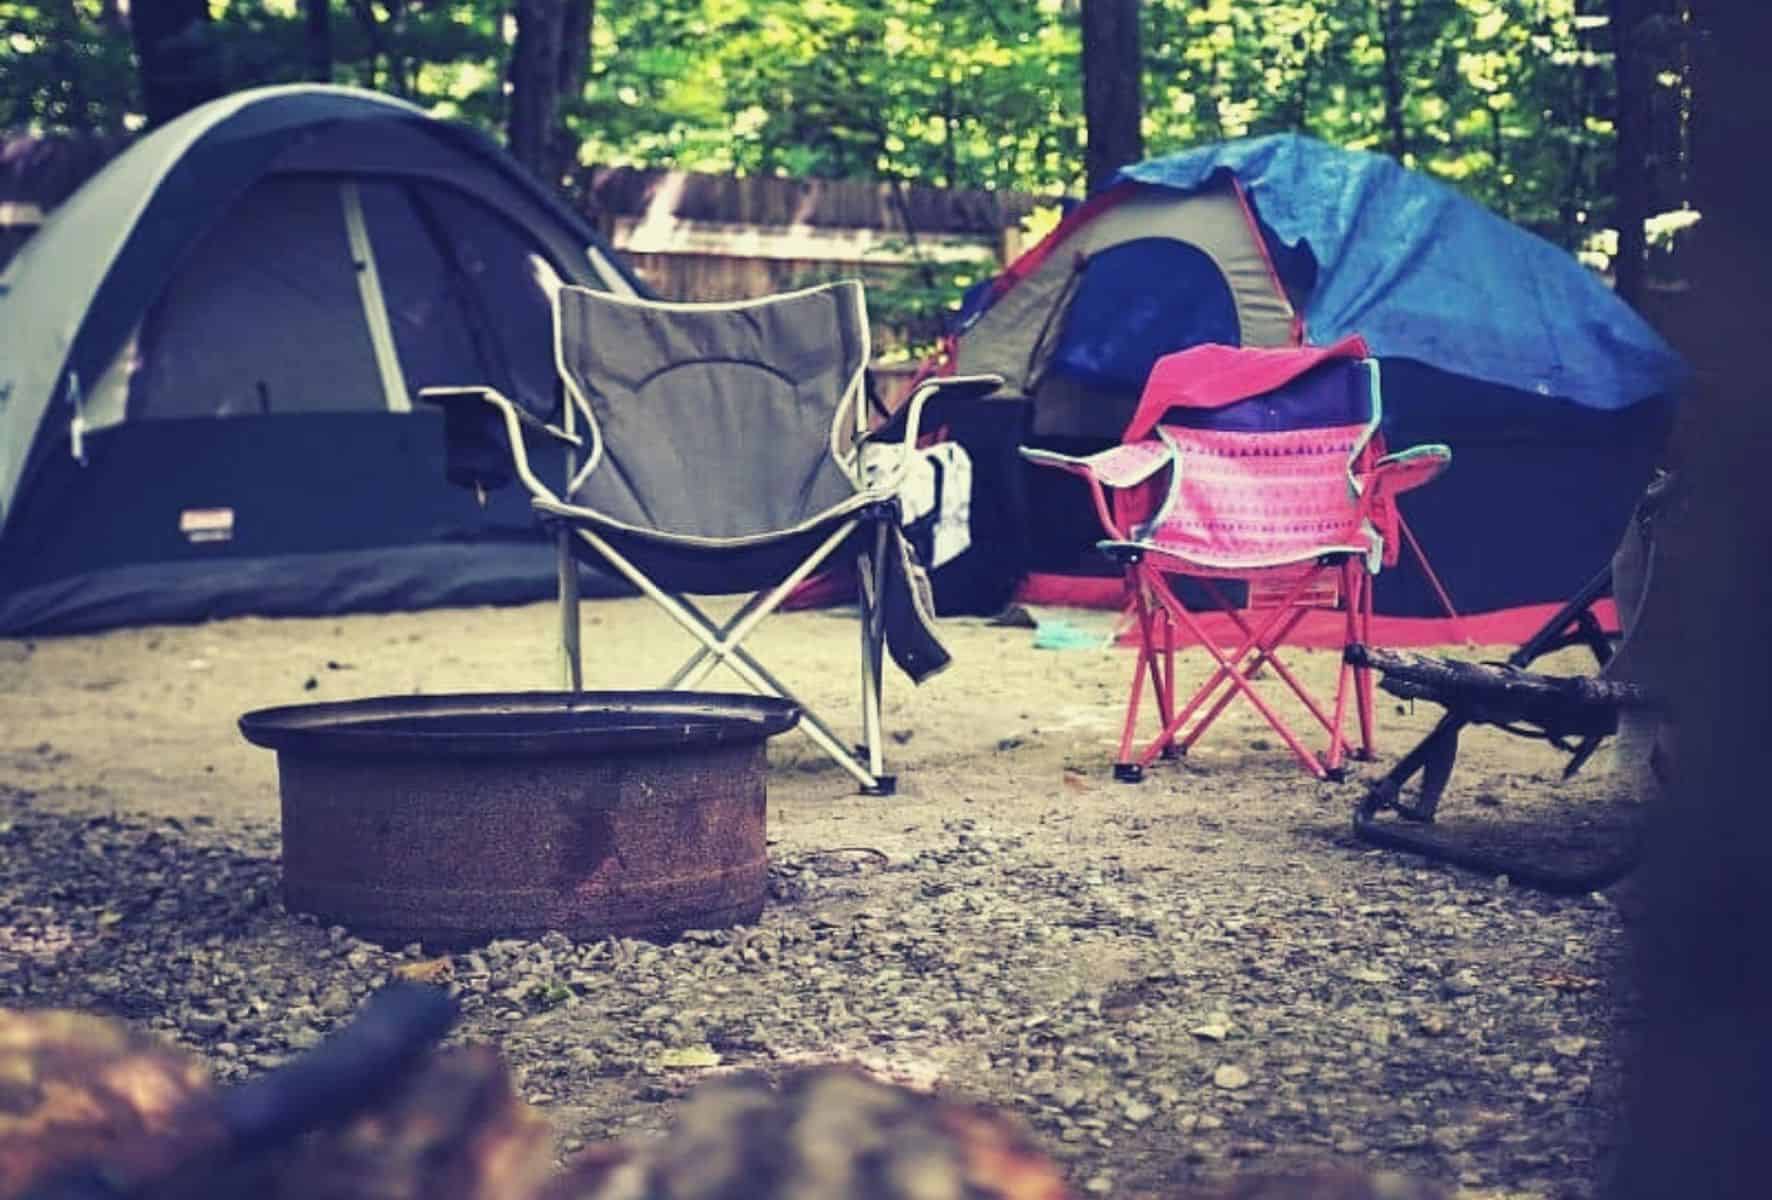
Optimize comfort
A few simple tricks of the trade can go a long way towards making your tent and camping spot of the five rather than one-star variety as regards comfort:
- Lay any unused clothes on the floor of your tent to provide a carpet, of sorts that will protect your knees, elbows, hips, and backside while moving around inside your tent
- Bring all your gear inside your tent with you if camping in cool conditions—this improves thermal efficiency by limiting the amount of space you’ll need to heat up with your body heat
- Position your sleeping bag, so your head is on the high side of any slope, no matter how slight, to avoid blood rushing to your dome and causing headaches and/or sleeplessness
- Use your emergency bivvy bag as flooring for your porch area to keep your feet and knees dry when entering and exiting the tent, or…
- Fix it to the side of your tent to block out the sun if temps are particularly toasty
- Lay rocks on the material at the base of your tent to avoid any noisy flapping if the wind gets up
- Aim the door of your tent towards the wind if temps are high and you anticipate ventilation problems
Food matters: storage and safety
Exactly how careful you have to be with your grub when camping depends largely on where in the world you’re doing your camping. If you happen to be in bear country, then sticking to area regulations and making sure your edibles (and drinkables) are safely stored is, as you might imagine, kind of a big deal.
When traveling in bear country, be sure to follow any park regulations regarding food storage, using bear containers where available and securing your food, garbage, and other scented items as soon as you arrive at your campsite. If bear-proof boxes are not available, hang your edibles and other scented items (see below) in a tree at least 100 feet/30 meters from your campsite. If bringing your own box, store it the same distance from your camp and place (clean!) pots and pans on top of your container to act as a bear alarm.

Also bear in mind (no pun intended!) that bears are very unfussy eaters and can be attracted by a variety of scents, meaning it’s a wise policy to keep other scented items like soap, cosmetics, toiletries, and trash in canisters or tree-stowed containers too. Finally, never be tempted to store any food in your backpack overnight (a dose of the midnight munchies is all the more painful when you’re on the receiving end!) and wash all dishes as soon as you’ve finished eating.
If camping in bear-free territory, food storage is still essential for a number of reasons, most notably to avoid any smaller critters (ants, mice, raccoons, pine martens) getting their mitts on your munchies while you sleep and to ensure your food remains edible for as long as you need it to stay edible.
Some measures you can take towards this end include storing your food in zip-lock bags, choosing a cool, dry spot for storage, stowing food and trash in plastic bags to eliminate crumbs and messes, using an insulated cooler like this handy little dry bag from Tourit to keep your food fresher for longer, and putting perishables in a dry in a stream (under a few rocks to make sure they stay put!) to keep them cool.
Fire!
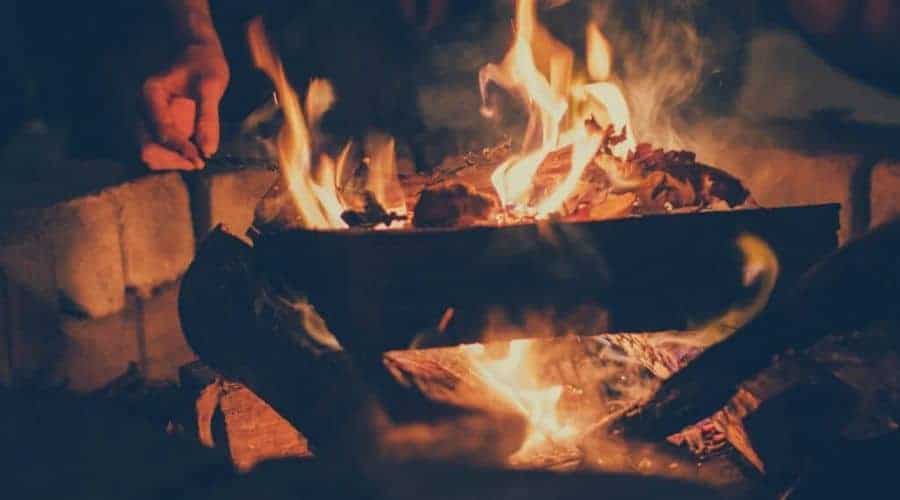
Nothing quite beats a good campfire. We kick back at the end of a long day, turn the soles of our wearied feet to the flames, cook our dinner, toast our marshmallows, and brew our pre-bedtime beverage of choice. It’s one of life’s most underrated pleasures.
Until it isn’t.
The sheer destruction that a wildfire is capable of causing needs no introduction here: we’ve all seen the pictures or TV reports of denuded hillsides, ravaged homes, and the mass exodus of displaced residents.
Camping kit is particularly flammable: all those lightweight synthetics are second only to all those trees, twigs, and brushy bushes that might be in our vicinity as ideal fodder for hungry flames. The potential to make a bit of a bonfire of our tent, campsite, and general surroundings, then, is reasonably high.
But that doesn’t mean we have to go fire-free—at least that is, if area authorities don’t prohibit it. We need to exercise a little caution and avoid any Darwin-Award worthy mistakes.
Here’s how that’s done:
When setting up camp, position your fire downwind of your tent and far enough away that any sparks won’t reach it and build a surround for your fire to limit the risk of sparks or spreading, using only loose rocks that aren’t harboring any micro-ecosystem (mosses, lichens, etc.). While cooking, close the doors on your tent to prevent fumes being blown inside and, when finished, be sure to put the fire out entirely and stow your cooking kit outside the tent (not in the porch or vestibule).
As a final word of warning, when using a portable stove, never be tempted to do your cooking inside the tent as this can lead to carbon monoxide poisoning.
Toilet matters: answer nature’s calls conscientiously
Whether you’re wild camping deep in the backcountry or at a designated campground in a national park or on an established long-distance trail, where you “take care of business,” so to speak, is a matter of high importance to both your fellow campers and the surrounding habitat and its non-human inhabitants.
When you arrive at camp, set up a designated pee and poo place that’s at least 200 feet from any water source and established campsites, the best way to do so is to dig a cathole – if, that is, you’re not required to carry out human waste by park or trail regulations.
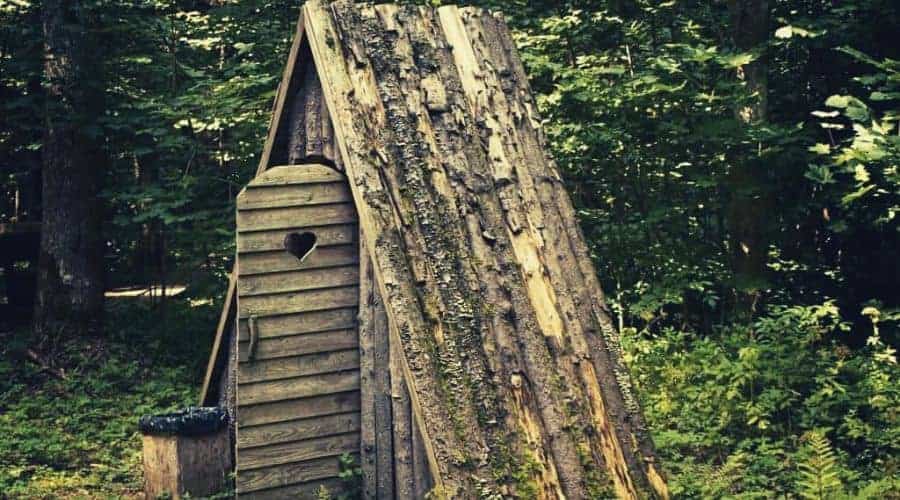
Your cathole should measure 6 to 8 inches deep and be as wide as your aim or lack of aim requires (!), and it’s wise to clear the area around your cathole (removing grass, sticks, and twigs) to avoid things getting messy in the case of any stray shooting. For female campers, the highly portable Sheewee is a convenient toilet-time accessory.
It’s also a good idea to bring along a few doggie poo bags (especially if required to carry out waste) for sanitary pads, or larger volumes of toilet used toiled paper and to store these in you pooing place until departure. Before making that departure, be sure to bury the evidence of the good time had by filling in your cathole and scattering a little earth or loose foliage over your “burial mound.”
Happy camping, people!
Save for later!!! ⤵️