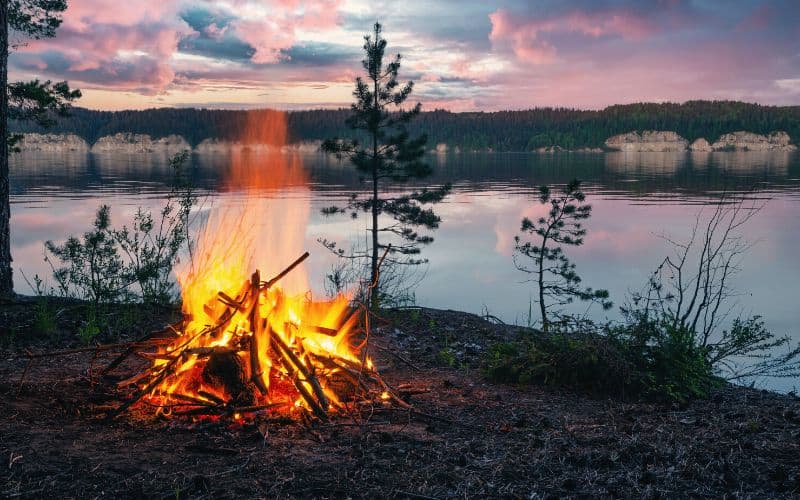
Have you ever been out camping or hiking and realized you left your lighter at home? Don’t worry – it’s possible to get a fire going without using one!
In this post, we’ll take a look at some tips and tricks for lighting a fire the old-fashioned way when all you have is dry wood, tinder, and a little bit of ingenuity.
Not only will knowing how to do this help keep you warm on night hikes or chilly campsites; but it can also add an extra layer of preparedness in case of emergency situations.
We have not 1, not 2, but 11 alternative methods to get that campfire roaring. So let’s get started!
Table of Contents
A Word or Two on Wood and Kindling
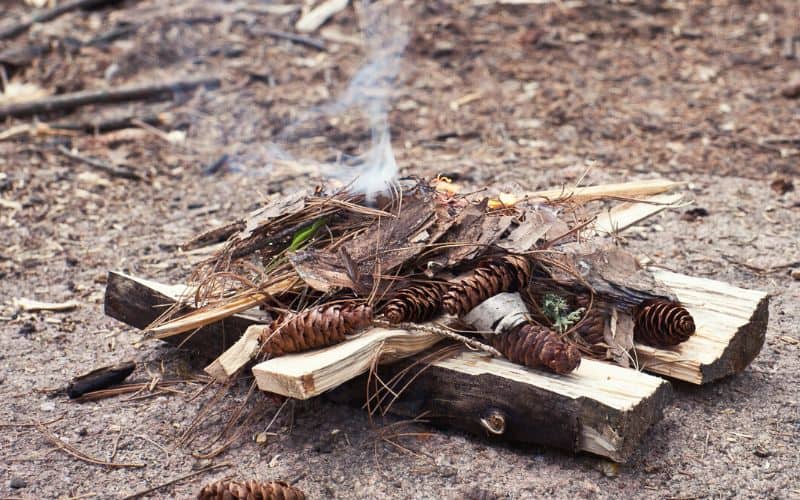
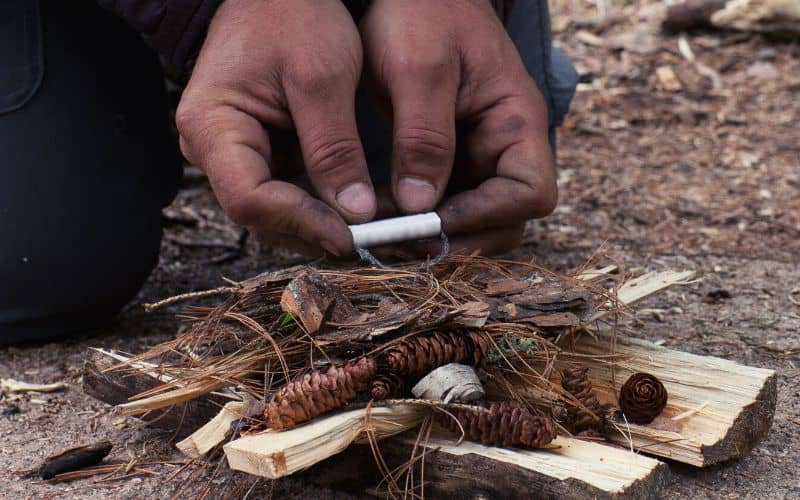
To use any of the fire-building methods described below, you’ll need two things: dry wood and good, dry tinder.
The ideal woods for making a camping fire are softwoods like cottonwood, juniper, aspen, willow, cedar, or cypress, particularly if the method you’re using requires you to create friction between the two pieces of wood. Such methods include the bow method, the hand drill method, and the plow method. Needless to say, green or wet wood won’t work, so make sure you source the dry stuff.
Where to find dry wood? Either bring it with you or take it from windfall or a standing dead tree.
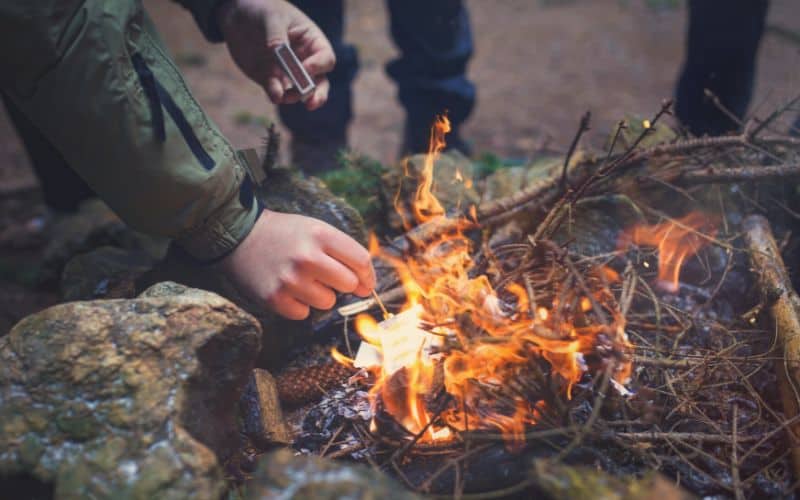
As for tinder, we recommend bringing along cotton balls (soaked in petroleum jelly, if possible!), a few sheets of newspaper, char cloth, or a tinder kit from the store. If not, you can use natural materials like dead leaves, twigs, dry grass, pine straw, or cedar or birch bark. Make sure you have enough of this to create a stable flame that will burn the kindling in your fire pit.
If you’re struggling, you can always add a little of the rubbing alcohol from your first aid kit to hurry things along!
How to Start a Fire Without a Lighter: 11 Methods
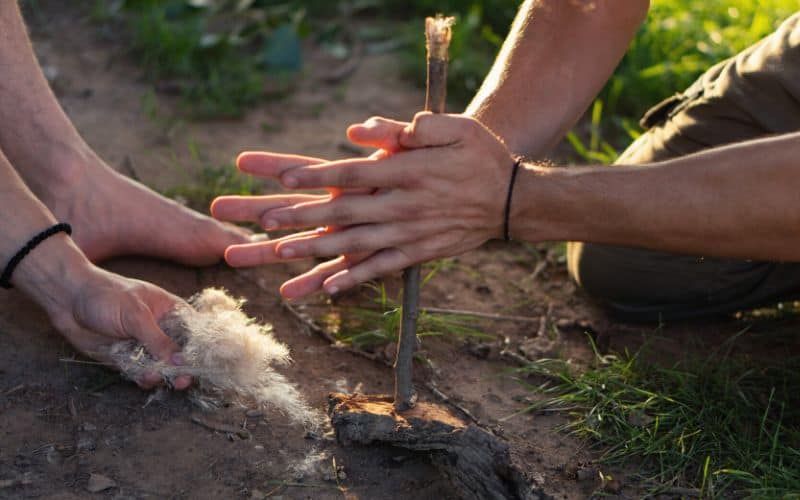
1. The Hand Drill
Like the fire plow and other friction methods, the hand drill requires creating friction between two pieces of wood. In this case, however, you’ll be rubbing a wooden “drill” back and forth between the palms of your hands.
Start by sourcing a flat fireboard (as above) and carving a small notch into the middle. Surround this with dry tinder. Next, find a straight stick roughly 1 inch thick and 8 inches long, and trim the tip so that it fits into the notch on your fireboard.
Now, place the “drill” in the notch and begin rubbing it between the palms of your hands. After a few minutes, you should start seeing a little smoke. After a few more minutes (forearm strength needed!), you should have a burning coal from which you can light your tinder.
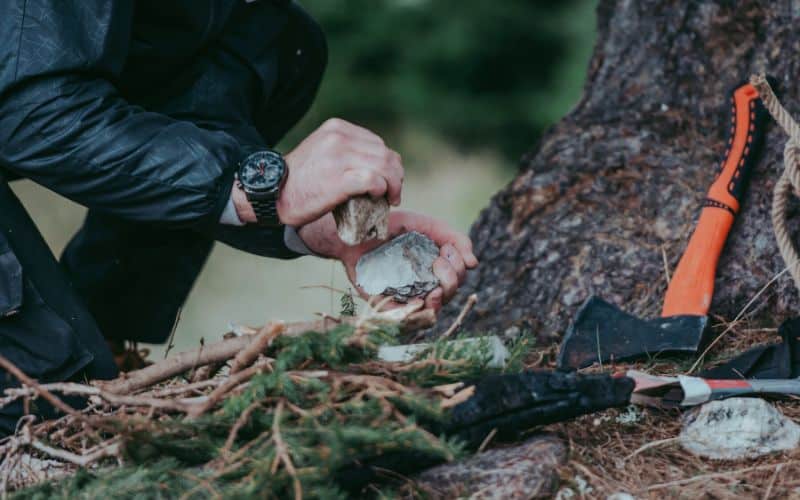
2. Rocks
Flint rocks with a high silica content are great for starting a fire if you’re in a bind. These types of rocks include quartz, agate, chert, obsidian, and jasper. Although, identifying these rocks can be tricky. Without a field guide, we recommend hunting down any rocks with a hard feel and glass-like appearance and doing a little trial and error to see which ones will produce sparks.
Once you’ve gathered your rocks, get your tinder and kindling ready in a fire pit. Next, strike one rock against the other with a glancing blow. This should create sparks. The trick is getting those sparks to land on your tinder!
3. Flint and Steel Method
For this variation of the rock method, you’ll need a flint rock and carbon steel knife. Strike the back of the knife blade against the surface of the rock and sparks should fly!
Start by placing a small cluster of tinder on top of your flint. You can either hold it in place with your thumb or in the palm of your hand if the rock is small enough. With the other hand, strike the rock with the back of your knife with a downward, glancing blow. This should create sparks that will light your tinder.
When your tinder starts to smolder, transfer it to a larger nest of tinder and blow on it gently until you see flames, then add your kindling and let there be fire!
4. The Fire Plough (Aka “Fire Plow”)
For this method, you’ll need a fireboard and a “plow”.
Your fireboard should be a flat piece of wood (cedar, hibiscus, sotol, and juniper work well). Using your camping knife, cut a 6-inch, V-shaped notch or groove in the middle of one side of the board.
Your plow should be a sturdy piece of wood (around 2–2.5 inches wide) and 10 to 12 inches long. With your camping knife, whittle the end of this so that the head fits into the groove in your board.
With your tinder close to hand, start rubbing your plow in the groove. You should be holding the plow at a 45-degree angle. Eventually (depending on how fast you go), a burning coal or ember will form in the groove. When it does, move fast and tip it from the board onto your tinder, then gently blow on the tinder until you see it catching fire.
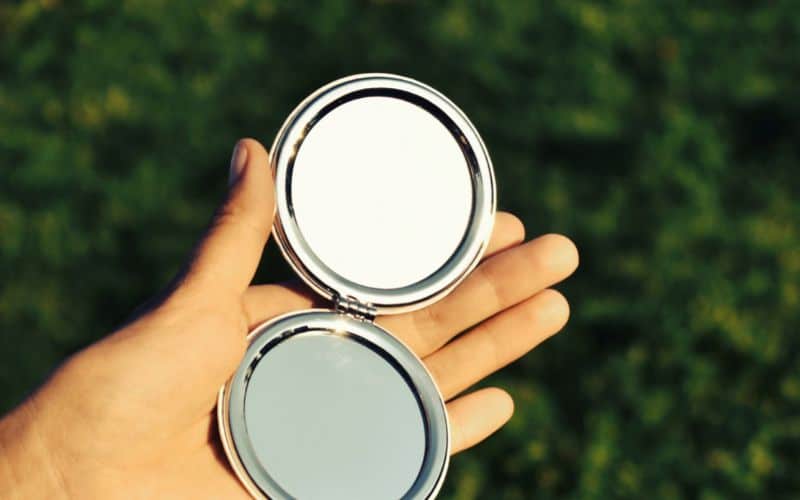
5. Mirror
If you have a mirror on your compass or in your toiletry bag, let the fire-making begin!
Using a mirror to start a fire is easy, but it will only work if you have plenty of sunlight. This being so, it’s best to bring a backup method in case you’re thwarted by cloudy skies.
To use this method, start by creating a healthy nest of tinder. Hold your mirror a few inches above and to the side of the tinder and adjust the mirror’s angle until the reflection of the sun’s beam is on your tinder. Keep your hand steady so the beam is focused on the same spot, and wait ‘til you see smoke!
6. Glass
As with the mirror method, this fire-starting method entails harnessing the power of the sun to create fire without matches or a lighter.
What type of glass works? As long as it’s clear, you can take your pick. Eyeglasses, beer bottles, shards of glass, or a glass lens from your old pair of glasses (easy to pack!) will all do the trick. If you have a magnifying glass on your compass, all the better!
Use your chosen form of glass to focus sunlight on your tinder, angling it towards the sun to intensify the beam on the smallest area possible. You can further intensify the beam by adding a few drops of water to the glass – just take care not to thwart your fire-building attempts by spilling it on your tinder!

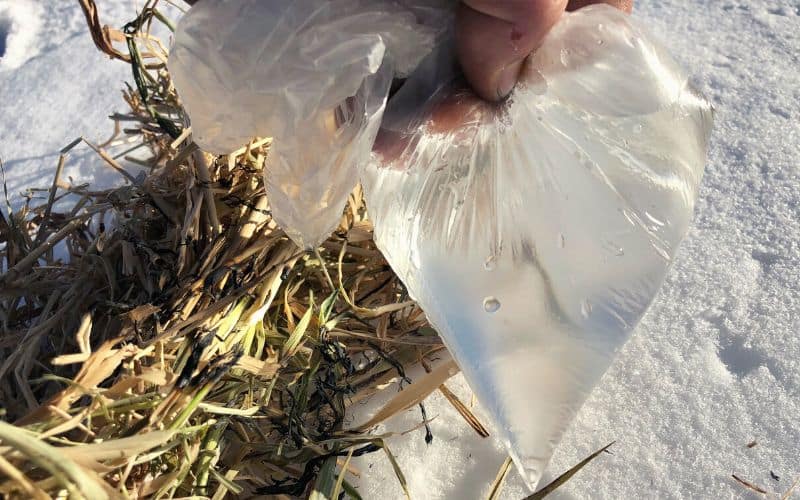
7. Ice Lens
You can create fire with ice? You betcha! All it takes is a large chunk of ice, strong sunshine, a good tinder nest, and a little bit of patience.
Start by finding a piece of clear ice. Put on a pair of gloves and shape this into a lens. As with the magnifying glass method, hold the ice steadily so that it focuses a beam of sunlight on your tinder, taking care not to let it drip.
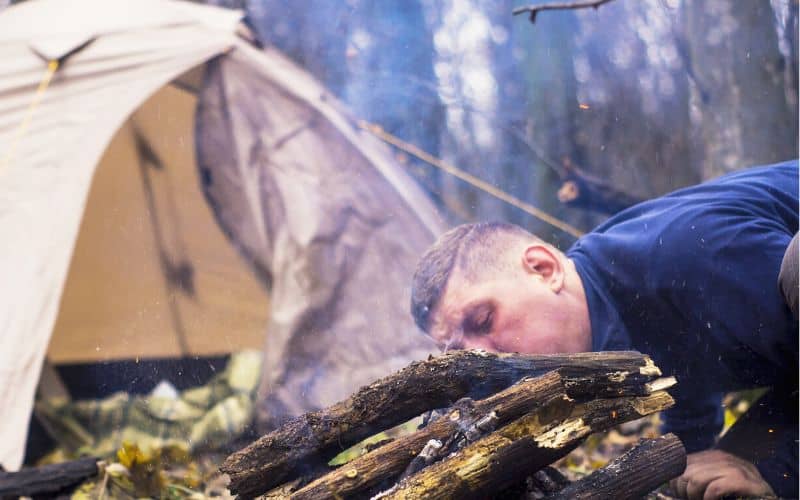
Continue holding the ice steadily, focusing the beam on the same spot, until your tinder starts to smoke and eventually ignites. Gently blow on the tinder until you see a few flames rising, then add increasingly larger twigs and sticks when you have a more stable flame.

8. Water Bottle or Sandwich Bag
Another way to harness the power of the sun is to use a water bottle or sandwich bag filled with water to focus a beam on your tinder. Of the two, the sandwich bag is the most effective.
Start by filling a clear sandwich bag with water. Next, squeeze the bag so it forms a teardrop or spherical shape. This gives you two curved sides, both of which will direct a more focused and intense beam.
Ever noticed how a glass or bag filled with water acts like a magnifying glass? Well, this is essentially what you’ve created with your bag or bottle. As above, watch for drips, hold the bag steady over your tinder, and wait for it to ignite a fire.
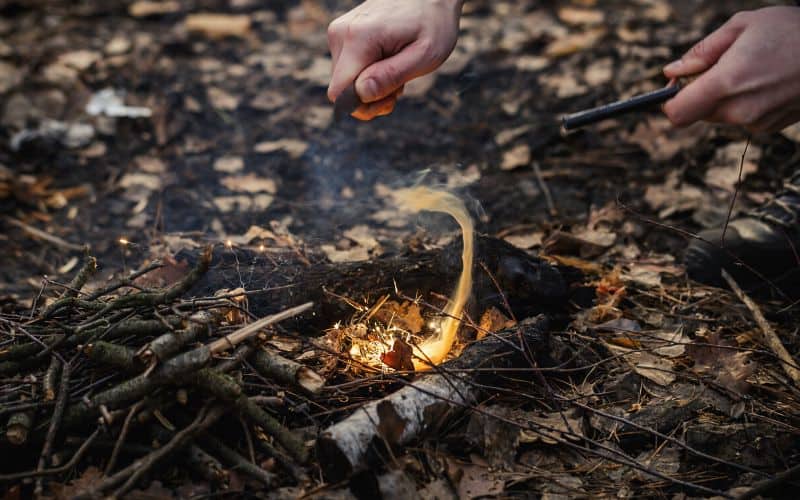
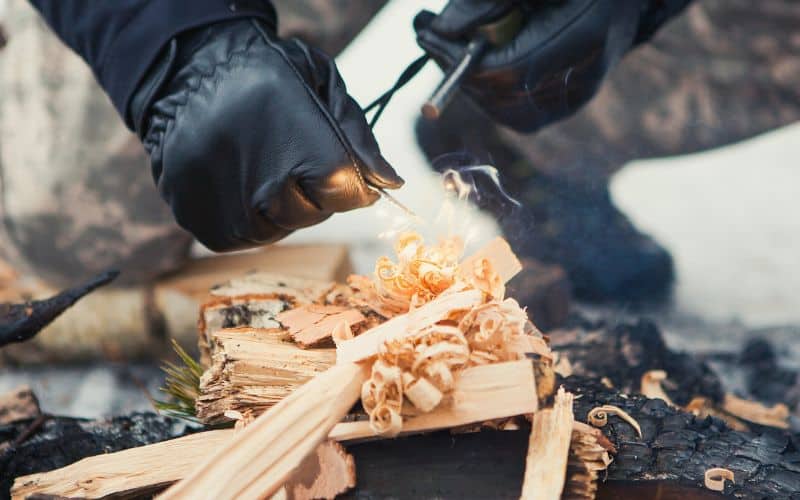
9. Ferro Rod
A ferro rod (aka “firesteel”) is a magnesium-coated rod that comes with a metal scraper. Scraping the two together produces sparks – enough of them to make lighting your dry tinder an absolute cinch. The sparks produced by ferro rods are also significantly hotter than those produced by flint, so this is by far the most effective method of the two.
Here’s how to light your fire with a ferro rod:
Place the rod directly into the middle of your nest of tinder. Using the scraper or the back of the blade of your camping knife, scrape down the shaft of the rod at a 30-degree angle. From the very first scrape, sparks should fly, but keep going until you see your tinder smolder. When it does, blow on it gently until you have flames.
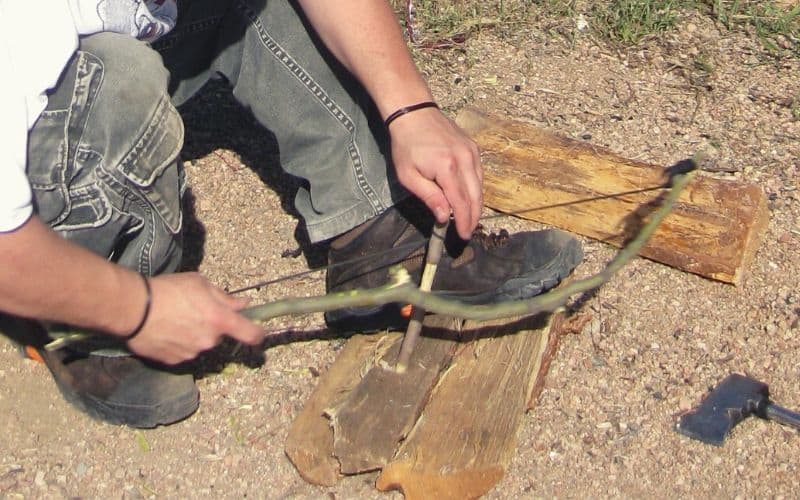
10. Fire Bow Drill
This method is essentially a more elaborate version of the hand-drill method described above. Instead of using your hands to power your “drill”, however, with this one you’ll be creating a spindle that does some of the work for you.
While more effective than the hand drill method, the bow method requires a little more effort to source and create your fire-starting tools.
To get started, find a piece of wood with a slight curve and a decent amount of flex – this will be your “bow”. For your bow string, you can use virtually any string or accessory cord.
Next, you’ll need a fireboard. Ideally, this should be a flat length of wood measuring 3 by 6 inches or larger. The best woods are softwoods like cedar, hibiscus, sotol, and juniper.
These woods should also be used for your “top piece”, which should ideally fit in the palm of your hand. You can also use a shell or egg cup – anything that will hold your spindle in place while you’re working the bow.
Finally, the spindle. This should be a length of rounded softwood measuring 8-10 inches long and 0.75 inches to an inch in diameter.
Now that you have your supplies, it’s time to turn them into tools.
Start by carving a small notch in the middle of the fireboard. This is where you’ll place the tip of your spindle, so make sure it’s of a similar size. Beside this notch, carve a small funnel in the wood – this will collect the tiny coal embers formed when you are drilling. Next, carve a hole of a similar size in the middle of your top piece.
To attach the string to your bow, cut a small notch into the tip of each end of the bow, and then tie a knot in each end of the string and place the string into the notches. The knots will hold the string in place. Your bowstring should be taut, but not so tight that you can’t wrap it around your spindle.
Finally, whittle both ends of the spindle into blunt points that fit inside the holes or notches carved into your fireboard and top piece.
Still with us? Just checking!
With all that taken care of, it’s time to start your fire!
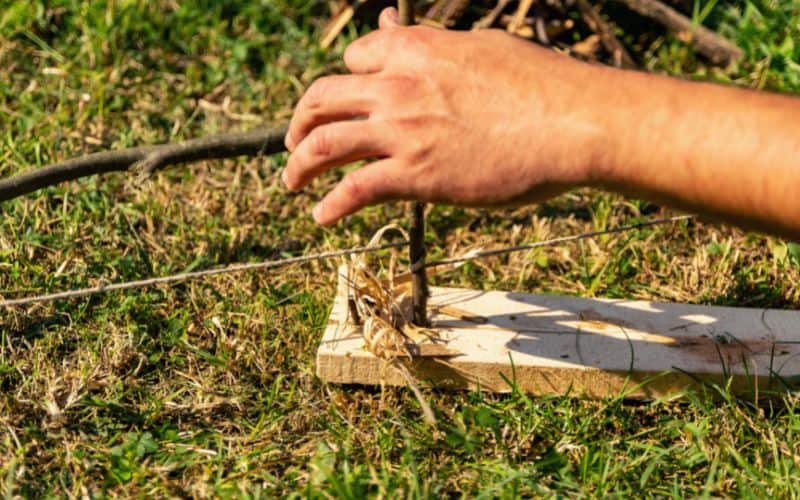
Begin by placing pieces of tinder around the hold in your fireboard. Next, wrap the bowstring around your spindle, place one end of the spindle in the hole in the fireboard, and the other in the hole in your top piece. Place pressure on the top piece to hold the spindle in place.
Maintaining pressure on the spindle, move the bow back and forth, increasing the speed until the fireboard end starts to smolder. Within a minute or two, you should have enough heat or small embers to light your tinder.
11. The Battery Method
Let’s begin with this method’s one caveat: using your battery to start a campfire will drain it, so opt for one of the other options if you will need your battery for the rest of your trip!
To use this method, you’ll need a single battery (AA or larger) and some steel wool. If you don’t happen to have steel wool, a foil gum wrapper will do the trick. When you touch the steel wool or wrapper against both ends of the battery, it should ignite instantly, giving you an easily acquired flame from which you can light your tinder. Simple!
FAQs
Which of the above methods is fastest (and which is slowest)?
The battery and steel wool method is by far the quickest. Once you’ve touched your battery to the steel wool, your tinder should ignite instantly.
Both the solar-power methods and the friction fire-starting methods are more time-consuming and can take anything from 3 minutes to 10 minutes depending on the strength of the sun and your forearm stamina! The bow method is quick once you get started, but preparing the materials can take over an hour.
Are any unsafe?
Is fire ever safe?! Putting the usual fire safety concerns aside, all of the above methods are perfectly safe.
The only caveats to this worth mentioning are that you’ll need to exercise care if using your camping knife or any other sharp object to strike a flint or rock or if striking two rocks together. For the latter, we recommend wearing safety glasses or even sunglasses to protect your eyes.
Which should I use in wet conditions?
In wet conditions, starting a fire and keeping it going is always tricky. Tricky, but not impossible. Here’s how to go about finding the three main ingredients: tinder material, kindling, and lighter fuel.
For tinder, you can use a variety of materials that you’ll probably have with you on any camping trip. Some examples include receipts, toilet paper, tampons, period pads, packaging in your first aid kit, food packaging, or even dry lint and fluff from your pants or jacket pockets.
To help things along, add a little rubbing alcohol from your first aid kit.
Even in rainy weather, you’ll usually be able to find some relatively dry kindling by searching for twigs and branches under fallen trees, or on the forest floor in thickly wooded areas. If you find any wood that’s partially wet, remove the bark with a knife then shave off small strips for kindling from the drier core.
Your main fuel will consist of larger sticks and logs. As above, if you find any of these that are partially dry, then remove the bark and shave the sides until you hit the drier wood towards the core.
And which of the above fire-starting methods works best when things are damp?
Well, if you can source dry material for the friction methods, any of them will work. Because the solar methods rely on having strong sunlight, these can be ruled out. If you have a battery and a gum wrapper or steel wool to hand, this is a good option. And if you have a fire steel or steel striker and a camping knife, you’re good to go regardless!
Happy Camping!
No matches or lighter? No problem! We hope the above methods on how to start a fire without a lighter will help you get a healthy campfire roaring regardless! Whichever method you choose, always remember to follow campfire safety rules and extinguish your fire completely when you’re done.
If you liked this post or have any questions or comments, drop us a line in the box below. And if you’d like to share it with your friends, please do!
