Certain things, after all, just aren’t made to go together:
OJ and freshly brushed teeth…
Socks and sandals…
Naked flames and combustible gasses…
Democracy and a populace unable to distinguish between sanity and its opposite…
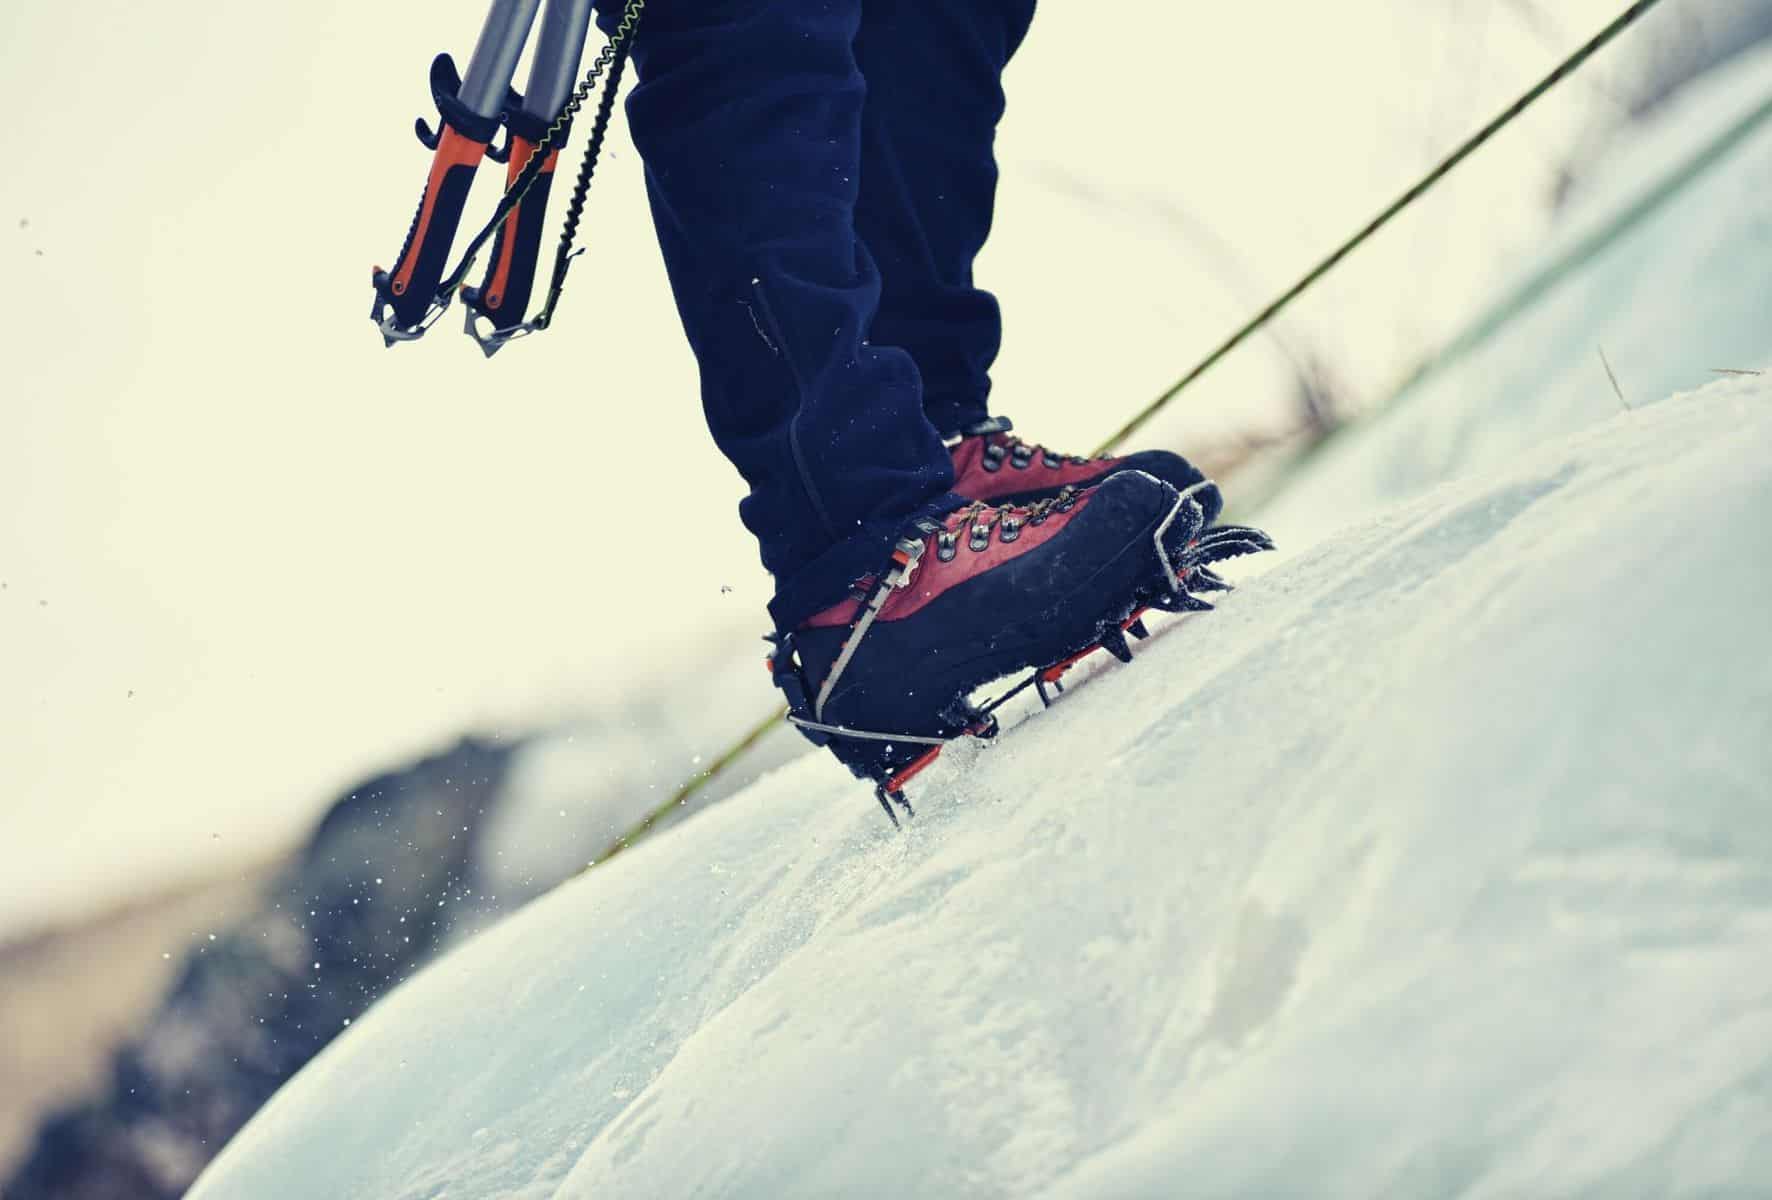
We could add to that list sharp crampon spikes and just about any other item of hiking or backpacking gear you may have in your backpack. And, of course, the backpack itself.
How are we to ensure our cherished, pricey camping gear, clothing, etc. stay puncture and tear-free while carrying crampons?
In this article, we’ll explain how to pack crampons in the safest way possible with a simple, fuss-free guide.
What you will need to follow this tutorial
To follow our tutorial, make sure you have the following:
- A pair of crampons
- A pair of crampon spike protectors
- A crampon bag or case
- A backpack/bag
How to Pack Crampons: Step-by-step Instructions
Step One: Source Your Protective Case and Spike Protectors
Crampons come in varying formats and sizes (and we have a great guide to choosing the best crampons for your needs). The most common configurations are 8-point, 10-point, and 12-point models. When buying spike protectors, it’s crucial to ensure that the protectors will have enough spike covers for the number of spikes on your crampons.
If you have 8-point crampons, then protectors for 10 or 12-pointers will work fine. However, the reverse is not true—i.e., using protectors with 8 covers is going to leave 4 points unprotected if your crampons have 12 points.
Concerning your stuff bag or case, bigger is almost always better. In most cases, the material used in protective cases is soft, and any excess can be squeezed or scrunched up.
Having a little extra room, moreover, will let you throw in additional sharp items when need be and stow your crampons easily with cold fingers.
Step Two: Decide on Internal or External Storage
Inside or out?
Certain circumstances and situations will make one or the other more suitable or, maybe, the only option.
Below, we’ve added an at-a-glance list to explain when you should pack your “spikes” inside your pack and when you should attach them to the outside
Inside:
- When you have space
- If you have a carry case and spike protectors
- When hiking through a dense forest (to avoid snagging)
Outside:
- When you don’t have a stuff bag and spike protectors
- When there’s no room inside your pack
- In terrain where snagging is unlikely
- When your crampons are wet, dirty, and/or have ice stuck to them
The bottom line about where you should stow your ice crampons is this:
the safest storage option is almost always inside your pack.
This ensures you aren’t poking any of your hiking buddies’ eyes out, but also improves balance by consolidating your load and reducing the risk of snagging. It also, of course, eliminates the risk of loss.
The only occasion when stowing your spikes on the outside of your pack is preferable is when you’ve lost, forgotten, or haven’t yet purchased protectors and a case.
Obviously, on certain occasions stowing your crampons inside your pack won’t be an option because of limited storage space. In such scenarios, we explain what to do in Step Four.
Step Three: Internal Storage
When storing your crampons or microspikes inside your pack, the most important considerations are gear safety, moisture management, and easy access.
Gear safety is accomplished by simply following the advice in Step One. This means buying a robust carry case and using point protectors. If in any doubt, shift around the contents of your pack so that more delicate gear items—down jackets, lightweight shirts, etc.—will not be in contact with the carry case.
Moisture management comes into play after using your crampons. Before stowing your crampons in their case, be sure to remove any ice and wipe them down to clean off any excess moisture and dirt.
Easy access means storing your crampons where they can be easily located when you need them. This will prevent having to unpack and repack everything to get to them—no fun, we assure you, in wet, snowy, and icy terrain!
In most cases, making your crampons easily accessible means storing them at the top of your pack. However, suppose your pack has a compartmental design. In that case, it might be wise to stow them in a separate compartment from more delicate gear, particularly if using only either a carry bag or spike protectors alone.
Step Four: External Storage
If you’re short on storage space inside your pack, there are three effective external storage techniques you can use to attach your crampons to the outside of your backpack: under-hood storage, daisy chain tie-on, and compression strap harnessing.
Under-hood storage, as the name suggests, refers to stowing your crampon case under the hood of your backpack. This will depend on having an extendable hood and enough space under there to accommodate your crampons.
The daisy chain tie-on technique entails attaching your crampons to the daisy chain loops included in most backpacks. This can be done in a variety of ways. The most effective is to use a carabiner to attach the case’s toggle to one of the daisy chain loops and then fasten the bottom of the case down with a length of cord.
Compression strap harnessing can be tricky if your pack is full, but in most cases, there should be enough room under lateral straps to squeeze your carry case under one or two straps. When using this technique, we recommend using a carabiner or length of cord to ensure your crampons won’t be lost if the case slips free of the straps.
Conclusion
So, how did you enjoy our tutorial?
We hope the above guide will have cleared up the question of where and how you should pack your crampons in different situations. Using the above tips will ensure you avoid damaging your gear and help you travel more safely with your crampons in tow.
If you have any comments or questions, please drop them in the comments box below. And if you’d like to share this article with your friend, please feel free to do so!
