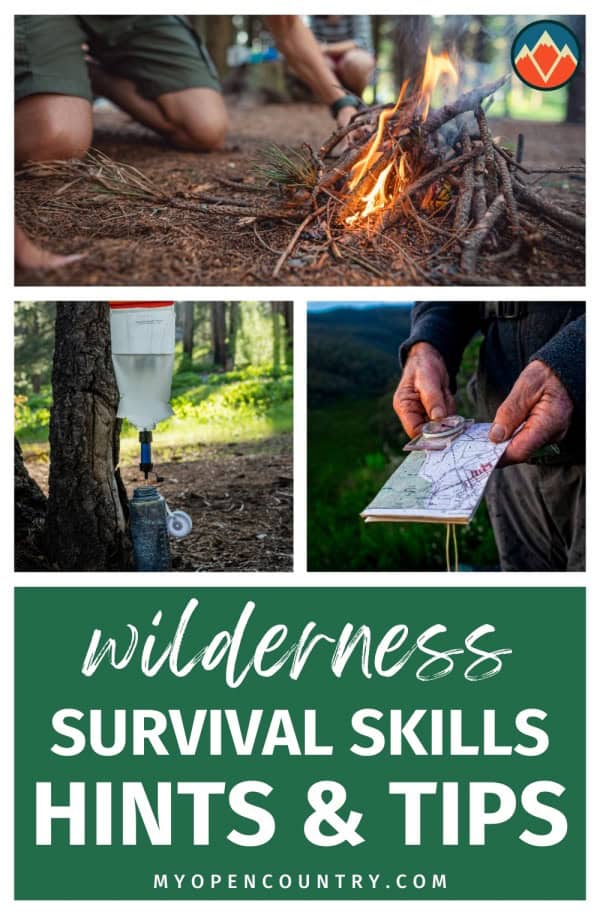
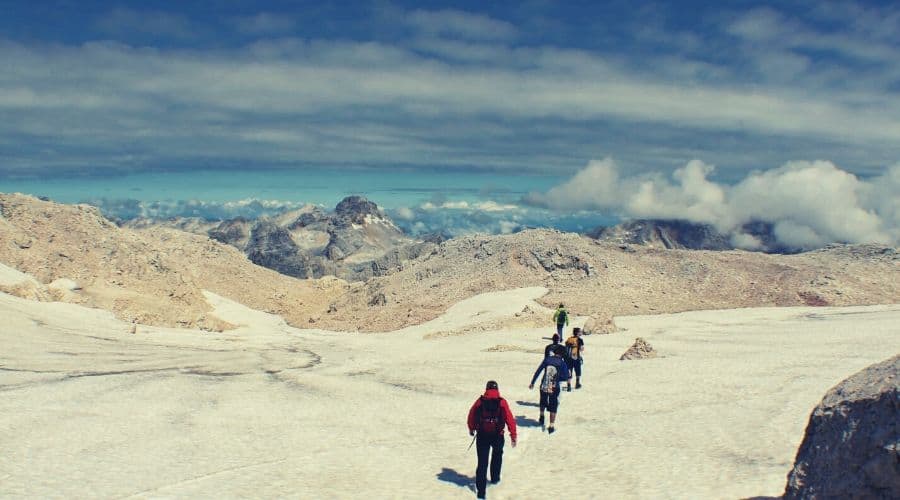
Would you know what to do in an emergency situation in the wild? Many of us are apt to take that “it’ll never happen to me” approach. Others assume that in today’s world the benefit of advanced communication technologies and mountain rescue helicopters mean we’ll be A-okay should our backcountry trip ever take a turn south.
But what if there’s no signal? Or your battery is dead? Or the helicopter can’t reach you because of high winds or a whiteout? Or that feisty bear, wild boar or snake is all of ten feet away?Whatever we’re up to out in the backcountry, we are exposed to a variety of dangers and often need to be entirely self-sufficient when it comes to caring for our own well-being. In this article we’re going to guide you through the most fundamental survival skills and prevention strategies required to ensure you are ready to deal with those dangers should the need arise.
Save for later!!! ⤵️
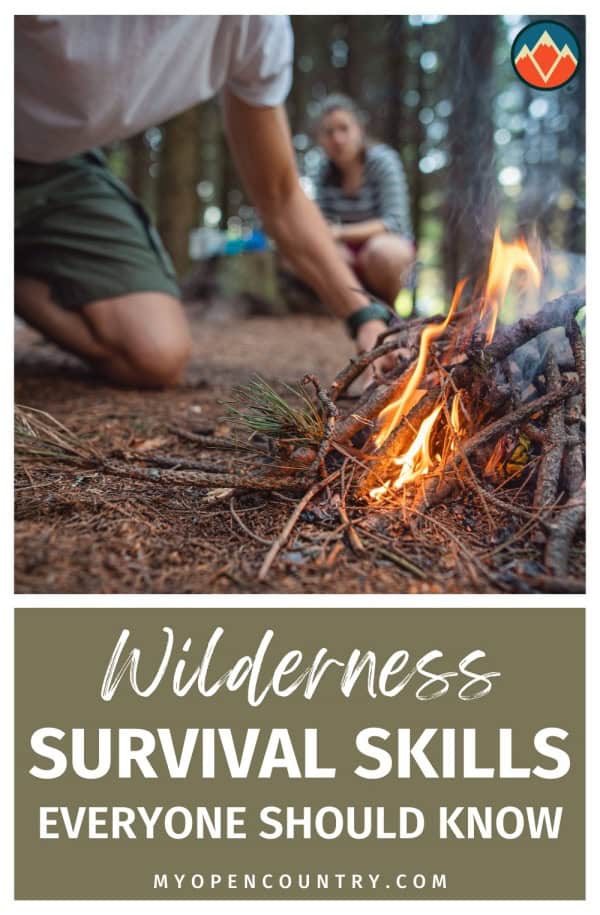
Table of Contents
Staying Positive in the Face of Adversity
We don’t need to delve into the depths of psychology to know that defeatism, fatalism, and negativity are all unlikely to aid our cause in any situation, and the same holds true for backcountry survival. The following are small but effective steps that will help you stay mentally pepped and prepared when you find trouble out on the trails.
Set Doable Targets
It’s very easy to be overwhelmed when your back’s against the wall. The gap between your ideal location (home, most probably) and your current whereabouts will undoubtedly seem vast, if not insurmountable. Such daunting thoughts invariably lead to defeatism, panic and/or a quitting attitude.
In order to combat these and give yourself a series of small mental victories and spurs, set yourself small, doable targets such as the next pass, a bend in the trail in the distance, or even the next 100 paces.
Redirect Your Focus to What You Can Do
Psychology has long told us that focusing on what we can’t do is a sure way to ensure that we remain powerless and unable to make a difference in any given situation. Considerations of the impossible are futile and, essentially, a waste of time. By focusing on what we can do, however small, we take a practical step towards assessing the situation rationally and figuring out how to get ourselves out of it as safely and efficiently as possible.
Take Deep Breaths to Stay Calm
“Stay calm” is just about the most infuriating thing anyone can say to you when the proverbial feces hit the fan. It is, in most cases, largely counterproductive. That said, staying calm is nonetheless essential to dealing with emergencies. It lets us act rationally and proceed without further — potentially costly — mistakes. One simple tip is to take ten deep breaths before acting or making any decision.
Be ‘Captain Cool’
We’ve all seen that movie where the carefree captain or general moseys about, cool as the proverbial cucumber, while chaos rages all around him (or her). Ten times out of ten, he or she’s the guy/gal you want to be (or have on your team) should chaos or calamity strike.
Not only does maintaining a level head help you act more rationally and efficiently, but it also builds confidence in a positive outcome for all concerned. Positivity begets positivity, and keeping your team’s spirits up is vital to avoiding feelings of helplessness, succumbing to panic and maintaining their mental stability.
Keeping a cool head and positive attitude will allow you to deal with the next stage of the survival process — knowing your priorities and making a survival plan — more effectively.
Know Your Survival Priorities
Call the helicopter or upload that sure-to-go viral Instagram pic? Start heading to safety immediately or treat injuries first? Bag that long-desired peak or get down and tend to that broken arm or head wound?
Getting your priorities right in an emergency can be the difference between getting out of it safely or not. Here’s how it’s done…
First Things First: Deal With Immediate Dangers
Dealing with immediate dangers equates to getting yourself out of the firing line. Usually, doing so is as much a matter of common sense as anything else. Here are some examples:
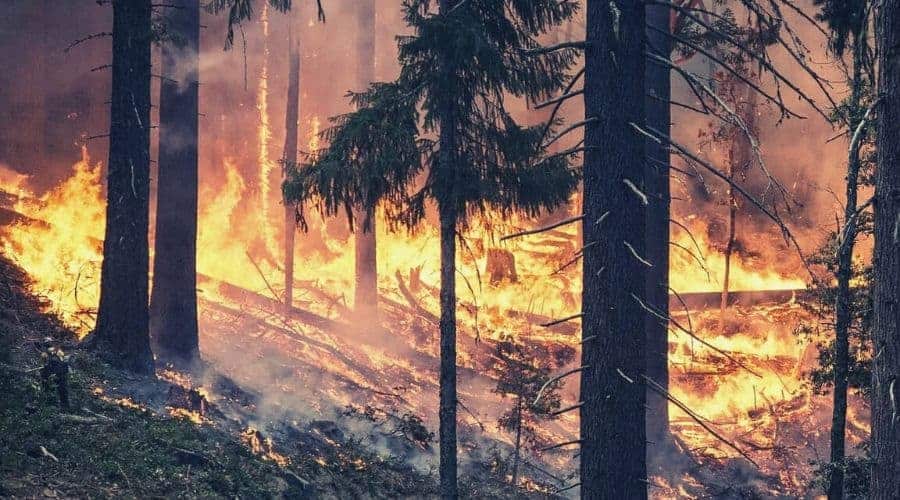
- If you are in a forest fire, put some distance between yourself and the fire pronto, ideally heading against the wind
- Ditto wild animals or other, human threats — defend yourself (more on this below) then work on putting some mileage between yourself and the source of the threat
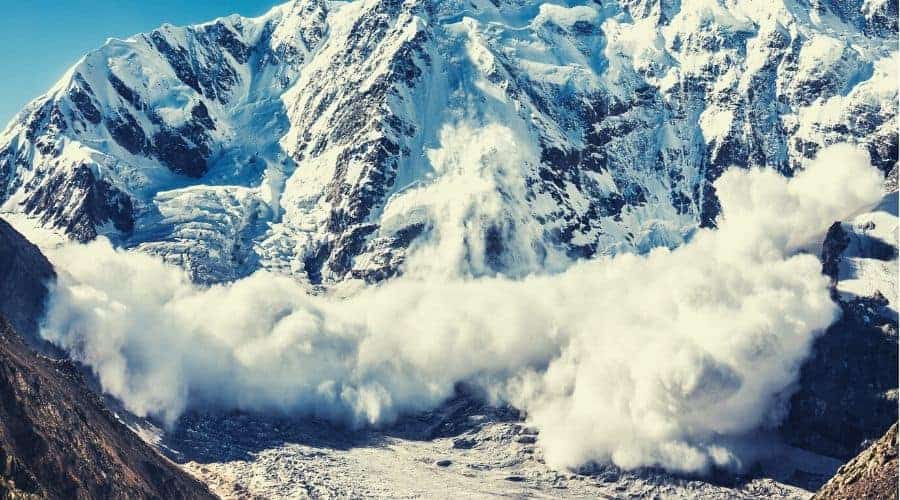
- If there’s an avalanche or risk of an avalanche, move clear of the ‘danger zone’ and then reassess the situation and begin working on a suitable evacuation plan
- In a flood or cloudburst, get to high ground as soon as possible
In a nutshell, do whatever it takes to remove yourself from the immediate danger without putting yourself at further risk
First Aid
Once you have dealt with and distanced yourself from the source of the original danger, assess and attend to any injuries as thoroughly as possible before moving onto the next step in your survival plan.
A more thorough guide to administering basic first aid is given below.
Make an Evacuation Plan
Once you have administered first aid, it’s time to reassess your situation and, if required, work on an evacuation plan.
As mentioned above, planning is okay so long as our plan consists of short, achievable goals. A more sweeping, far-flung plan of the “let’s just get out of here” variety is a sure way to feel out of your depth, helpless and compound problems with hasty or careless actions.
A simple way of reducing your evacuation to bite-sized and doable stages in the event of an emergency uses the acronym S-P-E-A-R: Stop, Plan, Execute, Assess, Re-evaluate.
Stop — Avoiding panic and assessing a situation while stationary is far more likely to yield better results than doing it on the hoof.
Plan — Plan your survival or evacuation strategy in small, easily achievable stages.
Execute — Carry out each stage of your original plan as best you can.
Assess — Stop to reassess the situation, accounting for any changes or developments since the time of the original event.
Re-evaluate — Make any necessary changes to your original plan and then start again.
Deal With (or Avoid) Secondary Dangers
Secondary dangers are those that occur as a result of or subsequent to the original cause of the emergency. Some of the more common secondary dangers you might encounter include the following:
Immobility
If you or a team member suffers a serious injury or succumbs to hypothermia, heat stroke, or any other mobility-limiting ailment, there’s a chance that you won’t be able to make it to safety under your own steam. Under such circumstances, the outlook and nature of your situation change considerably. Suddenly, a whole new gamut of potential secondary threats (hypothermia, exposure, heat stroke, water, and food shortage, for example) are on the cards.
In the event that rescue is not an option, treat the original injury until the injured party has recovered and start preparing to take care of the five main physical needs.
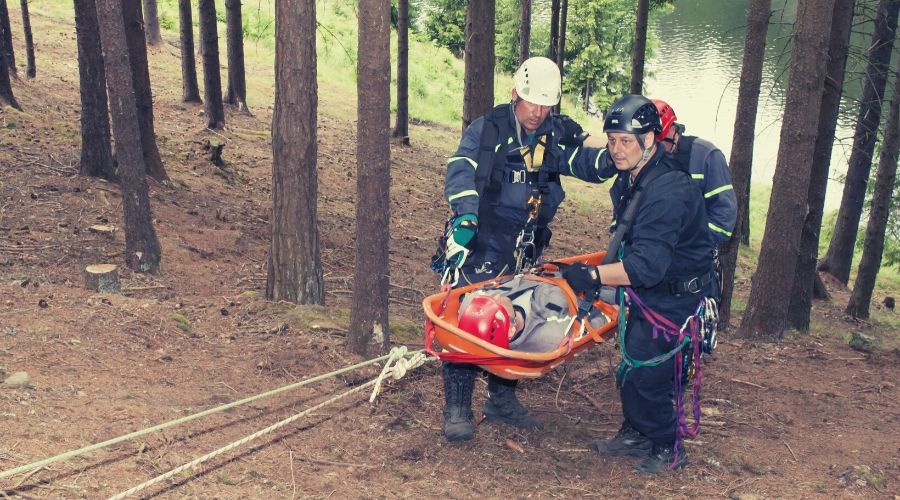
If immediate evacuation is necessary, one means of transporting an immobile person is to create a DIY stretcher using an emergency shelter or bivvy bag and trekking poles.
Infection
Copping a small cut, scrape or wound is no great cause for concern if it’s kept clean and covered. If infection sets in, however, fever, headaches, and malaise can all hinder your chances of evacuating quickly and safely. Be sure to treat wounds thoroughly as soon as you can after they happen, especially if you envisage your return trip to civilization taking some time.
Getting Lost
Fleeing or taking cover from immediate dangers can quickly result in disorientation. We leave the trail, duck into the forest, cross a river, or hurtle across a mountainside and suddenly find ourselves far from our original trail or course of travel. To avoid this predicament, try to be mindful of your direction of travel at all times, carry a map, and learn how to triangulate using a map and compass.
Separating From Your Team
In the event of a whiteout, traveling in darkness or following an incident, it’s all too easy to become separated from your team. This may not seem a big problem in itself but can soon become one if your team’s kit — navigation devices, maps, shelter, food, water — is being carried by separate members of the team.
Make sure all team members are visible and accounted for at all times and if you need to separate, establish a clear recon point and ensure each division of the group has the essentials required to get there (map, compass, water, food).
Injury to rescuers
We’ve all seen ‘The Summit’, ‘Everest’ or read ‘Into Thin Air’, but we needn’t be on Everest or K2 to become victims of our own best intentions. Before diving into any rescue attempt, pause to consider whether or not you can actually assist those in need of rescue without exposing yourself to unreasonable risk.
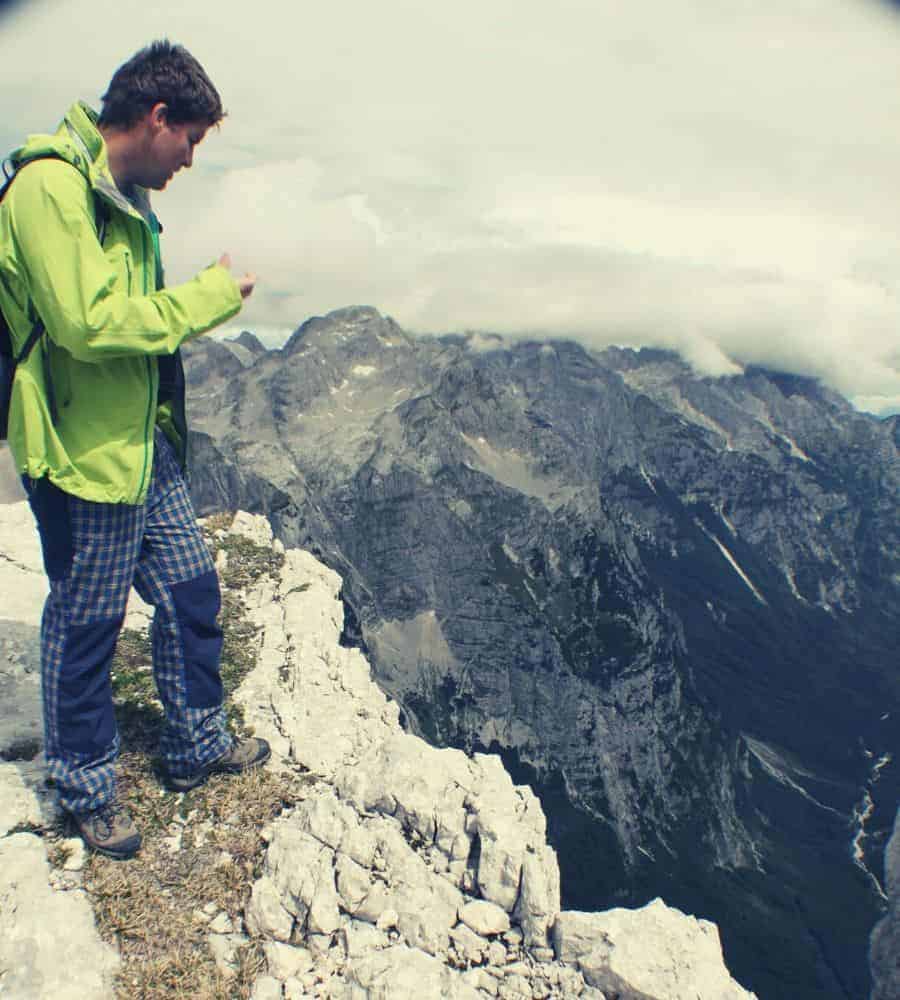
Benightment
Any experienced climber will tell you going up is the easy part. Benightment, essentially, means going up something you are later unable to get back down and then being forced into an overnighter up high. While this danger is evident at all times, following an emergency, it increases as we attempt to climb to safety, get a phone signal or find a high point from which we can assess our whereabouts. Before you go scrambling up that rock face or outcrop, pause to consider how easy it will be to get back down it if need be.
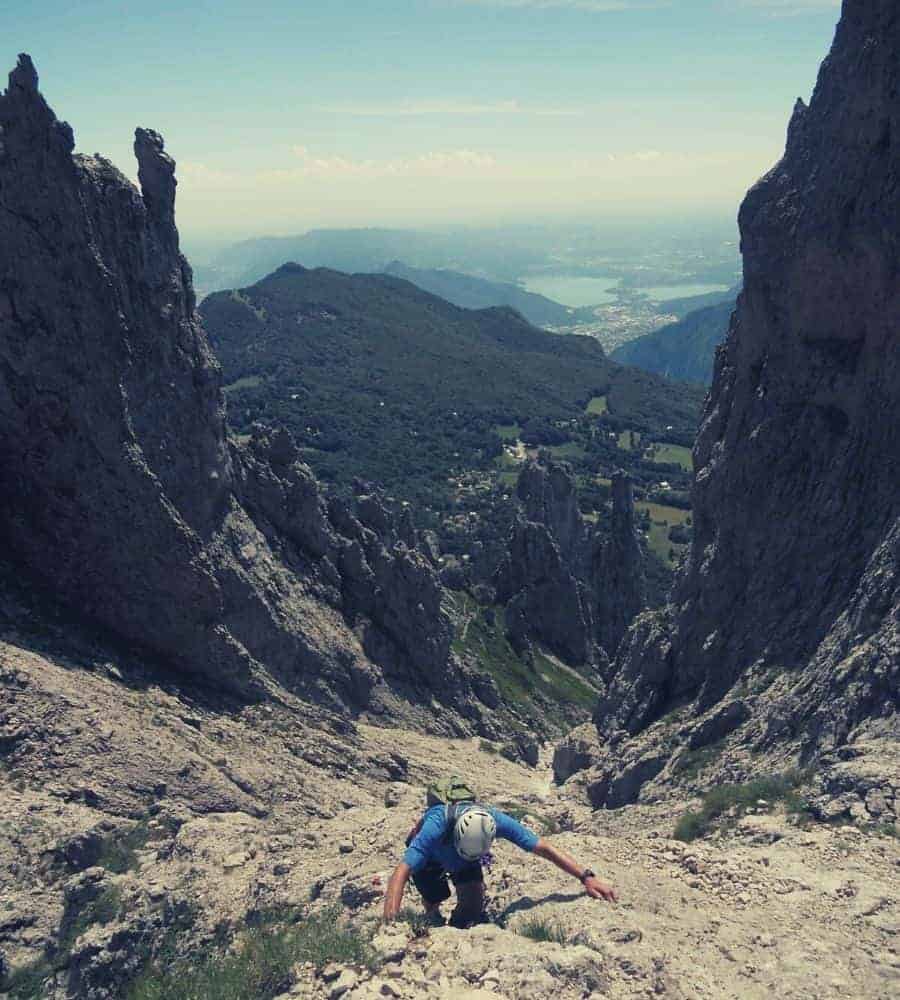
Rushing
Doing things in a hurry at home might lead to a few broken dishes, a stubbed toe or a cut finger while chopping tomatoes for dinner; out in the wild, the consequences can prove to be more serious by far.
When trouble strikes, the temptation is to hightail it down to safety. While reaching safety is always our primary objective, attempting to do so in a hurry may only add to our problems. Around 75% of hiking and mountaineering accidents and injuries happen on the descent when fatigue and gravity are working against us. To make sure you don’t join this unhappy percentual, make your way down to safety slowly and with extra care.
Basic First Aid
Administering basic first aid is among the most crucial wilderness skills every outdoor enthusiast needs to get under their belt. And with so many resources available to us these days, there’s now less of an excuse than ever not to make sure you’re in the know. While we’d highly recommend taking a first aid course — whether online or in person — below we’ll cover a handful of essential, basic first aid techniques that every one of us should have in our repertoire before heading into the backcountry.
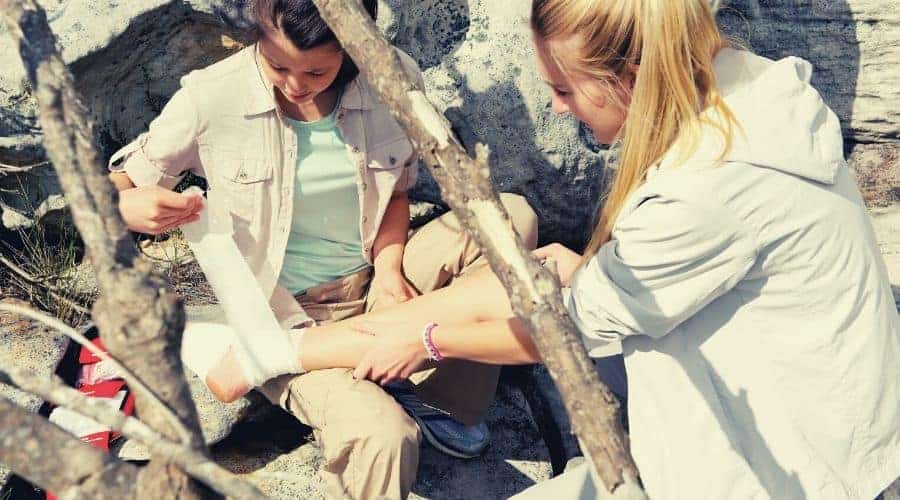
Cuts, Scrapes, and Abrasions
Keep all cuts, scrapes, and abrasions clean and keep an eye out for infection. First, cleanse the wound with water, apply antiseptic cream and then cover with an adhesive bandage or rolled gauze. The dressing or bandage should be replaced at least once daily.

With deeper wounds, make a tourniquet with rolled gauze, a t-shirt or a scrap of cloth and tighten it above the wound until the bleeding has stopped. With larger wounds, hemostatic gauze is more effective than standard bandages and dressings.
Fractures
Treating fractures requires stabilizing the break by improvising a splint with whatever you can find — sticks, trekking poles, or camera tripod legs will all do the job adequately. Tie the splint to the fractured bone with gauze, shoelaces, cords, or spare guy lines from your tent.
Dislocations
Dislocated bones can, in most cases, be popped back into place without medical assistance. For shoulder dislocations, you can reset the bone by rolling on the ground or hitting your shoulder against a hard surface. For dislocated kneecaps, stretch your leg out and attempt to force the bone back into the socket.
This page from Wilderness Arena offers a very thorough introduction to treating and resetting dislocations.
Burns
To treat burns, remove any clothing from the affected area (using scissors if need be) and douse the wound with lukewarm, sterile water. Apply a cool, wet dressing to the wound, let it dry and then keep the wound covered with a non-stick bandage.
Avoid the temptation to burst any blisters. Also, burns tend to draw a lot of fluids from the body, so keep yourself well-hydrated with water and electrolyte supplements.
Dehydration and Diarrhea
As stand-alone ailments, dehydration and diarrhea fall distinctly into the ‘this sucks’ category of potential backcountry predicaments. Working up a sweat and replenishing lost fluids from wild water sources, moreover, can deal a double whammy if we’re particularly unlucky. Knowing how to treat these potential party poopers isn’t as easy as many would imagine and their potential to ruin your time in the outdoors shouldn’t be underestimated.
- Dehydration — Avoid the temptation to glug down as much water as you can fill your belly with. As counterintuitive as it may sound, this approach could actually put you at risk of hyponatremia and water intoxication — worse eventualities by far. Instead, use rehydration salts or electrolyte powders from your first aid kit to replenish lost fluids and restore blood salt levels gradually.
- Diarrhea — Firstly, avoid dehydration by following the procedure mentioned above. Secondly, take the recommended amount of antidiarrheals and avoid eating anything that might make matters worse (that chicken curry or tub of Chili Verde your mom gave you for the trip will be much appreciated by your pals, less so by your tummy). Plain, unseasoned foods like bread, crackers, plain pasta or rice are all notable non-contributors to diarrhea’s pitiless wrath.
Weather-Induced Ailments
Outdoor pursuits and exposure to the elements kinda go hand in hand. While this may be part of the attraction, it can also have its drawbacks. Enumerating all of these drawbacks could take a few pages, but the most notable ones you want to avoid are heat exhaustion, sunburn, hypothermia, and frostbite.
Heat Exhaustion
Get into the shade and as cool a spot as you can find. Put on a sun hat and cover your skin as much as possible with light, loose clothing. If possible, soak a towel or t-shirt in cool water and apply it to the neck, armpits, groin, and forehead to facilitate cooling.
For more on heat exhaustion, check out this informative article.
Sunburn
If you don’t have any aftersun lotion at hand, aloe vera lotion or gel will work almost as well. Make sure you avoid further exposure to the sun and cover up well. If you’re on a thru-hike, try to do your hiking in the early morning and/or evening and rest up when the sun’s at its strongest.
Hypothermia
Beyond getting yourself to a warm fire, eating is the single most effective treatment for hypothermia. Hot drinks such as hot chocolate, sugary tea and soups are ideal ‘starters’ before moving onto more substantial items rich in carbs and fats. Replace wet clothing as soon as possible and, if necessary, wrap the victim in an emergency bivvy bag.
For more on treating hypothermia, take a look at this article from The Mayo Clinic.

Frostbite
Those who have suffered frostbite generally agree they would have preferred to break a leg or arm rather than endure frostbite’s uniquely excruciating agony. With this ailment, treatment is all about damage limitation.
First of all, do not rewarm the affected area until you are sure you can keep it warm — relapse after warming can worsen the injury considerably. Also, don’t be tempted to rub frostbitten skin but gently rewarm affected areas with warm (not hot) water or by placing them in a team member’s armpits or between their legs.
Survival Skills: The Art of Self-Protection
Self-protection covers a wide range of survival techniques. It may amount to arming yourself with a knife, stick, or rocks when confronted with a human or animal aggressor, or simply putting on your helmet in the event of rockfall or activating your avalanche rescue system when covering avalanche-prone terrain. In all cases, however, it involves safeguarding yourself from the immediate threat and getting yourself to safety as soon as possible.
Below, we’ll run through some of the more common threats you might encounter in the backcountry and provide links to a few more detailed learning resources.
Animals
While there is some disagreement amongst specialists in the field of animal attacks, the general consensus is that your best bet is first to try to back off slowly. If this approach doesn’t work, make yourself big and make a lot of noise by keeping on your backpack, crowding together, yelling, and whistling. If the animal continues to advance, use any available items like sticks and rocks to defend yourself, aiming for sensitive areas such as the nose or eyes. In the case of a bear attack, playing dead may also be an effective strategy. It’s important to remember that each situation is different and you should always try to assess the specific circumstances before taking action. Additionally, knowing how to perform tick removal without tweezers can be a useful skill to have in the outdoors.

If you happen to be in an area where bear spray is legal, we’d highly recommend carrying a can. If poisonous snakes are prominent, using a pair of snake-proof gaiters is a highly unfashionable but effective means of at least giving you some peace of mind.
This article from The Outdoor Life offers a wealth of info on the wilderness skills required when dealing with threats from wild animals.
Human Threats
Dealing with human threats will ultimately depend on the type of human and the type of threat they pose. That said, the basic principles mentioned in each of the other skills above remain true — deal with the immediate danger, then distance yourself from the threat and get to safety asap.
Dealing with a human aggressor may mean arming yourself with whatever is available — rocks, branches, trekking poles, an ice-axe, or a can of bear or pepper spray. If other hikers are in the vicinity, alert them to your presence and your need for help.
For some quick tips on self-defense against human threats, check out this in-a-nutshell overview from The Atomic Bear.
Yourself
Maybe the greatest danger posed to any of us in an emergency situation in the wild lies a little closer to home — ourselves. As mentioned above, there is no shortage of tales of would-be rescuers who have quickly become the ones in need of rescue.
As brave and commendable as the wish to help others may be, the heat of the moment can cause us to act rashly. When a member of our team is in danger, the best course of action is to take a moment to assess — as rationally as possible — what we can actually do to help them and then weigh this up against the likelihood of putting ourselves at risk in the process.
Physical Needs
Once you have dealt with immediate dangers and seen to any injuries, it’s time to reassess your situation and then, if need be, start making a longer-term plan for survival. If you don’t envision making it back to safety or civilization in a hurry, this plan can be prioritized by attending to the four principal physical needs, which are (in order): shelter, water, fire, and food.
Shelter
It may come as a surprise that shelter is your top priority, but know that in extreme conditions it is possible to perish in as little as 3 hours without shelter. You don’t know how the weather is going to change, so you should always prioritize finding or erecting something to protect yourself from the elements.
There are a number of ways to create an emergency shelter in the wild. We would highly recommend bringing some tarp and rope on even your shortest hikes, which can be quickly fashioned into different styles of shelter.
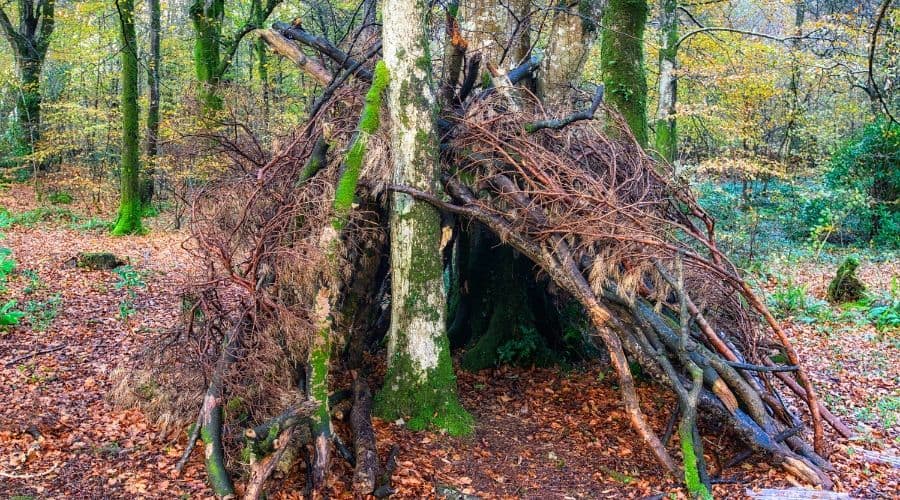
Alternatively, the most simple and effective shelters made from forest debris are lean-to shelter and teepee or wigwam style shelters.
Lean-to Shelter
This simple shelter is made by using a tree, boulder, or rockface as a base and leaning branches against it in a semi-circle to create a sheltered space inside. To make the shelter more effective and water-resistant, you can cover the branches with a tarp, leaves, moss, and/or survival bags and jackets.
Teepee/Wigwam Shelter
This freestanding shelter is harder to construct but more spacious and water-resistant (rain doesn’t sneak in via the original ‘base’) than lean-to shelters.
- Begin by finding (or cutting to length) four to eight branches or pieces of deadwood which are around 2 meters in length (longer if you have a large group)
- Tie the branches together one foot below the top with shoelaces, cord or rope and then erect the branches so they form a skeletal structure for your shelter
- Next, tie or fix shorter branches horizontally between the parts of the frame and then lean further vertical branches on top
- Complete the shelter by covering the exterior with leafy branches, leaves, turf and/or tarps
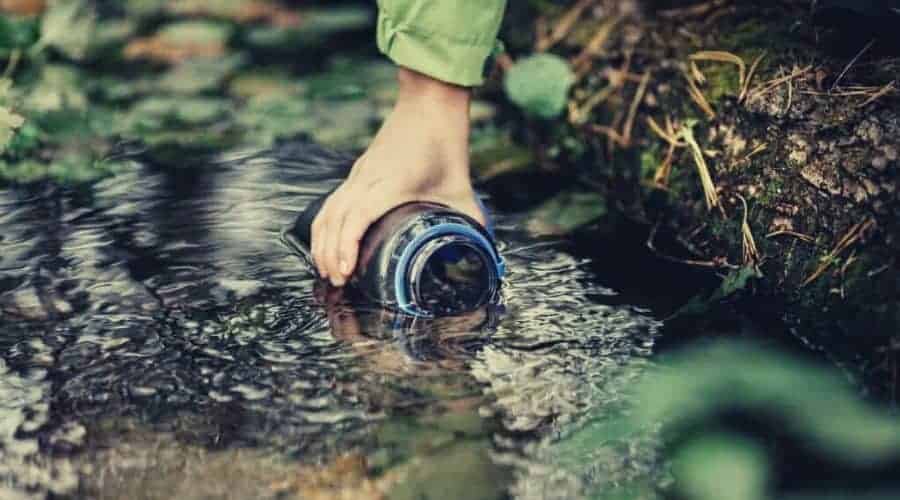
Water
Following on from shelter, the next on your priority list is to source water. Humans can survive around 3 days without water, but finding a good source quickly is important before you begin to weaken.
Finding Water
- Grazing animals tend to do their rehydrating at dawn and dusk — if you spot any, following them could lead you to a water source
- Digging in a dry creek bed in arid climates will often reward you with small reserves of water stored just below the surface
- Morning dew on grass or other vegetation can provide your body with just enough fluid to slake your thirst

Treating Water
Drinking from wild water sources presents a variety of risks. They have long, perplexing names (cryptosporidium, giardia intestinalis etc.) and all share one common denominator — their ability to wreak havoc on your gut and lay you low for considerable lengths of time.
If you don’t have a reliable water purification device or pills with you, there are a few methods that can reduce the risk of succumbing to water-borne nasties:
Boiling
This is the most effective way of eliminating pathogens, microbes, and bacteria. Leave the water to boil for five minutes, adding one minute per 1,000 feet of altitude.
Filtration With Rocks, Vegetation, and Soil
This method is not the most effective, but in a bind is better than nothing. Collect rocks, bark, twigs, grass, and soil in a t-shirt or bag and pour your collected water over the materials, allowing it to pass through to a container below.
Filtration With Spare Clothing
Pour your collected water from container to container through a t-shirt or other clothing. Again, this is not as effective as boiling or other purification methods but can help to eliminate larger bacteria.
For more tips on water purification in the wild, take a gander at this page from Seeker.
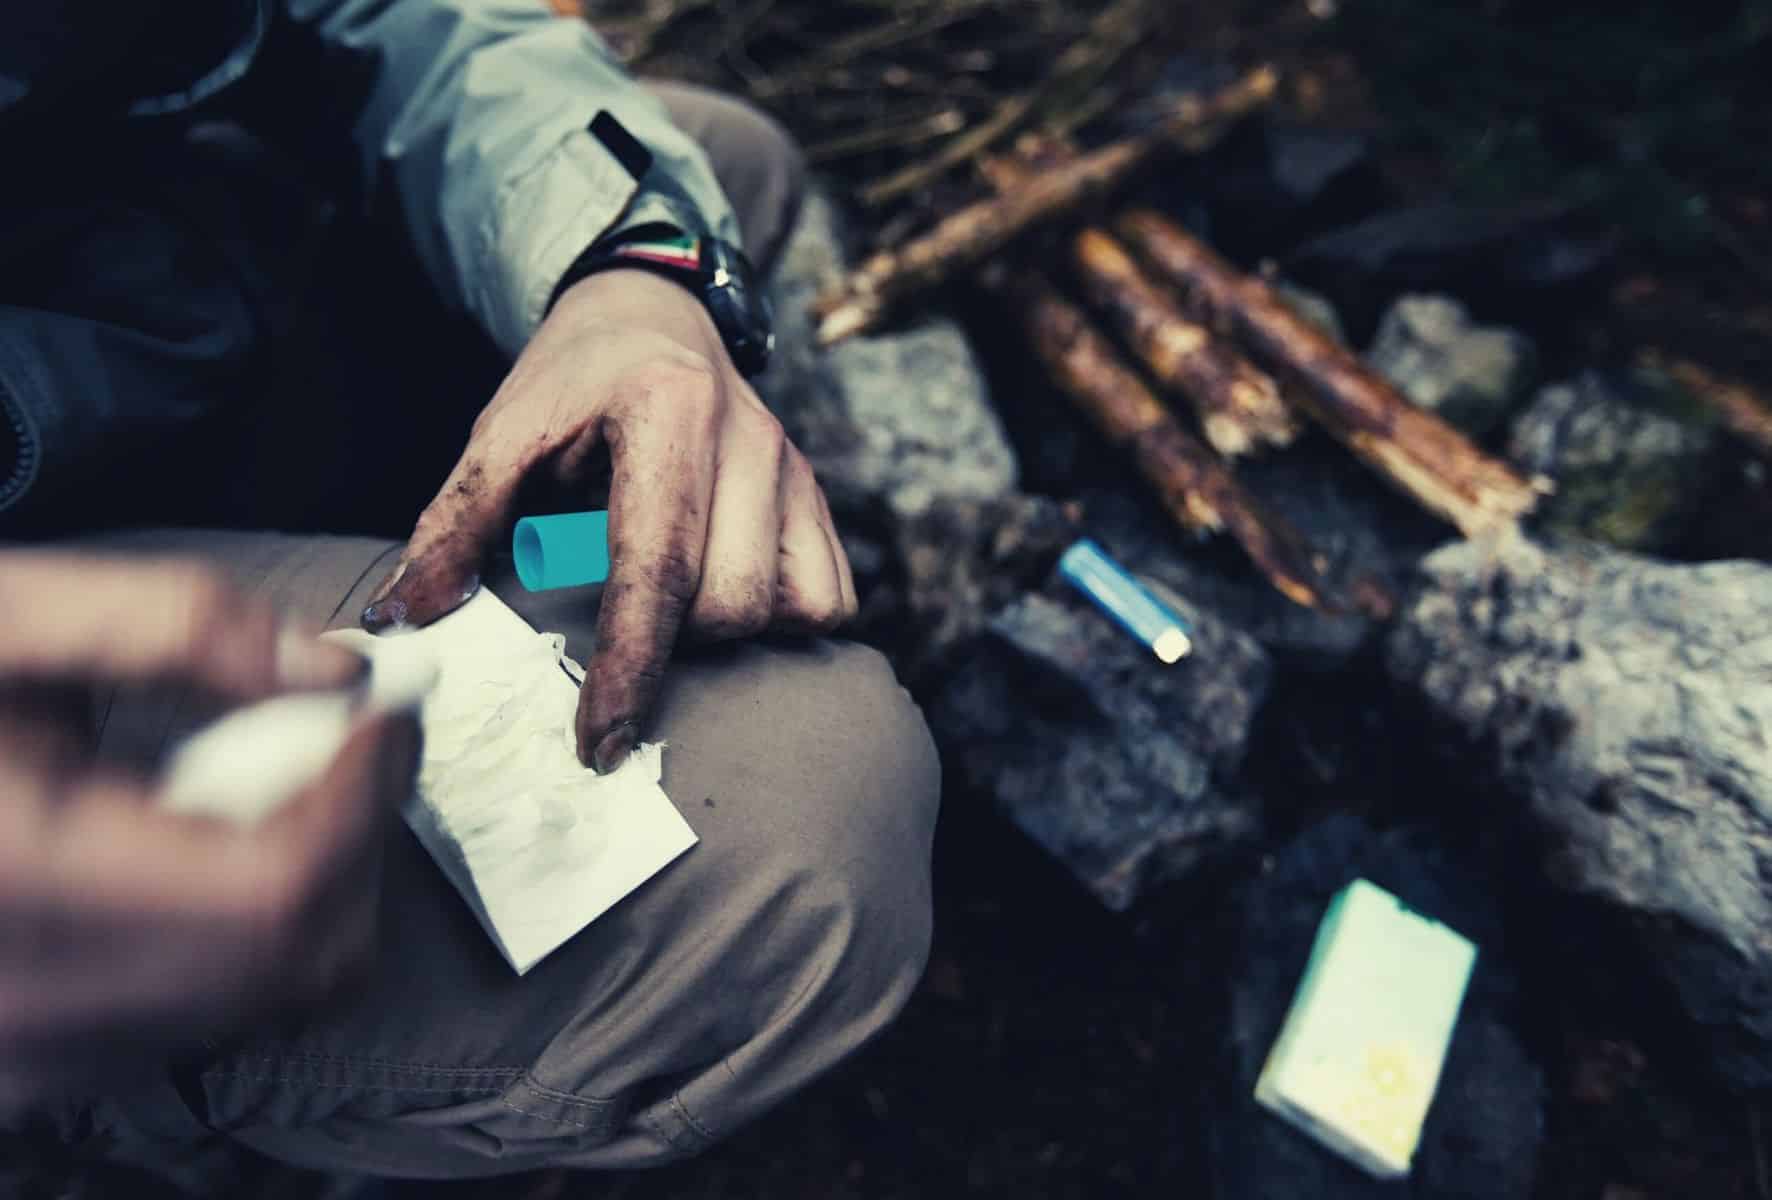
Fire
Following on from shelter and water, the next priority is fire, for warmth, light, and to boil water or cook food. If you don’t have a lighter or matches, there are two tricky but highly effective means of getting a fire going out in the wilderness:
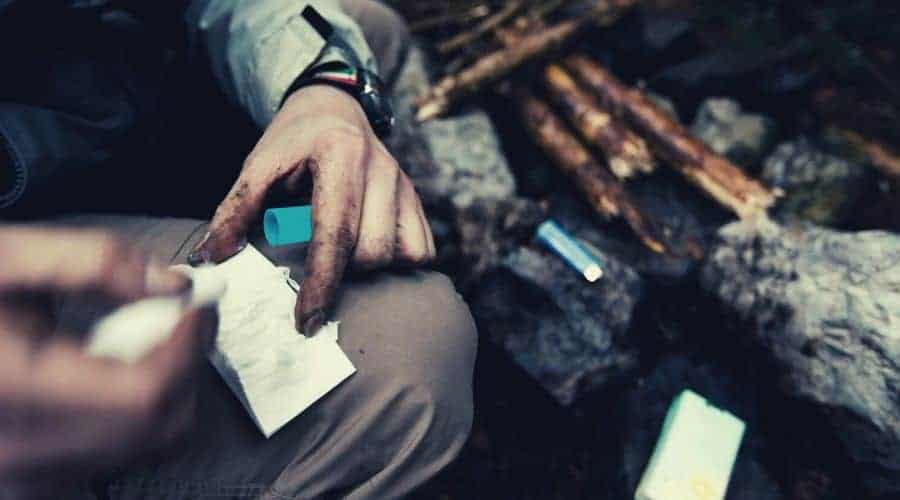
With Glass or Eyeglasses
Use the glass or lens to angle the sun at a small pile of dry leaves, grass, and/or twigs. Try to hold the focused light steadily on the same spot and eventually the pile will start to smolder. At this point, blow gently to spread the flame and gradually add more twigs and sticks to the fire.
With Sticks
This method is perhaps the most time-consuming and tiring, but if it happens to be cloudy or you aren’t carrying any form of glass, it may just be your best bet. Find and gently sharpen a stick with a 1 or 2-inch diameter. Place the tip of the stick on a dry log surrounded by dry leaves, grass, or moss and roll the stick quickly between your hands or with a bow drill until the kindling starts to smolder. As above, gradually add more kindling until your fire’s in full flow.
Check out the above video from Ray Mears to see exactly how it’s done!
Food
The last of the big four physical needs is food. Humans generally are capable of surviving without lunch (or breakfast…or dinner) for up to three weeks. Not that you won’t be suffering from hanger after a few hours, but as you can see, compared to the other three, food is something you can go longer without.
Unless you have Bear Grylls-esque hunting and/or fishing skills, when your food supplies run out foraging is likely to become your only means of feeding yourself. Depending on where you are in the world and the time of year, a number of plants, berries, fungi, nuts, bark, grasses, and bugs can give you much-needed calories.

As most of what we do in the outdoors consists of getting from point A to point B, there will always be some element of navigation necessary. As so many outdoors incidents are the result of someone getting lost, if possible, we would make learning basic navigation skills compulsory for everyone starting in elementary school.
Since the advent of mobile navigation devices such as GPS and phone apps, many outdoor enthusiasts have chosen to forego the old-school, traditional use of map and compass. This is not a problem in itself but can become one if we are solely reliant on our gadgets for navigation.
Electronic devices have their drawbacks and are, of course, susceptible to a number of issues which can render them ineffective: water damage, breakage, power failure, loss of signal or simple malfunctioning.
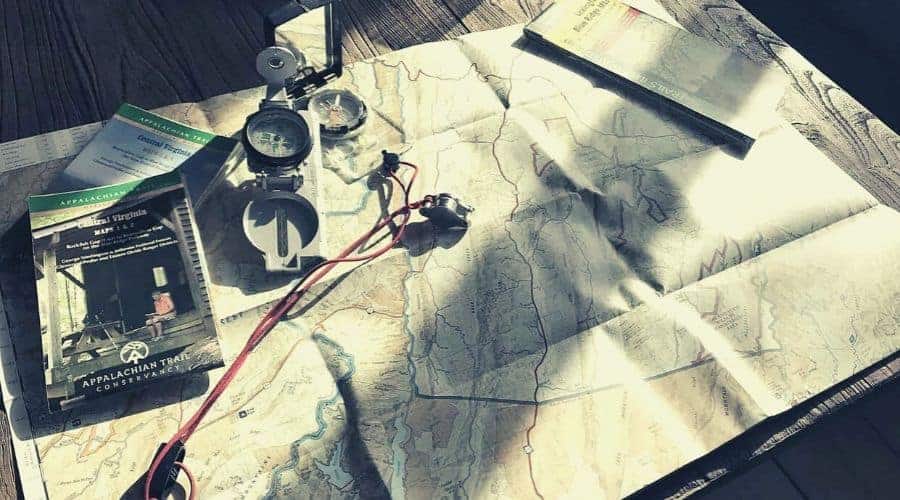
Even for the most ardent technophile, carrying a map and compass and learning how to use them is never a bad idea. The ideal scenario is to have both — the electronic device for convenience, the map and compass for backup (or vice versa).
To make sure you know how to use that ‘backup’ when need be, below we’ll take you through a quick guide to the basics of navigating with a map and compass.
Setting the Map
- Hold your map so that its features and landmarks correspond to those in the terrain around you. This can be done by eye in good weather and, if visibility is poor, by using the magnetic needle on your compass to find north and lining up north on the terrain with north on the map.
Reading a Compass Bearing
- To make sure your measurements aren’t out by a full 180 degrees, first take a rough estimate of your bearing by eye
- Place your compass on the map, pointing the ‘direction of travel’ arrow in the direction you want to go and lining up the edge of the baseplate with your current location and the feature to which you wish to travel
- Hold the baseplate on the map and rotate the compass housing until the north arrow points to north on the map. Check that the housing lines are parallel to the eastings (the grid lines on the map pointing north)
- The grid bearing can now be read in the cursor aligned with the direction of travel arrow
- Make the necessary adjustments to your bearing for magnetic declination and you’re good to go
Traveling on Your Bearing
- Holding your compass out in front of you, turn until the north (red) end of the magnetic needle is aligned with the north arrow in the compass housing
- The direction of travel arrow is now pointing you in the direction you wish to travel
You can simplify traveling on a bearing by identifying and ticking off interval targets or features. This is far easier than trying to walk while keeping one eye on your compass and is likely to save you a few trips and stumbles. Cross-check features on the map and in the terrain as you go to make sure you haven’t strayed off track.
Finding Your Whereabouts With Triangulation
In all but a complete whiteout, triangulation is the most accurate means of determining your precise location on a map. Anytime you are lost, all you need are three visible features or landmarks to use as reference points from which you can measure bearings and reestablish your whereabouts. Here’s how to go about it:
- Find a distinct feature or landmark in the terrain that can be identified on your map. Large boulders, tarns, peaks, ridges, outcrops, gullies, saddles, the edge of a forest, or a river bend are some examples
- Hold the compass in front of you and point the direction of travel arrow at the feature, then rotate the housing until the magnetic needle is aligned with the orienting arrow
- Read the bearing from the index line, which is situated below the direction of travel arrow at the top of the housing
- Place your compass on the map and, using a pencil, draw a line down the edge of the compass from the feature to the bottom of the compass
- Repeat the above process with a second and then a third feature, thereby creating a triangle where the lines intersect. The triangle identifies your location. If the triangle is too large, repeat the process until you have narrowed your location down to a ten or twenty-meter radius
Navigating in a whiteout means finding our bearings and desired direction of travel without the benefit of topographical features or landmarks in the distance. It is not, however, something we should fear unnecessarily — as long as we have put in a bit of practice beforehand.
- First of all, identify potential hazards on your map (steep slopes, cliffs, boulder fields, avalanche-prone slopes, potentially corniced ridges) and establish a route that steers well clear of them
- Estimate your bearing as you would in good visibility
- Walk short distances at a time, stopping frequently to check you are traveling on your bearing
- Measure distances by counting steps (see Navigation by Night, below)
- If in doubt, throw rocks or snowballs ahead of you to make sure you aren’t walking over a steep slope or precipice
Nighttime hiking can be a lot of fun. Not only for the novelty but also the aesthetics of moving through a landscape cloaked in silvery light and enjoying the heightened silence the small hours bring.
On planned nighttime hikes, most of us carry a GPS device and a reliable headlamp, map, and compass. If you happen to be forced into hiking at night by an emergency and don’t have a GPS device, however, the following outdoor skills become essential to safe navigation.
Traveling by Stars
This option requires a clear sky and a great deal of know-how. Seeing as the topic’s such a meaty one, we will skip a full-blown explanation here and instead redirect you to our own separate, in-depth, and detailed guide: The Beginner’s Guide to Navigating by the Stars.
Nighttime navigation without the benefit of the stars (if there’s cloud cover or fog, for example) applies a few other tricks and techniques to those used in standard daytime navigation.
Set Short Goals
Identify short-distance targets on your map and in the terrain. Tick off your targets or notable features as you reach them.
Notable Features
Try to navigate between notable topological features which you will be able to identify easily. Lakes, tarns, outcrops, ridges, knolls, and streams are some examples.
Contouring
Observe the aspect of surrounding slopes and cross-check these with the contouring on your map. This is a trickier way to navigate and takes some time to master, but practice makes perfect…!
Pacing and Timing
Prior to setting off for a hike in the dark or while on a day hike, try to calculate your average rate of progress on varying aspects of slope. For example, Naismith’s Rule states that the average walker will cover 5km in one hour of walking on flat ground. We add one hour per 600m of ascent, meaning every additional 100m of ascent adds ten minutes. While this rule fails to account for a number of variables — boggy terrain, snow, map checks, slow walking — it can help to give you a ballpark figure of how much terrain you will cover in a certain time or when to start keeping an eye out for trig points.
A useful trick is to hike 100m sections on various slopes and count how long and how many steps it takes you to complete the distance. This will allow you to judge distances traveled out in the field.
Stick to Established Trails
If you aren’t overly confident about hiking at night, try to stick to established trails. As far as features go, they don’t come more recognizable than these. Use contouring, feature identification, and (if possible) triangulation to discern your exact whereabouts on the trail.
Bring a Headlamp
Make sure you have a good headlamp (and plenty of batteries!).
Navigating by the Sun
We all know that the sun rises in the east and sets in the west. This being so, by observing the sun’s position in the sky at dawn, dusk and midday we can easily determine the four main directions.
To double-check your calculations, you can place a stick in the ground and mark the line running east to west made by the stick’s shadow. Next, by standing perpendicular to the line (keeping west on your left and east on your right), you should be facing true north.
Navigating by Features and Landmarks
If you know your general whereabouts and where you would like to get to, topographical landmarks and features can work as small ‘islands’ in a causeway leading to safety, or else as simple determiners of location.
- One method of navigating by features is to identify smaller targets between your current location and a more distant target, or in the direction you wish to travel. Move from one target to another until you reach safety
- Another method is to follow streams or rivers. Human demographics have, gladly, located most villages, towns, and settlements near water sources, meaning you’re more likely to find civilization following the wet stuff than by heading across open country or mountainsides
- Larger features can also come in very handy. If you recall seeing a large peak, rock formation or lake from one angle or at a certain distance early in your hike, you can easily work out how to use that feature to guide yourself back to your starting point
- Lastly, if in doubt, head down. Climatic conditions are generally worse the higher you are and also more exposed to extreme weather. Towns and villages, moreover, are more likely to be found lower down mountains than high on their flanks
Signalling to Rescuers
Over the years, no small amount of stories have surfaced of stricken hikers or climbers who have inadvertently warded off their would-be rescuers through miscommunication. To make sure that emergency helicopter or mountain rescue team knows where you are and that you need assistance, learning the following survival basics is a ‘must’.
Giving Coordinates
When making a call to emergency services from remote locations, in most cases they will ask for your coordinates. This being so, carrying and learning how to read a map are essential to ensuring you can be rescued in the event of an emergency.
Arm Signals
An easy way to remember which signal to use when communicating with rescue services is to think of both hands raised as jumping for joy, one hand raised as waving goodbye. Or, alternatively, shaping your body into a ‘Y’ for yes and an ‘N’ for no. In a nutshell…
- Raising both hands together will advise rescuers you are in need of help
- Raising one hand only will alert rescuers that you are not in need of help
For a quick visual of these signals, check out this article from Italia Outdoors.
Other signals
To draw attention to yourself and your group, the following signals can also be used:
Audible
- Loud calls
- Whistles (3 short 3 second bursts followed by a pause signals distress)
- Yodeling (we kid you not — guttural tones are more audible over long distances!)
Visual
- Signal fires (damp or live vegetation produces thicker smoke)
- A flashing headlamp or cell phone screen
- Reflections from the sun on a mirror or piece of glass
- Save for later!!! ⤵️
Save for later!!! ⤵️