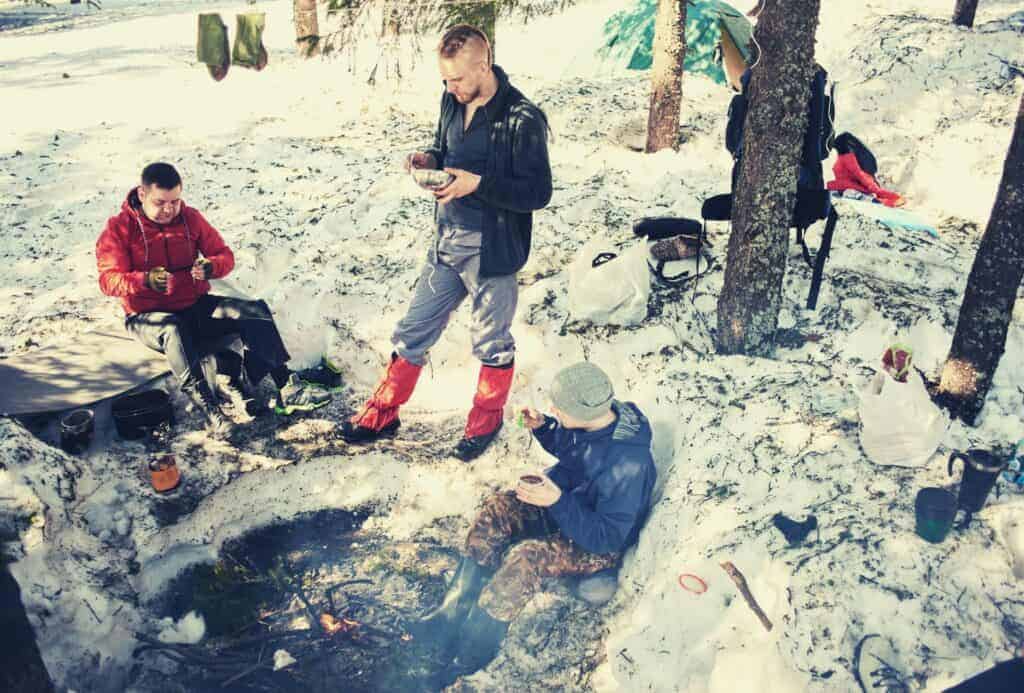
Long-term camping in the wild can be a highly rewarding experience, however, it will require proper gear, skills, clothing, and extensive planning. Continue reading below to find out if you’ve got what it takes to become a backpacking pro.
In this guide to backpacking for beginners, we’ll cover common mistakes made by new backpackers, the ins and outs of planning, beginner backpacking gear, clothing, and food, as well as bonus backpacking tips for beginners on backpacking with kids or pets. By the end, we feel confident that you’ll be ready to embark on the first of many happy adventures.
Table of Contents
- Key Takeaways
- Common Beginner Backpacker Mistakes
- Beginners Guide to Backpacking: Planning Your Backpacking Trip
- Backpacking for Beginners: Essential Backpacking Gear
- Clothing For Backpacking
- Preparing Food For Backpacking
- Strategies For Carrying Water
- Beginning Backpacking: Getting Mentally And Physically Fit For Your Trip
- Backpacking Skills Needed For The Trail
- EXTRA: Backpacking With Kids And Dogs
Save for later!!! ⤵️
Common Beginner Backpacker Mistakes
Looking back on some of our early backpacker blunders is a bit comical. Hopefully, by sharing some of the mistakes we made, along with others we’ve witnessed out on the trail, we’ll lessen the number of things you’ll look back on through the years with the thought of ‘Did I really do that?’
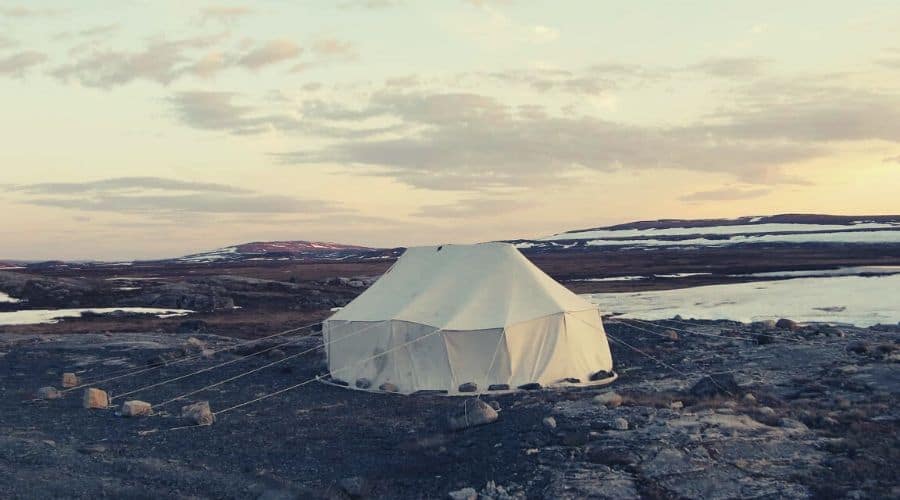
Too Much, Or Poorly Suited, Gear
Despite the fact that it was just my wife and me, we took a 4-person camping tent, the only tent we owned at the time, with us on our first backpacking trip. It weighed over 8 lbs…
We would go on to learn that many backpackers have a base pack weight (the sum of all core backpacking items) less than 12 lbs, exemplifying the hilarity of an 8+ lb. tent. We’re still not sure how we managed to fit it inside our packs and man was it a burden to haul around.
Carrying too much gear, or gear that is poorly suited to long-distance trail travel, is an easy way to make your trip feel like more work than it needs to be. Carrying unnecessary clothing, tents not designated for backpacking use, bulky, synthetic sleeping bags, or excessive cookware are all mistakes made, almost exclusively, by beginners.
Not Using Trekking Poles
I don’t think many newbie hikers or backpackers realize the benefits associated with using trekking poles. Reduced impact on your joints/knees, better efficiency and increased stability in rough terrain are just a few examples. And if you happen to be carrying a heavy load, the added support the provide is a godsend.
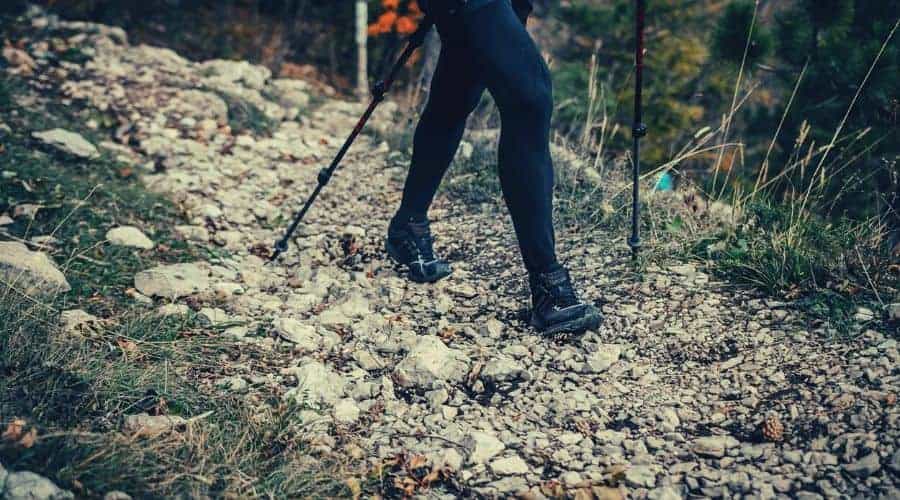
Like many beginners, I never really saw the need for hiking poles… until I started using them. I’ve since proclaimed that trekking poles may be one of the most underrated items associated with backpacking, and I seldom hike without them.
Forgetting To Consider Elevation Along Your Intended Route
There have been many times where I have calculated the distance along my intended route, in an attempt to estimate hiking time, without minding the elevation change. It’s not much fun to realize, in the midst of a grueling ascent, that 2.5 miles up 2,200 feet of elevation will not happen in 45 minutes like it might on level terrain.
It’s easy for first-time backpackers to focus only on the number of overall miles they’d like to achieve on any trip. Just remember to, also, take a look at the map’s elevation profile so that you don’t end up in over your head.
Beginners Guide to Backpacking: Planning Your Backpacking Trip
Most successful overnight trips would not happen without meticulous planning and foresight. We’re not saying that your time on the trail needs to be formally structured or that you need to follow a strict itinerary for your adventures (in fact, the opposite strategy can be quite rewarding).
The planning that we’re referring to takes place years, months, or weeks before you ever depart on a trip, irrespective of its goals. Here’s how it’s done:
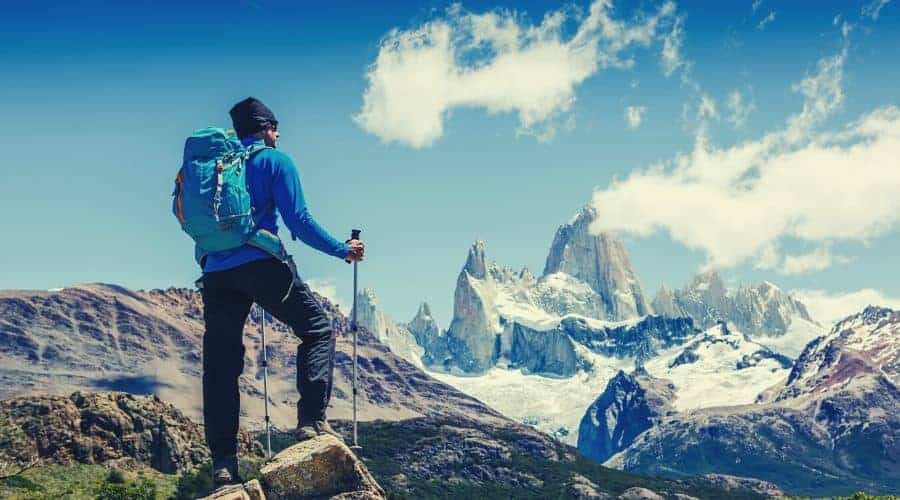
What Are Your Objectives?
Are you keen to partake of a backpacking trip for a chance to relax in nature? Or to see an iconic site, perhaps within a National Park, that you’ve always wanted to explore? Or do you just want to try something new to say that you’ve done it? Perhaps, you are looking to challenge yourself and impress with a high mileage number.
Defining exactly what your goal is for an upcoming trip will help you select a destination and route that pairs well with it. Always remember, to take into account your fitness and experience levels, and try to start small and then build your way up. First-time backpacking trips can be a steep learning curve and this policy will help prevent biting off more than you can chew.
Beginner Backpacking Trips – Where To Go?
Choosing where you go for your first overnight backpacking adventure will, obviously, be a personal decision based on many factors.
While it’s true that many iconic multi-day backpack opportunities are within national parks, don’t forget about local forests, state parks and wilderness areas closer to home. Oftentimes, these places will serve as a better-proving ground, in which you can hone your skills for use on bigger trips that may require interstate or international travel.
Do Your Research
This is, arguably, the most important aspect of planning a backpacking trip. And with the modern-day convenience of the worldwide internet, there’s little excuse to skip it. Just go to your favorite search engine and do a simple keyword search on the hike you are looking at completing.
This is, often, where I discover key planning details such as backcountry permit requirements, the location of established campsites along the route, time of year concerns, or even specific alerts issued by land managers (high bear presence, wildfire concerns, closed sections of trail, etc.).
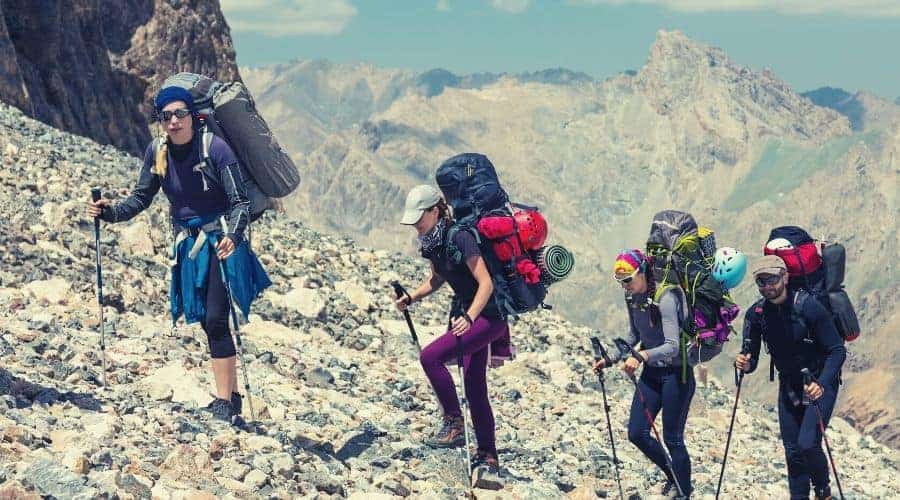
Suggestions For Coordinating With A Friend
Hiking with an experienced friend, particularly on your first-ever backpacking trip, is a great way to pick up skills. You’ll be able to ask them questions and see, firsthand, how they handle common scenarios along the trail. Here are some tips to help smooth the coordination of a trip with a friend:
Clearly define each person’s responsibility
- Are you both packing food, or is one person handling food while the other brings a stove and cookware? Which car are you leaving at which trailhead? Who’s tent are using? Who is bringing the map?
Confirm availability from the beginning
- It can be a challenge for working adults to match up schedules. Don’t plan an entire trip, assuming a friend will join you because they mentioned that they would like to, only to have them back out because they couldn’t get the time off of work
Only hike with people who are enthusiastic and ready for a challenge
- A negative attitude can affect the feel of an entire trip. Famed adventurer, Bear Grylls, once noted that he would prefer an enthusiastic teammate, even if they had fewer skills and less experience over an expert with a poor attitude. Follow this advice for a more enjoyable experience!
Backpacking for Beginners: Essential Backpacking Gear
Knowing what to bring on a backpacking trip can be an intimidating process if you haven’t built up your experience. There are a few basic principles, however, that you can use to help prepare for your first journey out.
Solo Or With A Friend?
Again, we strongly recommend finding a friend to join you for your first backpacking experience. Not only will it be reassuring in the event of a mistake (and let it be known, you will make mistakes), it helps to spread out the weight of your backpacking gear.
Buy Your Gear Before Your Pack
Upon deciding that they would like to start backpacking, many new backpackers purchase a large backpacking pack (70+ liters). We have noticed that if you start with a large pack, it is easy to find ways to fill it, ultimately, carrying far more than is necessary.
Accumulate what you plan on putting in the pack first, then select the one that fits it all. It may be a lot smaller than you think!
Familiarize Yourself With The Big 4
The following four gear items will, likely, be in your pack for every overnight trip that you take.
- Backpacking Pack
- Best Backpacking Sleeping Bag
- Best Backpacking Sleeping Pad
- Best Backpacking Tent
They are crucial to your comfort and safety, and they will comprise the biggest source of weight within your pack (check out our ultralight backpacking guide for tips on how to reduce weight with each of the 4). Extra thought and care into selecting the best/lightest options, within each category, will pay off in the long run.
The Essentials For Backpacking
Hikers and backpackers have utilized a simple list of essential items, necessary for preparedness and comfort in the wild, for many decades. The ‘ten essentials’, to which they are commonly referred, is a great place to start for any new backpacker wondering what they should carry. And once you’ve got the gear, of course, also make sure you know how to use it.

Practice Makes Perfect
Testing your gear in a comfortable setting close to home, like in your backyard or a local campground, before bringing it on a backpacking trip is a smart strategy to help avoid later frustration. Learn to use your new backpacking stove so that its ignition, and the subsequent cooking, is second nature on your trip. Learn, and practice how to pack a backpack correctly.
Practice setting up your tent so that putting it up in a hurry, a common scenario due to darkness or storms approaching is a simple proposition. Wear your new pair of hiking boots on a local walk around the neighborhood before setting off with them on a 75-mile section hike. You get the idea.
Clothing For Backpacking
You’ve seen it before, you’ll see it again…no cotton in the backcountry, please! It absorbs moisture easily, provides limited insulation when wet and requires a long time to dry. Instead, look for a synthetic (polyester, nylon) and natural wool (traditional or merino) clothing approach that keeps you regulated in a wide range of temperatures.
A layering approach is preferred by experienced outdoor professionals, and is, really, the only way to prepare for temperature changes with minimal clothing. Begin familiarizing yourself with the three-layer system to outdoor clothing, highlighted in the chart below.
| Base Layer | Wicks moisture away from your skin | Merino wool & polyester are the preferred options | Thickness should be determined by forecast and level of exertion |
| Insulation Layer | Provides warmth for your body by trapping pockets of air | Can be natural down (lighter/warmer) OR synthetic polyester (cheaper/better in wet conditions) | Lightweight best for most conditions unless your trip is in extreme cold or will involve lots of sitting still |
| Shell Layer | Keeps the elements out (wind, rain, snow) | Typically nylon or Gore-tex, often treated with durable water repellent (DWR) finishes | Maximum weather protection usually means less breathability and vice versa |
Preparing Food For Backpacking
Choosing food for a backpacking trip is a delicate balance of needing to replenish large numbers of calories with food that is light, takes up minimal space, and can survive several days without refrigeration. And, oh yeah, it’s nice if you actually enjoy eating the stuff you bring too.
When done correctly, it takes a considerable amount of time in the days before your trip. Check out some tips below, or explore our guide to backpacking food ideas, gleaned from our hard-earned experience (a fancy way to say we’ve done it wrong a lot).
Prepackaged, Freeze-Dried Backpacking Meals
Found in most outdoor stores and online, these packs are a convenient way to get started with carrying food into the backcountry. There are many meals to choose from, and in most cases, all you have to do is add boiling water to cook/rehydrate using a canister stove (or similar).
They are, however, expensive and their packaging can be heavy. As most backpacker’s experience grows, they tend to rely less on freeze-dried meals like this.
Utilize A Snacking Strategy
Plan your food consumption while backpacking for several 200-400 calorie snacks, every few hours, as opposed to a traditional, three meal approach. This will keep you better energized throughout the day. Foods that make great snacks for backpacking (high calorie, good fats, protein, light):
- Nuts
- Trail mix
- Energy bars
- Jerky
- Dried fruits
- Cheese & crackers
- Peanut butter
- Chocolate
- Angel hair pasta
- Energy chews (in moderation)
- Homemade fruit roll-ups
Consider investing in a dehydrator, like the Nesco one seen here, to expand your options for backpacking food. We have used ours for pasta sauces, dried fruits, and much more!
Sample 3 Day Backpacking Menu
This is just one example of what we might bring for a typical weekend backpacking trip (Fri. evening – Sun. afternoon).
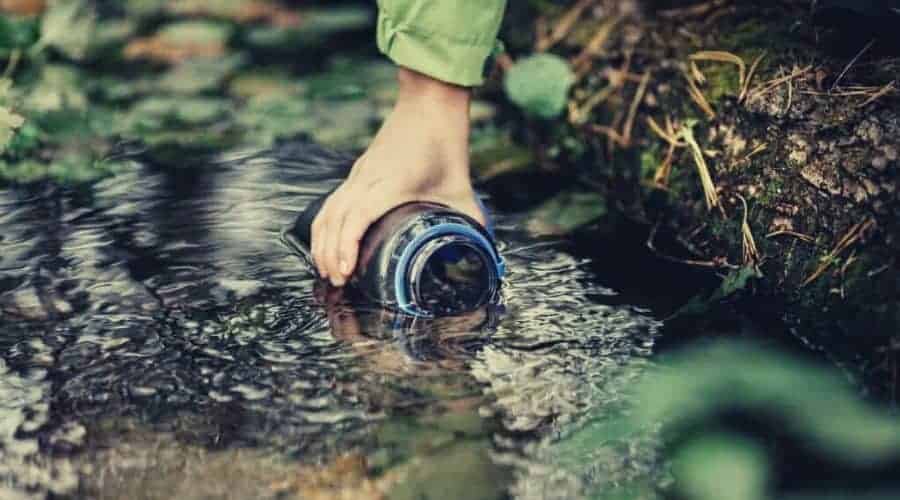
Strategies For Carrying Water
Staying properly hydrated while on the trail is a critical component that beginner backpacker’s often overlook. The amount you need to carry will vary based on weather conditions, energy output, and the availability of water along your intended route.
Popular Methods For Storing/Carrying Water
Hydration reservoirs with drinking hose
Benefits:
- Allows for convenient drinking while hiking – no need to take off your pack
- Ample storage, typically 2-3 liters
- Our preferred method for 3-season backpacking (check out the best hydration bladders)
Drawbacks:
- Hose can freeze easily during cold-weather adventures
- Routing the tubing can be a nuisance – care must be taken every time you set your pack down to avoid depressing the mouthpiece, resulting in water leakage
Plastic Bottles (Nalgenes)
Benefits:
- Volume indicators on sides of bottles make for easier water measurement when cooking
- Ease of collection at water sources
Drawbacks:
- Heavier than soft-sided versions
- Takes up a full liter of volume in your pack, regardless of how much water is actually in the bottle
Collapsibles (We use these from Platypus)
Benefits:
- Lightest option
- Adaptable – takes up less space in your pack as you consume water
Drawbacks:
- Less durable
- Can be difficult to drink with one hand
Don’t Forget: Water Treatment (Water Filter, Tablets, or Purification Pen)
All water in the backcountry should be treated properly to reduce your chance of contracting harmful bacteria. We use the Steripen Ultra, a device that kills 99.9% of all harmful bacteria with UV light. It’s lightweight and can treat a full liter in 90 seconds. Other options include traditional pump filters, gravity fed filters, or iodine tablets.
Beginning Backpacking: Getting Mentally And Physically Fit For Your Trip
No backpacking guide is complete without mentioning a few caveats.
Backpacking is hard. You will, likely, be carrying over 30 lbs. on your first backpacking trip and doing so for many miles over rugged terrain. You will be managing your safety and exhaustion levels without the comforts of home.
Tasks, such as navigating, collecting and treating water, setting up camp, preparing your food, cooking, or doing dishes seem constant. Happy backpacking requires a high level of mental and physical toughness. Here are some ways to boost both:
Practice Hiking With Weight
Regardless of how many miles you’ve accumulated on day hikes or trail running, practice hiking with 20+ pounds in a backpack before you ever consider an overnight backpacking trip. Trust us, it’s a lot different.
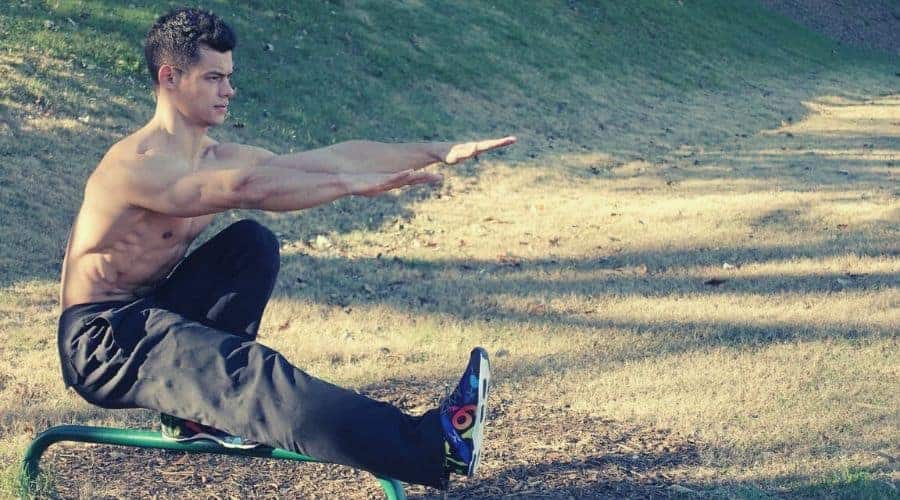
Strengthen Your Legs
It shouldn’t be hard to anticipate which area of your body will take the biggest beating over several days spent hiking. A strong lower body will help counteract the fatigue and soreness, often, encountered by inexperienced backpackers.
Incorporate Elevation Gains Into Your Training
Two miles flat is, significantly, different than two miles with 1,500 ft of elevation gain. Instead of your usual run on flat pavement, find a route that requires some steep hills or stairs, even if it is a shorter distance. It won’t take long before you discover nature’s many stair steppers so why not be prepared for when you do?
Mental Flexibility
Accepting the reality that most trips will not go exactly as planned will help ensure your enjoyment, regardless of what mother nature throws at you! Playing ‘what if?’ scenarios in your mind during the weeks leading up to a trip is another great way to mentally preparing for situations that may require you to adapt.
Backpacking Skills Needed For The Trail
Developing your skill set as an outdoor adventurer can be one of the most fun aspects of the whole game. These skills prepare you for the inevitable mental and physical challenges that come with spending time outside, increase your ability to adapt to emergencies and, ultimately, ensure that you are enjoying the outdoors responsibly.
Practice some of these before and during your first trip:
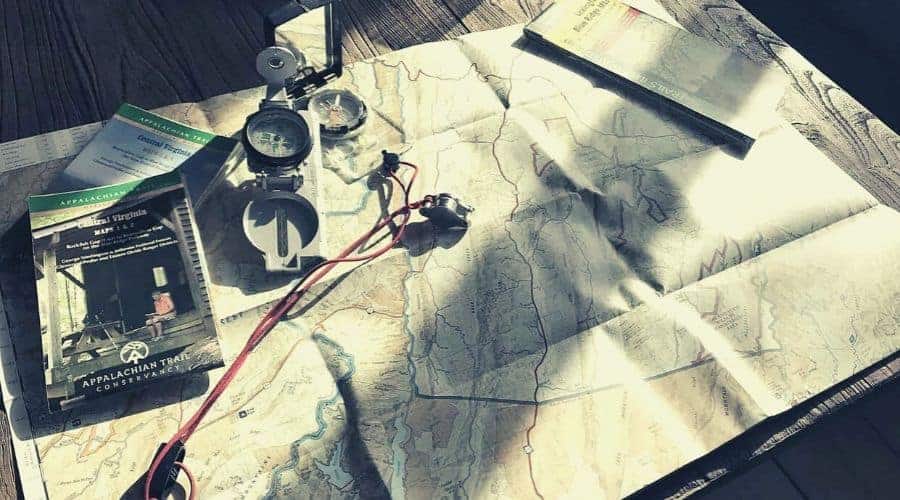
With the increase in popularity of GPS devices, the art of reading, orienting and navigating with the use of a map and compass seems to be dying. Don’t contribute to that demise. Learn to use a map and compass (check out our in-depth guide to compass navigation to get you started).
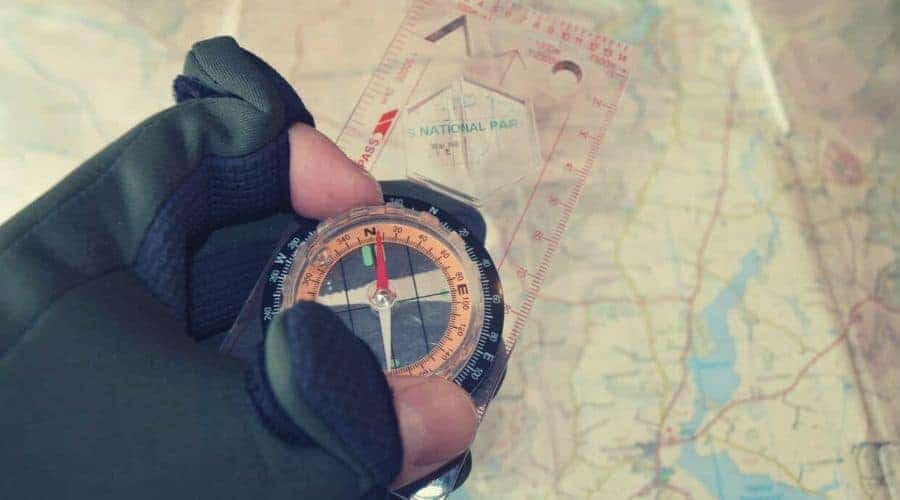
GPS and cell phone apps rely on battery and signal, neither of which is a given in remote environments. Plus, a map and compass are much lighter than a bulky GPS unit. Experienced backpackers seldom carry a GPS unit, unless exploring far, remote regions of the world, not likely to be the case for your first backpacking trip.
Food Storage
We talked about what type of food to bring above, but have you thought about how you will store that food once out on the trail? Learn to hang a ‘bear bag’ properly, or invest in a canister, so that you can prevent animal encounters. Here are our 3 most commonly used methods for food storage on the trail:
- Bear bag hang – we prefer the PCT method shown here
- Hard-sided bear canister – Some national parks and wilderness areas require these of all overnight visitors (we use the BearVault-450 )
- Food storage boxes – many established, backcountry campsites have food storage containers designated for overnight food storage
First Aid
Spending time out in the wilderness requires a certain level of self-sufficiency and planning for those situations we hope we never encounter.
Bringing along a backpacking medical kit is a must, whether you are travelling solo or with friends. We’d highly recommended purchasing a pre-made one (check out our guide to the best first aid kit for backpacking) to begin with, and adding/removing items as you learn and your skills grow.
In addition to owning a first aid kit, you will also need to understand how to perform first aid. There are many providers of wilderness first aid courses dotted around the country, so there is really no excuse not to attend one.
Personal Hygiene
Finding ways to keep yourself feeling, relatively (I mean if you’re not a little dirty, then you’re not trying hard enough!), clean and refreshed on any overnight or long-term trip is key to your overall enjoyment. Here are some tips to keep in mind:

- Bring the best backpacking soap for washing your hands, face, hair, dishes, or whatever else you want clean.
- Staying clean is important to prevent thigh chafing, butt chafing, or just generally, chafing. Dirt and sweat will contribute to irritating your skin in these hot spots. A good lightweight backpacking towel that dries quickly is highly recommended.
- Brush your teeth – don’t forget a toothbrush and toothpaste (organic, biodegradable is best practice)
- Moist wipes can be a great way to wipe dirt, sweat, and skin protectants (sunscreen & bug spray) off at the end of the day
- Bring a cathole trowel and know the correct method of disposing of *ahem* human waste.
Get A Little Knotty
Despite the eye roll that I receive every time I make this joke with my wife, practicing knots is a fun way to build your outdoor skill repertoire. I have used knots to hang bear bags, tension guylines on a tent or tarp and secure gear to the outside of a pack. Check out our guide to basic knot tying for camping and be amazed at all the future uses you will find for them!
Leave No Trace
No discussion on the skills needed for backpackers would be complete without mention of the 7 leave no trace principles. These guidelines, established by The Leave No Trace Center For Outdoor Ethics, help protect the delicate environments you may be traveling through and they should be followed on every trip you take.
EXTRA: Backpacking With Kids And Dogs
Sharing your love of nature with your offspring or four-legged best friend can create memories to last a lifetime.
Be warned though, it’s not always as idyllic as it sounds. Caring for yourself in harsh environments, with limited resources, is hard enough. Adding someone else to the mix can create a plethora of new challenges. Here are some tips to better your odds for a pleasant experience!
Kids
Lower the Mileage
It can be tempting to increase the distance of your planned route with a child in an attempt to wear out their seemingly endless supply of energy. As energetic as they may be at home, hiking requires a different kind of fitness.
Kids have smaller legs and tend to get bored easily. Contrary to the above sentiment, we recommend a shorter hike each day (1-6 miles depending on age & fitness) than what you might plan if it were only adults.
Make Them Carry Gear
Isn’t there a saying among parents along the lines of, “the main reason we had kids was to help us with chores!” While it may not be realistic for a 5-year-old to carry all of their own equipment, something is better than nothing.
Make sure that your child will have their own pack, and we encourage you to let them pack it (creative/strategic thinking practice). It creates a sense of personal responsibility for the child and prepares them for greater physical burdens with future trips as they age.
Have Lots of Cool Info and Area-Specific Knowledge Ready
This is your chance to step into the shoes of a national park ranger! Doing some area research and familiarizing yourself with the local plant and wildlife will give you plenty of ways to keep your child engaged on the trail (and help to steer them clear of danger!).
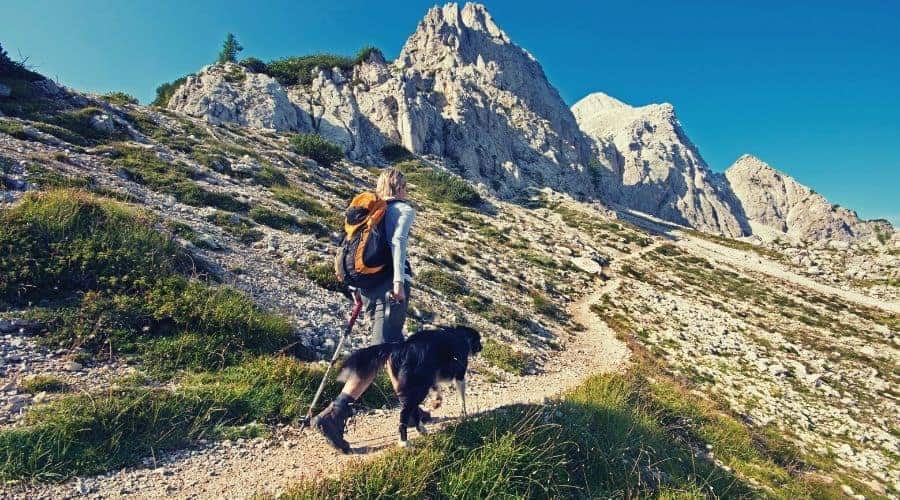
Dogs
Don’t Forget Their Food and Water Needs
Just like you do when exerting yourself on a challenging hike, your dog will need greater quantities of food and water to stay energized and hydrated on the trail.
Invest in a Dog-Specific Pack or Vest
I guess since we didn’t let kids off the hook with carrying some of their own gear, we shouldn’t do it with dogs either. You might be surprised how much of their gear you can fit in a small dog pack. This makes it easier to bring along the extra items that will make their life easier, without having to suffer yourself from a heavier pack.
Give Them Frequent Breaks
It can be hard to discern when a dog is just panting from exercise or on the brink of serious heat exhaustion and dehydration. Your fitness level might allow you to go 8 miles without stopping, but unless your dog has been acclimated to that before, don’t expect them to do the same.
Give them frequent breaks to drink, eat, or lay down for a bit. This will ensure you both stay happy on the trail.
Save for later!!! ⤵️