
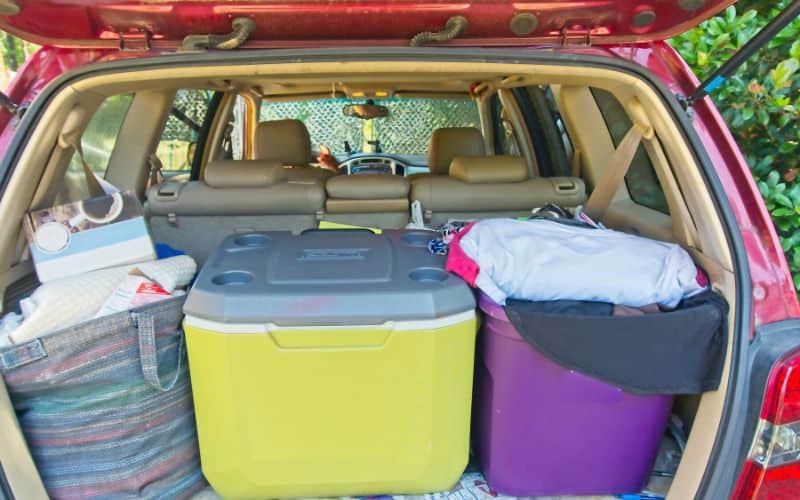
Keeping your meals cold and fresh is critical to a successful camping trip. Wet or regular ice will do the job on shorter trips, but on longer ones, opt for the dry version.
In this guide, we’ll teach you how to use dry ice for your campsite needs. We’ve included safety precautions, cooler packing tips, and other fun and practical ways to use dry ice.
Table of Contents
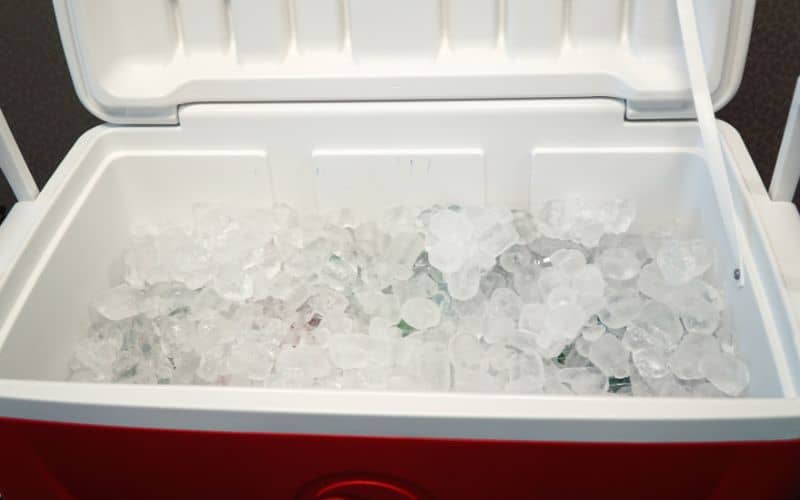
Dry Ice Vs. Regular/Wet Ice
Regular/wet ice has its disadvantages. For example, when regular ice melts, you’re left with a soggy cooler. Egg cartons and cardboard packaging don’t mix well with water. They disintegrate in the meltwater and turn your camping cooler into a mess.
On the other hand, dry ice sublimates, meaning it doesn’t melt but turns from a solid into a gas. This means your cooler stays tidy and clean, and your cardboard packages won’t fall apart.
The other significant disadvantage of regular ice is how quickly you have to replace it. On a warm-weather camping trip, you might need new ice twice daily. So how much dry ice will you need to bring on your trip? One 5-pound block can last up to 24 hours and more when packed with other blocks and stored correctly. This translates to roughly twice the cooling power of regular ice.
Dry Ice Usage Tips
1. Safety First!
Dry ice, or frozen carbon dioxide gas, is a great tool for camping, but there are safety precautions to be aware of. For example, if it comes in contact with your bare skin, it will burn you. To avoid burns, line the bottom of your cooler with dry ice and separate it from the rest of the contents with a piece of cardboard. Also, never handle dry ice without gloves or a towel.
Correct storage is also important. Dry ice and glass don’t mix as the extreme cold can cause the glass to shatter. As such, it’s best to keep it in plastic containers and leave the glass containers at home.
You’ll also need good ventilation because dry ice gives off carbon dioxide gas (Co2) when it sublimates. Breathing in high concentrations of Co2 can cause headaches, shortness of breath, sleepiness, and in extreme cases, death. This is easy to avoid by using it only in open spaces and never storing it in your tent or RV with you.
We also recommend you keep your car windows open when transporting it or strap your cooler to the outside of your vehicle. Don’t keep your cooler in your tent with you.
2. Make Your Dry Ice Last
It’s hard to say how long your solid Co2 stash will last. Variables such as the outside temperature, where you keep your cooler, and how often you open it will all impact the duration of its effectiveness. To prolong your dry ice, follow these tips:
- The more space, the better – Dry ice does best in a large cooler with room for multiple blocks.
- Add newspaper – Pack the empty spaces inside your cooler with crumpled newspaper to cut back on airflow and extend the life of your dry ice.
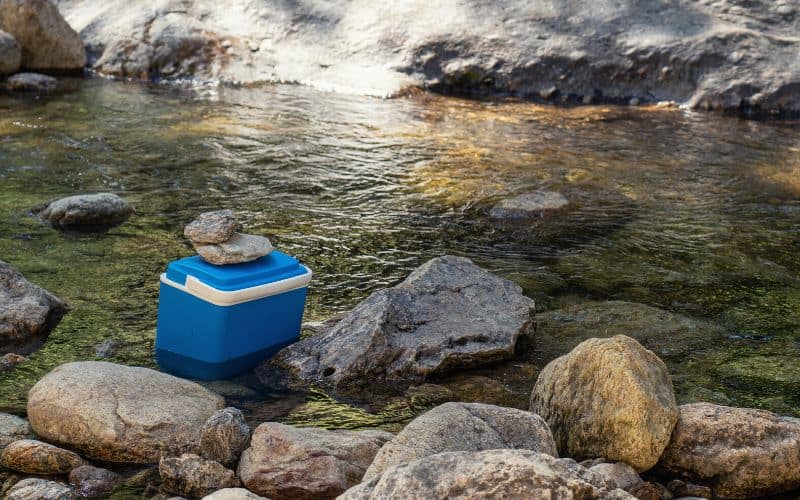
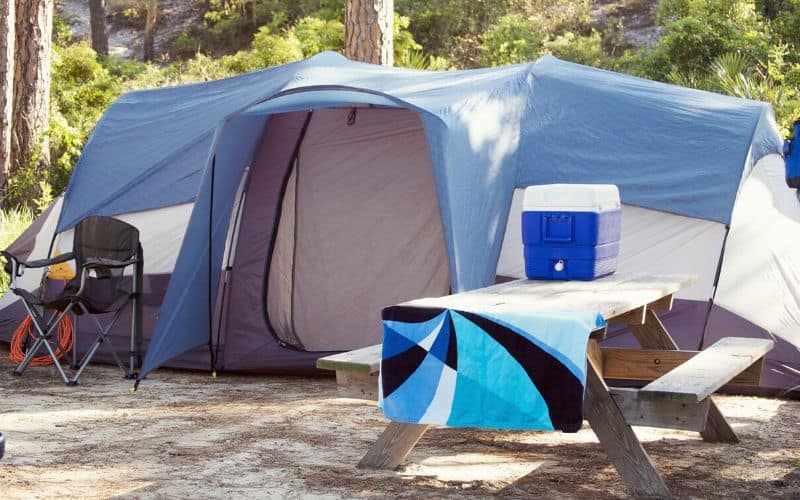
- Shade is your friend – Store your ice chest or camp cooler in the shade. Put it under the campsite picnic table, the bumper of your car, or stash it under a bush.
3. Make a Makeshift AC
It’s easy to turn your dry ice into a cool breeze on a hot day. All you need is a block of dry ice and a portable, battery-operated fan. Place the fan behind the ice, and it will blow the cold air toward you.
Remember not to try this in an enclosed space to avoid the risk of breathing in too much carbon dioxide. Also, be aware that a makeshift AC setup uses a lot of dry ice. If you have extra, however, this is a great way to cool down.
4. Cocktail Time!
Dry ice can make any drink deliciously cold with an added misty flare. Remember to wear gloves or tongs when handling it though. If you’re worried about burning yourself while drinking, wait about five minutes until the dry ice disappears.

5. Mitigate the Mosquito Problem
Mosquitoes find us by following the carbon dioxide we exhale. Luckily, dry ice also gives off Co2. You can easily create a trap that attracts pesky mosquitos and keeps them away. The best part is it’s inexpensive and environmentally friendly.
Here’s how:
Place a piece of dry ice in a cloth drawstring bag or a small drink cooler and hang it up. Place a bug zapper close by. The carbon monoxide given off will attract the mosquitoes, and the zapper will finish them off. Rechargeable or solar bug zappers are perfect for camping adventures.
Remember to keep the dry ice bags in a well-ventilated area. In other words, don’t set the trap up in your tent or RV.
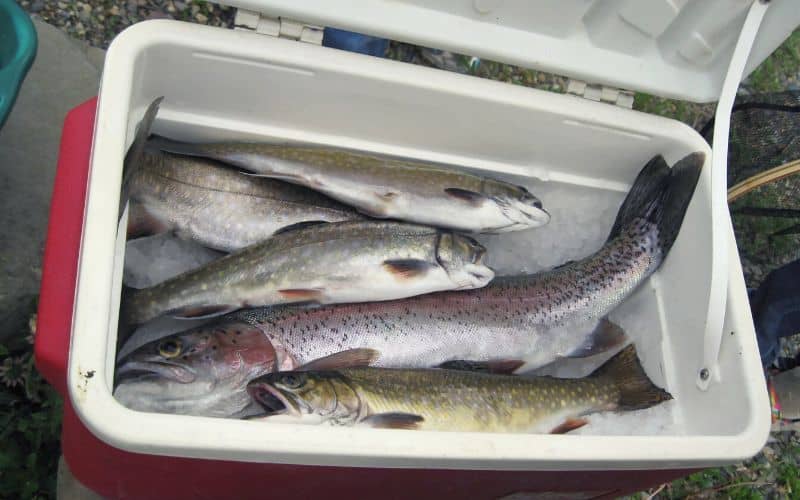
6. Freeze Your Fish
Freeze the catch of the day in your cooler. You can use dry ice to keep your fresh catch cold or flash-freeze it. To preserve your fish with a flash freeze, simply wrap it in packaging paper or newspaper and surround the bundle with dry ice in your cooler.
To keep the fish cold but not frozen, use more paper between the fish and the block, and don’t pack the ice on top.
7. Pack Your Cooler to Perfection
How you pack the ice chest plays a big role in how long your ice lasts. Follow these steps for a perfectly packed cooler.
- Wrap the dry ice in newspaper – First, wrap the ice up in newspaper or packing paper. The newspaper helps keep it from evaporating and prevents direct contact with your skin, which can cause burns.
- Pack frozen food – Pack frozen foods directly on the wrapped ice. The frozen items help keep the dry ice frozen and your cooler cold and vice versa.
- Pack drinks and thawed food – Pack any drinks and food that don’t need to stay frozen, just cold, at the top.
- Fill the empty space – As already discussed, the less dead space in your cooler, the longer the dry ice will last. Pack crumpled newspaper into any voids in your ice chest.
All to Know About Dry Ice for Camping!
Campfire meals are one of the best parts of any camping adventure, but enjoying all those tasty eats depends on having fresh ingredients, and the best way to keep all your ingredients fresh for the duration of your trip is to use dry ice.
We hope our guide on how to use dry ice for camping inspires you to upgrade your cooler setup before your next camping trip!
If you have any questions, drop them in the comment section, and don’t forget to share this with your camping crew.
