No matter how awesome your camping cooler may be, it ain’t gonna do the job you need it to do unless you learn how to pack it the right way.
Many campers are apt to think the formula for success is simple: toss in the ice, toss in the beer and grub… job done. If only!
Packing your cooler in a way that ensures your eats and drinks will stay cool or frozen for longer is a little more nuanced. Some may even say it’s an art form. But don’t panic: with the tips and tricks in our guide, you can master it in no time.
Table of Contents
What You’ll Need
- The cooler of your choice
- Ice (and lots of it) – regular cubed ice and block ice
- Dry ice (optional)
- Ziploc bags and watertight containers
- Reusable ice packs, a damp towel, or a reusable freezer sheet
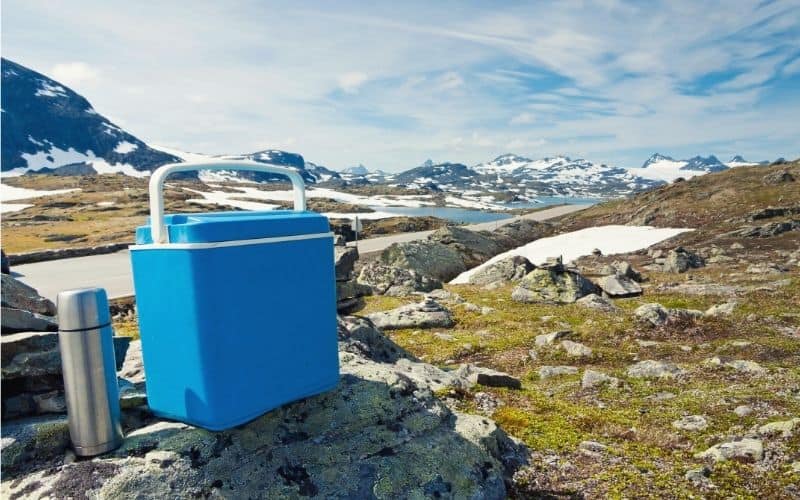
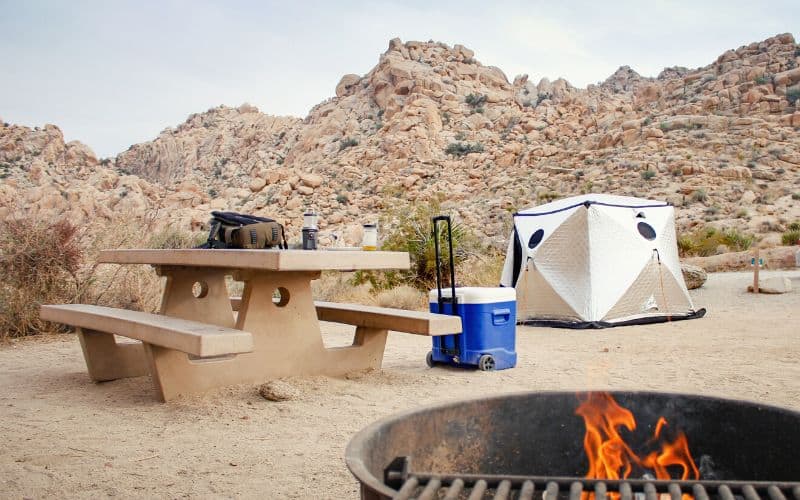
Choose the Right Cooler
The market is saturated with coolers of all shapes and sizes, and the performance you can expect from models at different points on the price spectrum varies hugely. Beyond price, you’ll also need to consider what type of cooler you need, what size you need, and how easy it will be to transport it to and from camp.
Hard, Soft, or Electric?
Choosing this hinges on four things: your budget, the duration of your trip, the size of your group, and where you plan on camping.
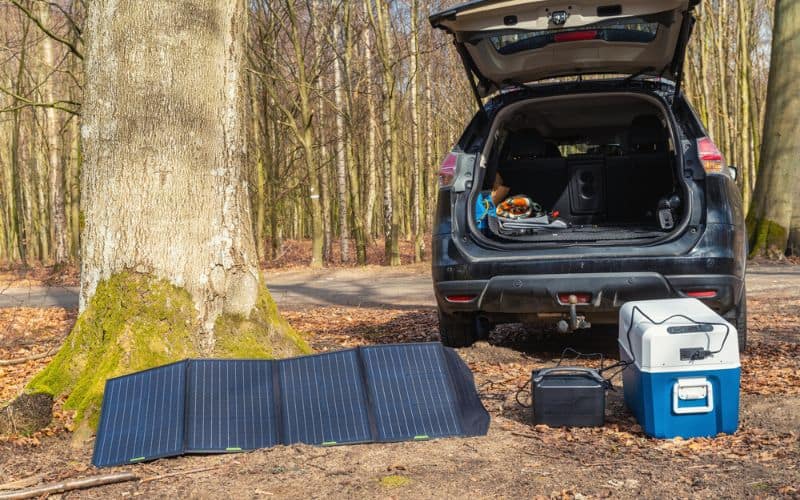
For long-stay trips when you have access to an electrical hookup, electric coolers like the Dometic CFX are the hands-down winners due to their superior cooling power. The downsides? The cost and the fact that they are useless if you don’t have access to an electricity source.
Rotomolded camping coolers like the Yeti Tundra are the best option if you don’t want to splurge on an electric model. Packed properly, these can keep your food and drink icy cold for multiple days. The downside? They’re still pricey, tricky to carry, and mightily heavy when full.
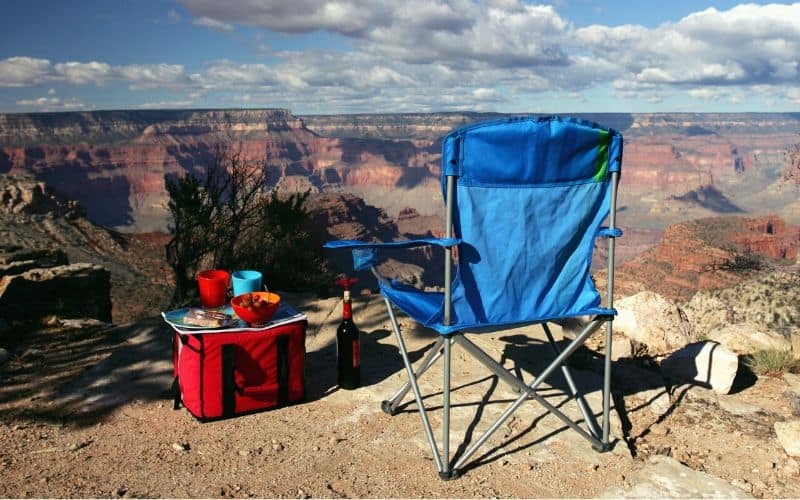
Soft-sided coolers like the Hydro Flask Unbound are the easiest to transport and also the cheapest option. Most, however, have poor ice retention, so are only suitable for day trips or single-night trips.
Insulation: Cooling Performance and Ice Retention
Nothing affects cooling performance more than the type of insulation used in the cooler.
Simply put, better, thicker insulation equates to better cooling performance.
All of the best camping coolers we’ve ever used have had one thing in common: 3 inches of high-density polyurethane foam sandwiched between a pair of burly, rotomolded, compound resin or polypropylene walls. If you’re on a longer trip, you’ll need the same. Many top-end coolers boast this quality of insulation, but our favorites are those in the Yeti Tundra range.
For short trips, you might get away with coolers with thinner insulation, whether they’re hard- or soft-sided. We wouldn’t, however, recommend these for trips longer than 24 hours.

Capacity
What size cooler do you need?
This depends on how many people you’re camping with, how big your appetites are, and the duration of your trip.
Below, we’ve added an at-a-glance overview of different capacities and their suitability for different group sizes and trip durations.
N.B. Because so many variables come into play (food type, ice-to-contents ratio, and the size of your appetites), these are best viewed as “ballpark” estimates.
- Small (10–35 quarts) – Ideal for a day trip for 2–4 people or an overnight camping trip for 1-3 people. Our top pick in this category is the Yeti Roadie 24.
- Medium (35–55 quarts) – Compact enough to be loaded into a car trunk and can be carried by one person. Ideal for weekend trips for 2–4 people. Our top pick? The RTIC 45.
- Large (55–75 quarts) – A good size for two or more people traveling for multiple days, or weekend trips for groups of 5 or 6. Our favorite model in this size category is the Yeti Tundra 65.
- Extra Large (75+ quarts) – Perfect for larger groups for a 3 to 4-day camping trip or smaller groups on longer trips. The best cooler in this size range is the Blue Ark Series 100.
Add Cooler Accessories
Most high-performance coolers have accessories like racks and baskets that can be used to compartmentalize the interior space.
Why is this a good thing?
Firstly, it helps keep things neat and tidy and lets you separate different types of foods (e.g. poultry, fish, veg), which helps with hygiene and avoiding illnesses like salmonella.
Secondly, keeping things organized means you’ll spend less time searching for stuff, which means there’ll be less warm air getting in to accelerate ice melt.
Another useful accessory is a food thermometer. If you attach one of these on the inside, you’ll be able to tell instantly whether or not your cooler’s interior is at the desired temperature (below 40°F).
Weight and Portability
As explained below, to pack a cooler properly means carrying a lot of ice. Once you’ve added this and all your food and drinks, the total weight of your cooler could be more than you’d be comfortable squatting in the gym.
For this reason, we recommend careful consideration of what size cooler you need for your trip. In addition to this, you’ll want to ensure it has good transportation features if you choose a model at the heavier end of the scale. These include features like wheels (see the Yeti Tundra Haul) or “double haul” rope handles that make it easy for two people to carry.
Prep Your Cooler
Starting with a cool cooler is the best way to ensure the contents stay cooler for longer at camp.
There are two ways you can pre-cool your cooler.
Firstly, you can load it with “sacrificial ice” around 12-24 hours before you plan on packing it and setting off. This ice will thoroughly chill the cooler’s insulation before you get to packing it, which will seriously improve ice retention once you’re on your way. As you might have guessed from the name, “sacrificial ice” should be swapped out for the regular kind when packing.
If you have access to a commercial freezer, all the better! Just throw your cooler inside for 12 hours or so before you intend to leave.
Whichever pre-cooling method you use, it’s always a good idea to give your cooler a good clean beforehand. Even if you cleaned it after your last trip, there’s always a chance that it will have bred bacteria or mold in the meantime.
Prep Your Food
Food prep is all about saving space, eliminating spills, and ensuring your food items stay frozen or chilled for longer.
Whether you’re bringing hot dogs, steaks, soups, or stews into the great outdoors, the first thing you should do is remove all packaging. This will not only help save space but also reduce any air gaps that will increase melting speed. If you’re keen to keep your food dry, use waterproof containers or Ziploc baggies – just be sure to pack them tightly.
Once you’ve removed the packaging, pre-chill or freeze all the items you plan on taking to camp with you, and only remove them from your domestic fridge or freezer when it’s time to begin packing your cooler.
Ice Prep
Ice prep work simply comes down to choosing the most suitable and effective form of ice. You have four options: blocks, cubes, reusable ice packs, and dry ice.
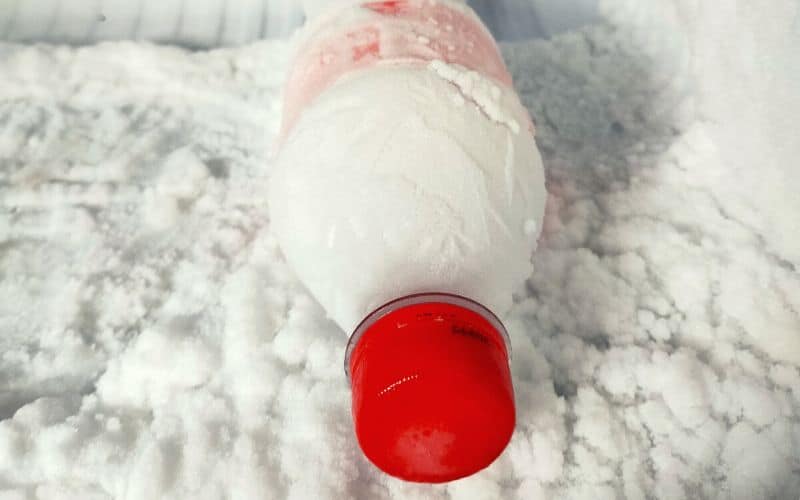
Block Ice
This melts far slower than cubes because it has a larger surface area. As such, it’s a good option for longer trips. You won’t find blocks on sale in too many places, but you can make it at home by filling an old plastic tub or similar container with water and throwing it in the freezer. Alternatively, you can pack frozen water bottles.
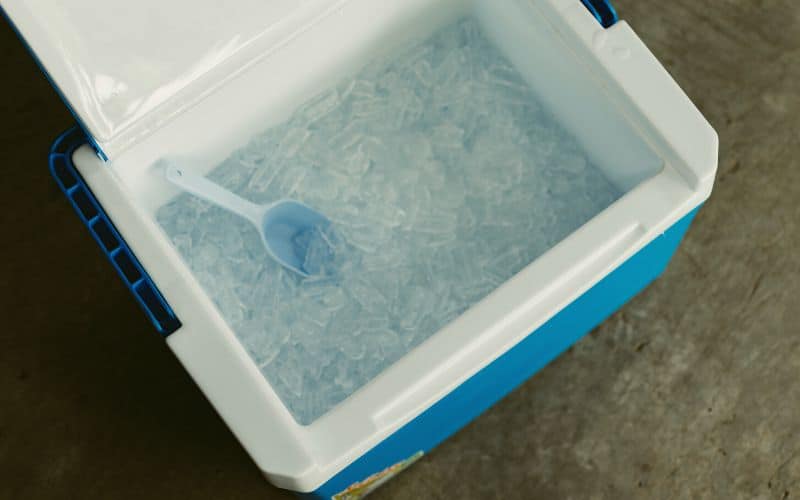
Crushed or Cubed Ice
You can either buy this or make your own ice at home, using your refrigerator’s ice maker or in plastic trays. This form of ice melts quicker than blocks but it’s ideal for filling gaps between your cooler’s contents to ensure there’s as little empty space as possible. As an added bonus, you can use it later in your drinks!
Dry Ice
Using dry ice is pricey, but it’s a great way to keep your food and drink chilled or frozen for longer. The temperature of dry ice is -109.3°F, so it will freeze anything it comes into contact with and last up to three times longer than standard ice.
The downside? Beyond the expense, dry ice emits gas when it evaporates, so you’ll have to ventilate your cooler to prevent damaging the materials. And because it’s so cold, you’ll have to be extra careful when handling it.

Reusable Ice Packs
These will often last longer than regular ice. They’re also perfect for lining the top of your cooler because they’re usually flat, so will fit snugly under the lid. If you’re heading on a longer trip, however, you probably won’t have a chance to re-freeze them, so it’s best to stick with regular ice and replenish this with store-bought ice when needed.
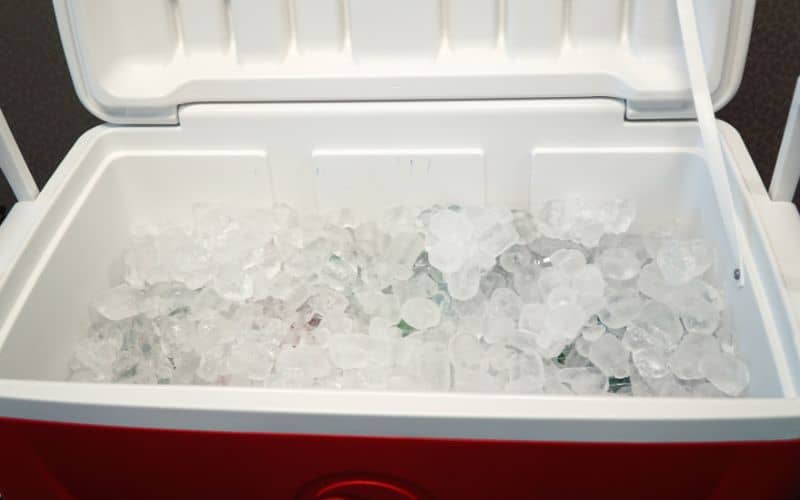
Ice Ratio
The ideal ice-to-content ratio when packing your cooler is 2:1. This means, simply, that you’ll have twice as much ice as you have food and beverages.
If you’ll be taking pre-frozen food, you can count this as ice when figuring out the ratio to give yourself a little extra space.
If you’re camping in very high temperatures, adding more ice might help a little, but not as much as you may hope for. In hot conditions, maximizing cooling performance comes down to packing your cooler properly, storing it carefully (in a shaded spot), keeping the lid shut, and managing the space, i.e. plugging gaps with ice or newspaper.

Pack Your Cooler Properly: Step-by-Step Instructions
- Start by prepping your ice, making sure you’ll have enough for the duration of your trip.
- Clean your cooler and keep it in a cool place until you’re ready to pack it.
- Prep and pre-chill your food and drinks.
- Immediately before hitting the road, start packing the cooler.
- Add a one-inch-thick layer of ice at the base.
- Pack your pre-chilled goods in layers. Your bottom layer should comprise everything you’ll use last on your trip and your top layer everything you’ll use first. Between layers, make sure you have another inch of ice.
- Pack cubes or crushed ice between your food and drinks to make sure there’s as little extra space as possible.
- Top it all off with a reusable freezer sheet, a damp towel, or frozen ice packs. Freezer sheets will trap cold air and limit the amount of warm air coming into contact with your chilled goods when you open the lid. If you don’t have sheets, a damp towel will do the job.
- Create a written or mental “cooler map” – this will help to cut down the time you spend searching for items with the lid open.
- With your cooler packed, it’s time to hit the road! In your vehicle, place it in a shaded spot, covering it with other camping gear to protect it from the sun if needed. Even if you own a beast of a Yeti cooler, this extra layer of insulation won’t hurt!
Other Tips to Maximize Ice Retention and Cooling
- At camp, keep your cooler in a cool, shaded spot.
- Throw a damp towel over it to add an extra layer of insulation.
- Move quickly when removing items to minimize the amount of warm air entering, especially in the summer heat.
- Use rock salt to chill your drinks. When you add rock salt to melting ice, it lowers the freezing point, so 20 minutes after adding the salt you’ll be able to enjoy a cold beer, rather than a lukewarm one.
- When you remove food items or beverages from your cooler, plug the air gaps immediately with fresh ice, newspaper, or paper towels.
- Even if your cooler has lid latches, place a heavy item (a large rock will do!) on top of it. This will help to ensure no cold air leaks out and no warm air sneaks in if it’s stuffed to capacity.
- Transfer condiments to smaller containers. Condiment jars usually have dead space that will trap warm air or are impractically bulky.
- Banish, berate, and/or go ballistic at anyone who leaves the lid open.
- Drain the water? Ice melt will keep food and drinks cold… but only for a limited time. Because melted ice will melt any remaining ice at an accelerated rate, the best practice is to leave it be on short trips. If you see lots of melted ice water on longer trips, drain it and add more ice or paper to stuff the gaps.
- Bring separate coolers for beer and drinks. These are normally the things campers reach for most frequently, and the bulkiest items you’ll bring. Bringing a designated drinks cooler will save space for food and help keep your food items fresh.
- Use two coolers. Even if you don’t want to bring a separate cooler for drinks, bringing a second cooler along for the trip is never a bad idea. Load one cooler with food and ice, and the second with ice only. When the ice in the first one melts, replenish it with some from the second. Simple!
How to Pack a Cooler 101
No matter how good your cooler is, how well it performs at camp depends on how well you pack it! We hope this guide has taught you how to pack a cooler for camping properly and helps ensure you enjoy perfectly chilled drinks and unspoiled eats on every future camping trip.
If you enjoyed this article or have any questions, drop us a line in the box below. And if you’d like to share it with your friends, please do!
