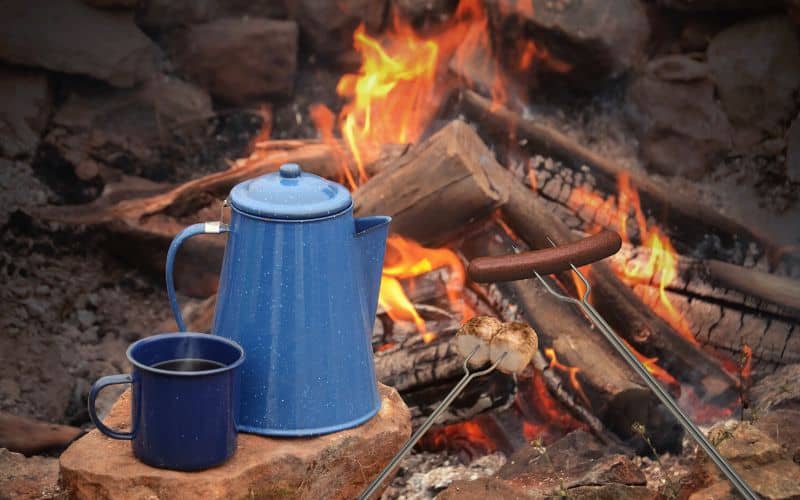
Tired of drinking bland instant coffee at camp? If so, there are a few ways you can go about upping your coffee game, such as pour-over drip stands, moka pots, or a French press. For the peeps here at My Open Country, however, one type of coffee maker stands head and shoulders above the rest: the percolator!
In this guide, we’ll show you how it’s done, taking you through step-by-step instructions as well as offering tips on how to choose the best percolator and ideal grounds for your camping trip.
Table of Contents
What Is a Percolator (and How Do They Work)?
Camping percolators are a form of pot used to brew coffee. Unlike a French press, they are placed directly on a stove or fire and circulate boiled water repeatedly through coffee grounds to extract flavor rather than letting the grounds soak in the water.
Percolators all have an integrated filter that prevents the grounds from escaping when pouring your cup of coffee.
Moka pots are also a form of percolator, but use a very different method to produce your brewed coffee, relying on pressure to force water up from the water chamber, through the filter, and into the top chamber.

Types of Percolators
Different types of percolators offer something a little different in terms of their suitability for camping and the end result. The three main types of coffee pot percolators are stainless steel, aluminum, and enamel.
Stainless Steel
Stainless steel is our favorite material for camping percolators because they’re more resilient and robust, and heat more evenly than aluminum or enamel.
Our favorite stainless steel model is the GSI Glacier, which has a silicone handle to prevent burns and a glass knob that lets you keep an eye on things while brewing. The GSI Glacier Percolator is also available in 3 sizes – 3-cup, 6-cup, and 9-cup.
Pros
- Heat evenly
- Robust
Cons
- Heavier than aluminum


Aluminum
The main selling point of aluminum cookware is that it’s lighter than steel or enamelware alternatives. The downside is that it doesn’t heat as evenly as steel and isn’t quite as robust.
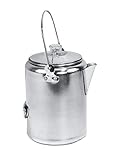
Our favorite aluminum model? The Texsport Aluminum, which weighs just 10 ounces but can make a mighty 9 cups of coffee in one go!
Pros
- Lightweight
- Ideal for large groups
- Typically more affordable
Cons
- Prone to dents and dings


Enamel
Enamel percolators are claimed by some to enhance the flavor of your brew. In our experience, the difference between a cup of mud brewed in enamel and one brewed in stainless steel or aluminum is negligible, if not non-existent.
We like the old-school, kitsch appearance of enamel percolators, but wouldn’t recommend them for camping unless you are exceptionally careful with your gear. Unlike stainless steel options, they can break when dropped and are easy to chip.
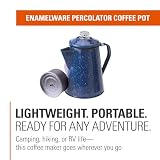
That said, a few hardier versions do exist. The best of the bunch is the GSI Enamel Camping Percolator Pot.
Pros
- Some claim enamel improves flavor
- Classy appearance
Cons
- Less robust than steel
- Chip easily
- Stain easily


What You’ll Need to Make Coffee With a Camping Percolator
- Coarse coffee grounds
- The percolator of your choice
- A camping coffee cup or camping mug
- Water
- A fire or camp stove
- Percolator filter (optional)
How to Use a Camping Coffee Percolator: Step-by-Step Instructions
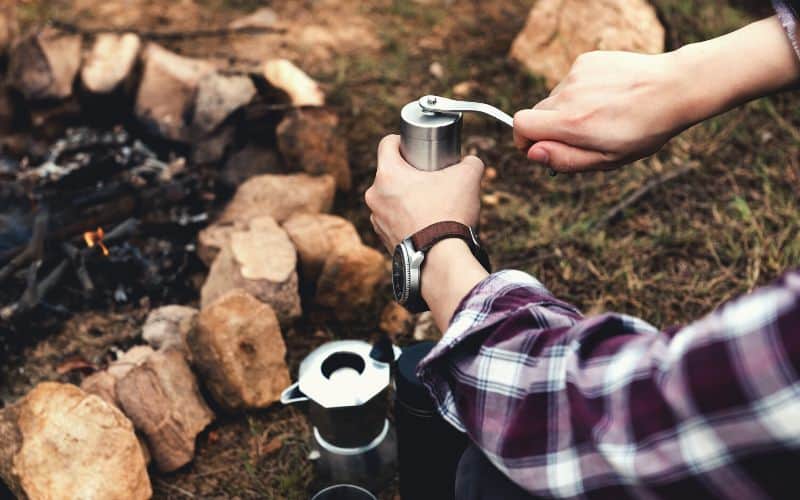
1. Grab Your Grounds
One complaint we occasionally hear about percolator coffee is that the filter often lets a few grounds sneak through and into your cup of coffee.
If cowboy-coffee-style mouthfuls of grounds aren’t your thing, the solution is to use a coarse-ground coffee. The grounds of fine-ground coffees, as you might have guessed, are small enough to pass through the filter of some percolators, whereas coarse grounds aren’t. To maximize flavor, we recommend using freshly ground coffee.
Alternatively, you can add a second, paper filter to the filter basket (see Step 4!).
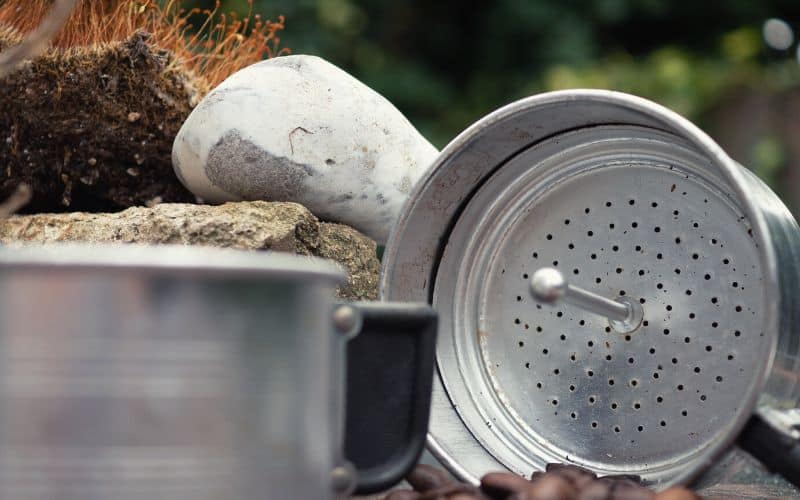
2. Take Your Percolator Apart
To get started, you’ll need to disassemble your percolator so you can add water and grounds.
In most cases, this is uncomplicated – the filter or brew basket and the stem should be pre-attached to the lid, so all you have to do is pull them out in one piece. If not attached, remove the screw from the base of the stem, attach the filter, then replace the screw.
3. Fill the Percolator Pot With Water
How much water do you need? The less water you use, the quicker it will boil and the sooner you’ll get that all-important morning coffee to your lips. However, you don’t want to sell yourself short by boiling only enough water for an espresso when Americano is your bag.
We recommend roughly measuring out your water using the cup or mug you’ll be drinking from, then adding a little more to allow for evaporation.
We also recommend using room- or ambient-temperature water. Water that’s too cool will take longer to boil and may extract less of the ground’s flavors, whereas water that’s too hot can extract a little too much, producing a bitter coffee.

4. Add Your Filter (Optional)
If you won’t drink coffee that has even the slightest trace of grounds in it, you might want to add a disposable filter.
Whether this step is necessary or not really depends on the quality of the filter basket in the perc you buy. And this can be hit or miss. Some cheap percolators have effective filters and some expensive ones don’t, so there’s no way of really knowing until you’ve put it to the test.
As mentioned above, the type of pre-ground coffee you use is also an important factor. The fine-ground kind made for drip machines will almost certainly end up in your cup, whereas coarser grounds are more likely to remain in the grounds basket and out of your finished coffee.


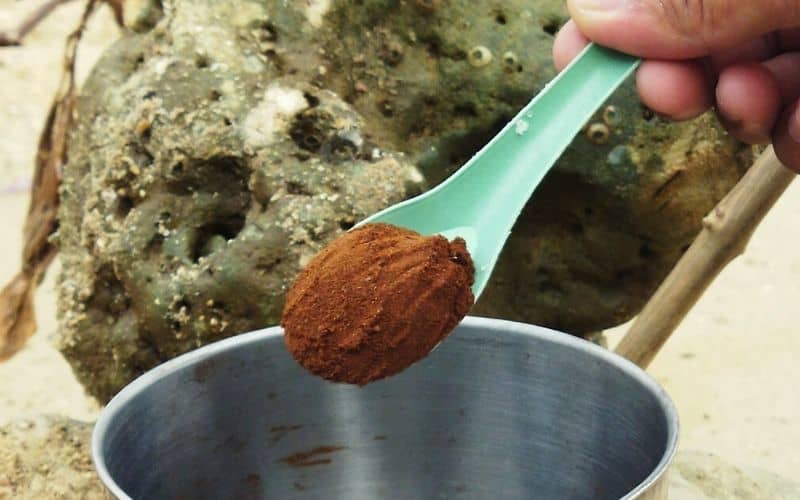
5. Add Coffee Grounds
This step may seem simple, but getting the quantity of grounds right is key to producing the desired strength and intensity.
How much coffee do you need?
While this depends on the type of grounds you are using, a good rule of thumb is to use one heaped tablespoon of fresh coffee grounds for every cup of water you add to the coffee pot. For a stronger brew, use one and a half-heaped tablespoons for every cup.
And how do you place your grounds in the percolator? Just drop them into the filter basket, replace the basket lid, then place it back into the water chamber along with the stem.
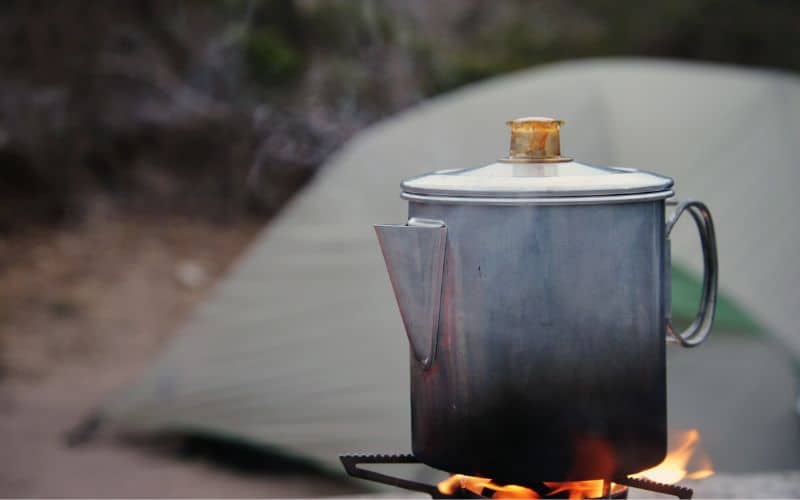
6. Heat to a Boil
Now, place your perc over the flame of your campfire or camping stove, taking care to ensure the handle doesn’t overheat by keeping it away from the flame. If using a stove, you want to use a high heat so your water reaches boiling point quickly. With a campfire, place the pot directly above the flame.
Leave the water to boil. This can take anywhere from 2 to 10 minutes depending on a few variables, including the ambient temperature, how much water you’re boiling, the starting temperature of the water, and altitude (water boils quicker at higher altitudes!).
You’ll know your water is boiled when you hear bubbling from inside the percolator and it starts to emit dense steam.
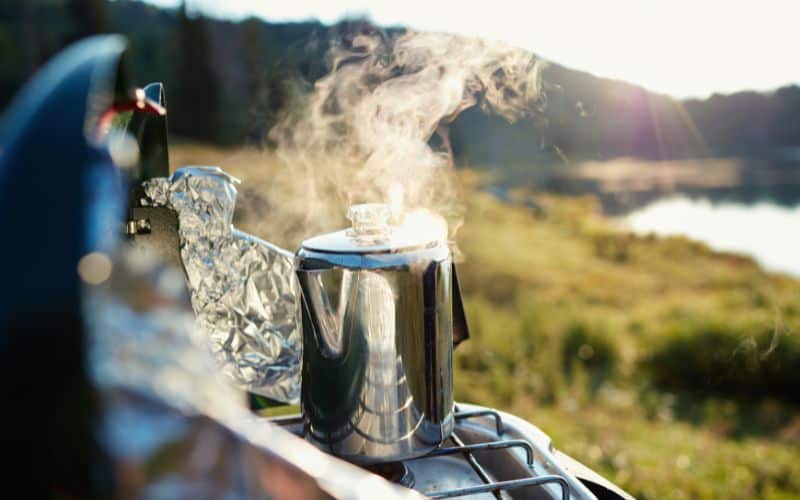
7. Simmer
When your water reaches a boil, your coffee still isn’t quite ready. To make sure you extract the full flavor from your grounds, you need to leave it to simmer.
When your water starts to boil, it’s time to lower the temperature on your stove. If you’re brewing coffee over a campfire, simply move your perc above hot coals on the edge of the fire pit grate.
You should ideally leave your brew to simmer for 12-15 minutes. During this time, it’s important to make sure your brew doesn’t return to the boil, otherwise, it will over-extract and come out burnt and bitter.
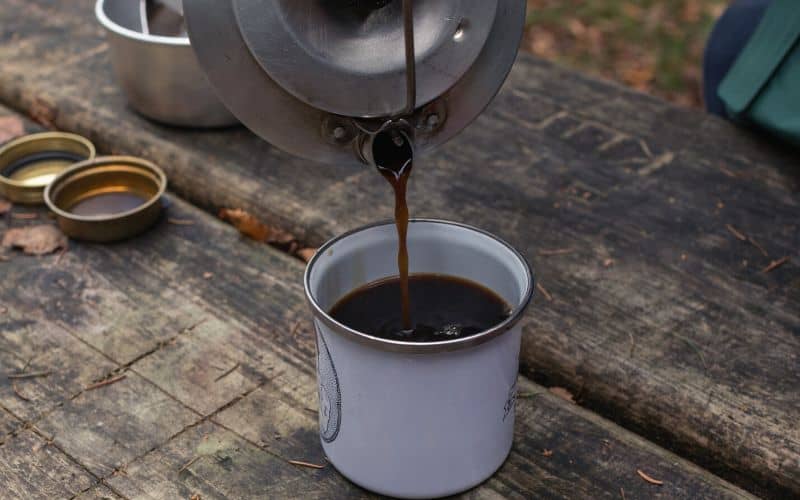
8. Pour
Now it’s time to slowly pour yourself that fresh mug of percolator camping coffee. To do so, remove the perc from the heat, taking care not to burn your hands.
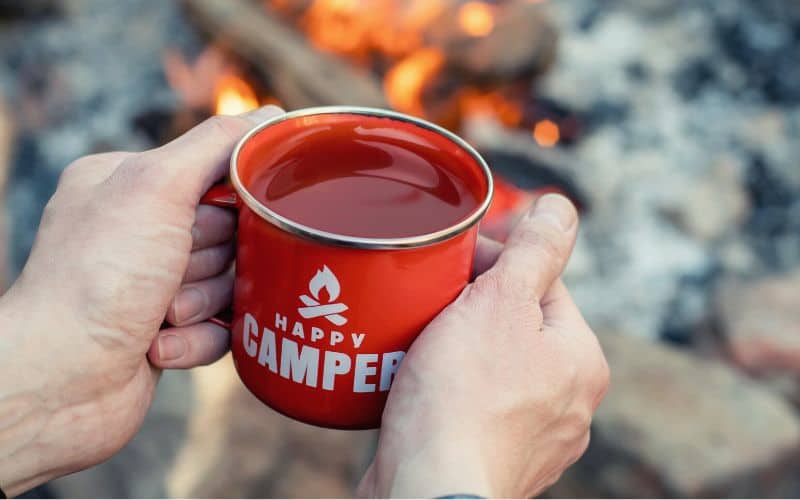
9. Drink
This pivotal stage in the process is one to be savored and not taken lightly. We recommend kicking back in a comfortable camping chair, turning off your phone, and savoring every sip of your hot coffee. When finished, give yourself a pat on the back for a job well done.

10. Clean
Cleaning your perc out properly is key to enjoying a similarly scrumptious cup of coffee the next time you use it.
First, dispose of your grounds. You can either dump them in the trash or, if dispersed camping, scatter them across the soil. Grounds are biodegradable, so doing so won’t harm the environment. If you use a paper coffee filter, however, be sure to pack it up and carry it out.
Next, wait until your perc has cooled down, disassemble it, and then wash each individual part with biodegradable camp soap and hot water.
Finally, leave the parts to air dry on a dishcloth before putting them back together again.
Happy Camping!
Knowing how to use a camping coffee percolator is a great way to ensure your morning cup of mud is as tasty as can be. We hope the above guide has demonstrated that using one is easy and well worth the effort of carrying an extra item to your campsite!
If you enjoyed this post or have any questions or comments, drop us a line in the box below. And if you’d like to share it with your friends, please do!
