Spending the night under the stars and savoring campfire-cooked meals in the great open air are some of the best parts of camping trips.
Yet along with the delicious camping meals comes one of the least enjoyable aspects: washing the dirty dishes.
Unlike the ease of washing up after dinner at home, washing dishes while camping can present a unique set of challenges. You need to be mindful of the sensitive environment, keep crumbs away from hungry critters, and make sure the plates are clean enough to prevent illness. All while working without a kitchen sink, running water, or a dishwashing machine.
In this guide to, we go over everything you need to know to get squeaky-clean plates at your campsite, including essential gear, step-by-step instructions, and important tips for minimizing your impact on our natural resources.
Table of Contents
What You’ll Need to Follow This Tutorial
To get started washing dishes while camping, you’ll need the following:
- Biodegradable camp soap
- Two buckets
- A sponge, brush, and/or pan scraper
- Strainer
- Camp stove and pot (or a kettle)
- A few dish towels or a dish rack
- A little elbow grease!
How to Wash Dishes While Camping: Step-by-Step Instructions
1. Dump Leftover Food
The first step to cleaning up after a campsite meal is to leave your tableware and utensils as clean as possible. The cleaner you get your plate at this stage, the easier and faster it will be to wash.
Try to eat everything on your plate to reduce food waste. Minimize leftovers by only preparing and serving yourself as much as you can eat.
Once you’re done eating, store the meal’s leftovers in reusable containers. Then, use a butter knife or spatula to scrape food scraps off the plate and into the trash. Next, take your used napkin or a paper towel and wipe all the food residue off your dish.
While far from acceptable at the dinner table, you might want to try the scouts’ technique. They are encouraged to lick their plate to help remove as much food as possible before washing.
For the easiest cleanup, start cleaning dishes as soon as possible after eating. Do not under any circumstances let the food dry out in the pans or on the plates. Leaving the dirty plates out will let the food stick to them. Stuck on food requires more water, time, and elbow grease to remove.
A plastic pan scraper tool makes campsite dish cleanup with limited water a lot easier. Simply use the tool to quickly remove any caked-on food from pots and pans before moving on to the washing stage.


2. Heat Your Water
A campground luxury, using hot water to wash the tableware is the best way to quickly remove stubborn grease from pans and plates.
Unless you’re staying at a campground with heated water or camping in an RV, you’ll probably have to boil water on a stove.
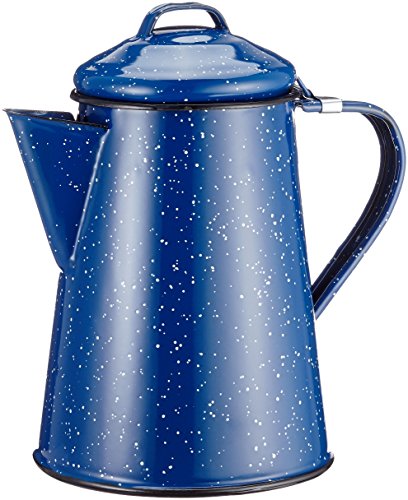
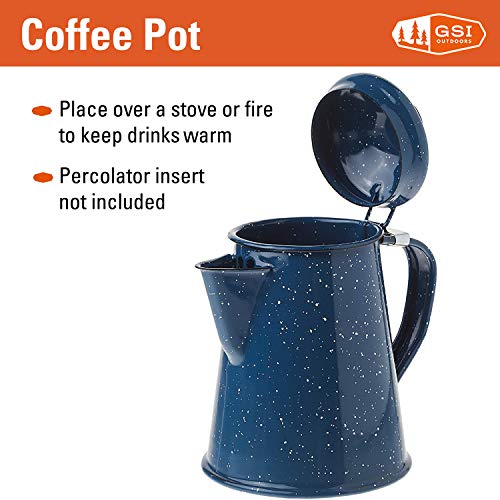
To get the cleanest dishes, fill up a pot with water and heat it on the campfire. If you don’t have a campfire, you can heat water quickly in a tea kettle, enamel coffee pot, or covered pot on a camping stove.
Ideally, you should start heating the water right when everyone is done eating. That way the washing-up process can begin as soon as possible to prevent food from drying up on the plates.
Keep in mind that you don’t need to heat a large amount of water. You just need enough hot water to fill up one sink and the other sink halfway. You can top off the second sink with room-temperature water. This mix of hot and room temperature water typically gets warm enough to properly rinse the dishes.


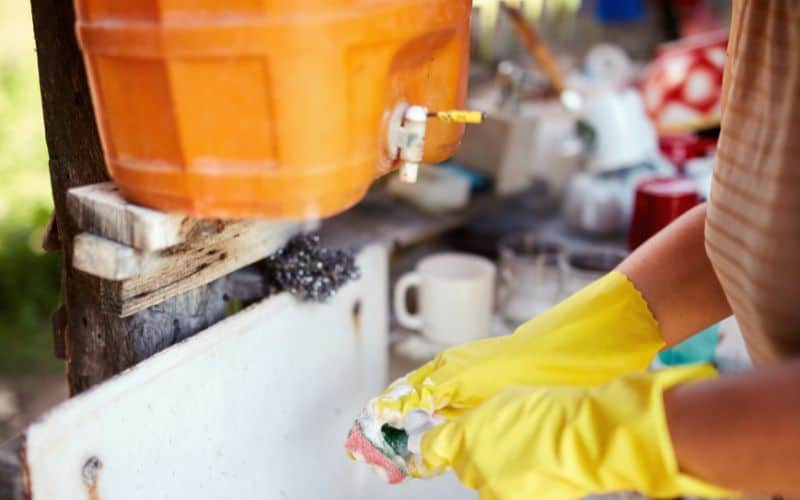
3. Fill Your Camping “Sinks”
The next step is filling up the sinks for your camping dishwashing station. You need two sinks: one with scalding water and one with lukewarm water.
Using two sinks is the best way to use the least amount of water while getting your dishes as clean as possible. The first sink with warm water is used for soaping up and washing the plates.
The second sink with hot water is used for rinsing off the soap and dirty water.
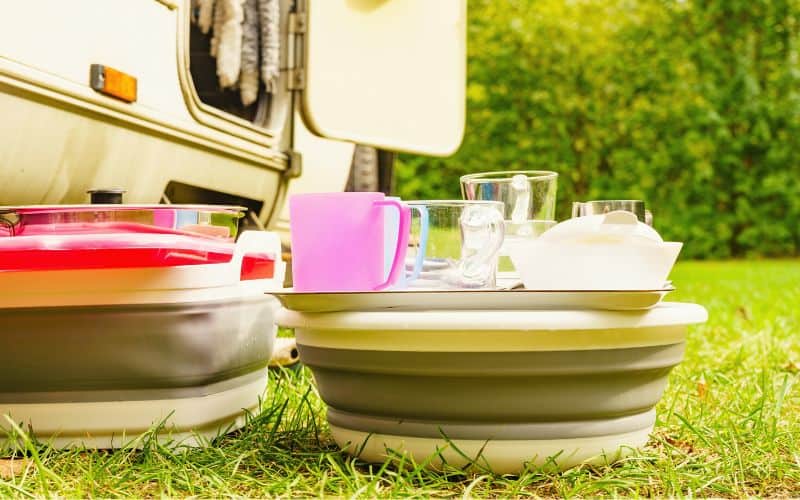
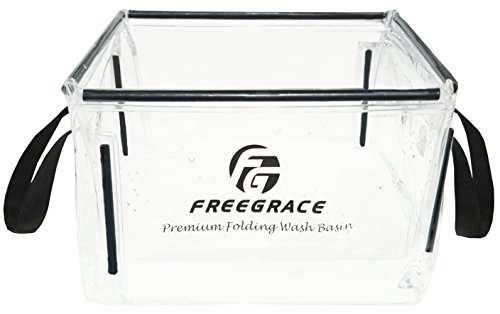
Unless you’re at a campground with a dishwashing sink, you’ll need to bring along some sinks for washing. When car camping, you can use regular five-gallon buckets or plastic bins. Elsewhere, a collapsible sink might be your only option.
Once you have your sinks full of water, you can begin the dishwashing process.


Wash Sink
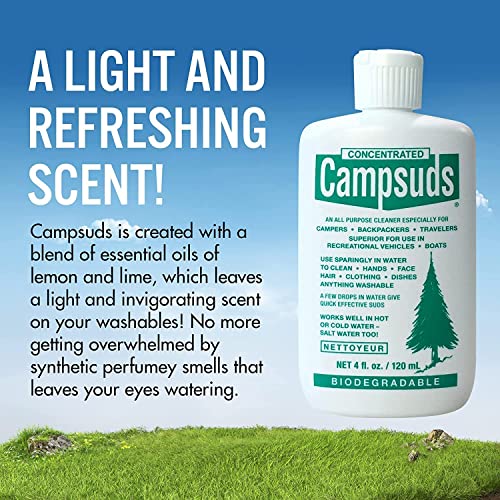
Before starting, add just a few drops of biodegradable dish soap to the warm water sink and mix it in. Dr. Bronner’s and concentrated Campsuds are two of the best options for eco-friendly dish soap.
Make sure all of the dishes are scraped off and wiped clean before dipping them into the soapy water wash basin.
Begin by washing the cleanest objects first and end with the dirtiest ones last. Use a sponge, brush, or scraper to scrub the plates clean before shaking off the water and transferring them to the rinse sink.


Rinse Sink
Once the plates, pots, and utensils have gone through the initial wash, they are ready to be placed in the hot water sink for rinsing.
Double-check each plate for cleanliness before submerging them in the rinse. You need to avoid dunking filthy dishes in the second wash basin because they’ll contaminate the rinse water.
After rinsing, the tableware should be completely soap-free and squeaky clean.
4. Sanitize (Optional)
Sanitizing the dishes is the last phase in the washing cycle. Many campers choose to skip this step to make the washing process less complicated, but it can help to prevent bacteria growth.
Although it is considered optional by most, it may be necessary, especially if you have cooking surfaces that have come in contact with raw meat. The warm water wash and hot water rinse may not be enough to eliminate the microorganisms that cause foodborne illness.
There are a few options for sanitizing dishes to properly disinfect them and prevent food poisoning.
The first way to sanitize dishes is to submerge them for at least 30 seconds in very hot water (at least 170°F). The second method is to soak the plates and utensils for at least one minute in a sanitizing solution with cool water. Use 1 tablespoon of chlorine bleach per every gallon of water or Steramine tablets.
Tableware exposed to sanitizing solutions must be left out to air dry.
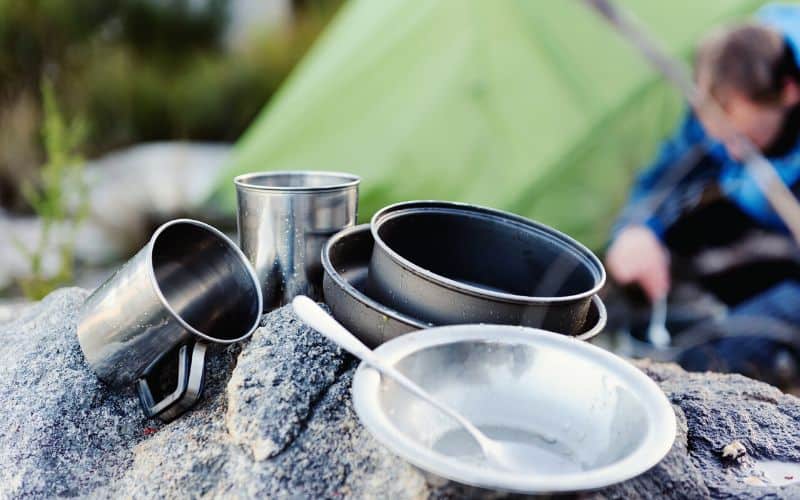
5. Air Dry
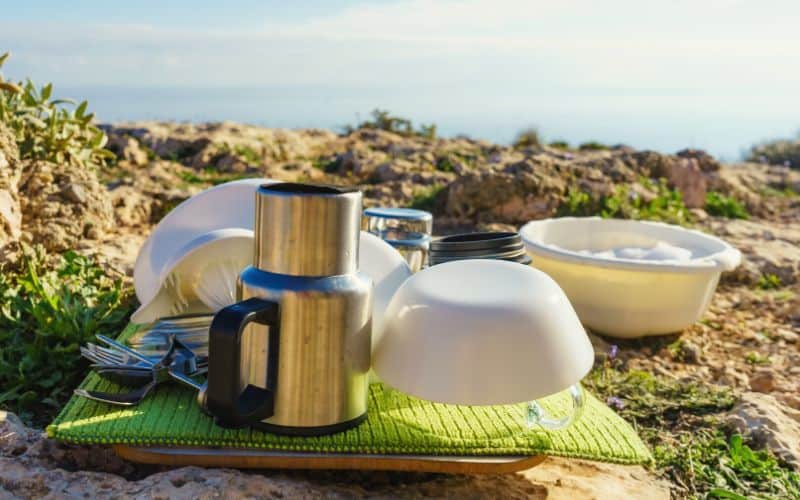
After the cookware and tableware has gone through both wash basins and an optional sanitizing phase, it’s time to dry it.
Some specialized camping plates, cups, and utensils come with carabiners so you can hang and dry them from a drying line. You can set up a drying line by tying a paracord between two trees. Depending on the tree, you may also be able to hang them directly from its branches.
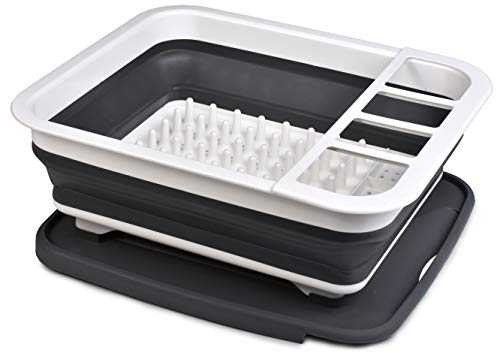
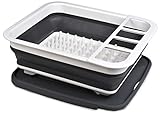
If you have lots of table space or an extra chair, you can set out a collapsible dish drying rack to place the clean plates in while they air dry.
Although air drying is the preferred method for ensuring germ-free plates, you can also use a dish towel to dry them. If you choose to use a towel, it needs to be extremely clean to avoid contaminating the clean plates with potentially dangerous microorganisms.


6. Dispose of Gray Water
Once the washing and drying process is done, you’re left with bins full of dirty dishwater, also known as gray water.
The final step for dishwashing at the campsite is to properly dispose of the gray water produced.
First off, dump the dirty dishwater from all of the sinks into the wash basin. Next, take the wash sink and filter out the food scraps from the water by using a strainer while you pour it into the other sink. Place the food scraps in a sealed bag and throw it away once you have access to a trash can.
If you’re at a campground with drains, you can dispose of the gray water by dumping it down the drain. Ask the campground hosts if you’re not sure where to throw out the dirty water.
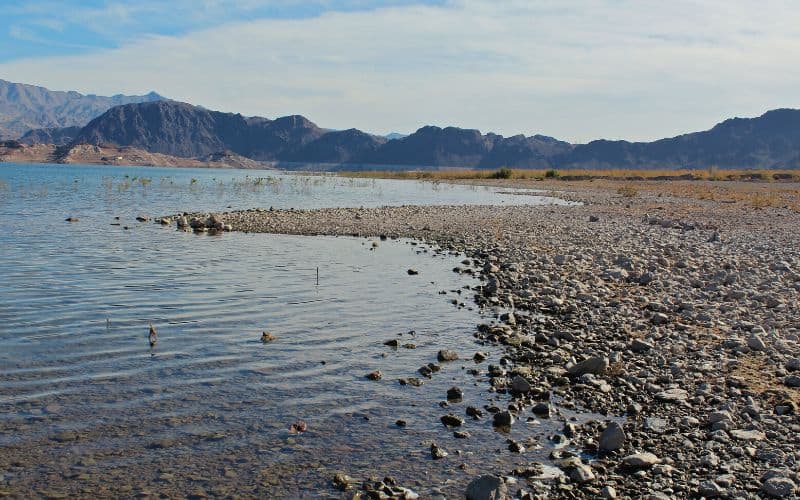
For those camping without disposal facilities, you should dispose of the gray water at least 200 feet from any natural water sources and away from your campsite. Spread out the gray water over a large area to reduce the environmental impact.
Filtering out the food particles before dumping out the water is essential. Otherwise, you’re going to scatter food all around your camping area and attract all kinds of animals.
Leave No Trace Principles for Washing Dishes in the Backcountry
Wondering how to do dishes in the backcountry? Washing dishes at a developed campground with access to proper drainage systems and running water is a lot easier than dealing with dirty dishes in the wilderness.
When camping in the backcountry be sure to follow Leave No Trace Principles to avoid disturbing the pristine environment and delicate ecosystem.
Here are some dish-washing cleaning tips from Leave No Trace:
- Never wash plates directly in lakes, rivers, or any other natural water source
- Keep the dishwashing station at least 200 feet from water sources
- If collecting water from natural sources for dishwashing, be sure to boil it first
- Always scrape off and pack out your food scraps to avoid attracting wildlife
- Use the least amount of biodegradable soap possible to reduce your impact
- Dispose of water by broadcasting it or burying it at least 200 feet from water sources to avoid contaminating them
- Overnight backpackers can opt to pack out their plates to wash at home
- Always use the dishwashing facilities when you have access to them
Happy Camping!
Washing up dishes while camping is easy once you have the right tools and know-how. Although it requires a different approach than washing plates at home, learning how to do it the right way is essential for protecting your health and the environment.
So grab two sinks, fill them up with water, and get a group together to help you clean up so you can get back to relaxing in the great outdoors.
What is your favorite technique for getting clean camping dishes? Let us know in the comments below. And if you’d like to share this post with your camping buddies, please do!
