Every backpacker knows that dehydrated food is a lifesaver when you’re on the trail. It’s lightweight and easy to pack. However, prepackaged name-brand dried foods are also crazy expensive. But what if you could make your own dehydrated snacks?
With this guide, you can! We cover the benefits of drying your food and teach you how to do it with an oven. We’ve also included tips and tricks for making the perfect dehydrated snacks and meals every time.
Table of Contents
Why Dehydrate Your Food? And Why in the Oven?
Besides being a great way to preserve food, there are many benefits to dehydrating. Here are a few reasons you should try at-home food drying before your next backpacking trip:
- Saves money – Prepackaged dehydrated foods can be expensive. Dehydrating your fruits and veggies helps cut back on meal prep expenses. Likewise, you will save by dehydrating your favorite fruit while it’s in season, and less pricey.
- Less Waste – Dried mangos, apricots, fruit leathers, and banana chips all come in one-use plastic packaging. You enjoy your snack, and the plastic bag ends up in a landfill or the ocean. Dehydrating your food eliminates this waste.
- Preserves Nutrients – The dehydration process removes water and moisture, not nutrients. Dried foods only lost 3-5% of their nutrients. You can snack easy, knowing you’re still getting healthy vitamins and carbs with a better shelf life.
- Makes Food Portable and Lightweight – Dehydrated food is perfect for backpacking adventures. Removing the water weight from your meals and snacks makes your food more compactable and lighter than other foods. When every ounce matters, bring dehydrated food.
- It’s Easy – As you’ll soon learn, using your oven to dehydrate food is easy. You don’t have to buy extra equipment. You can use what you already have at home, and you can have all your meals dehydrated and ready to go in less than a day.

What You Need To Dehydrate Foods In The Oven
- Baking sheets with metal cooling racks
- Parchment paper
- A sharp knife
- Lemon juice
How to Dehydrate Food in the Oven: Step-by-Step Instructions
1. Grab Your Grub
Ovens can dry out everything a traditional electric dehydrator can. This includes:
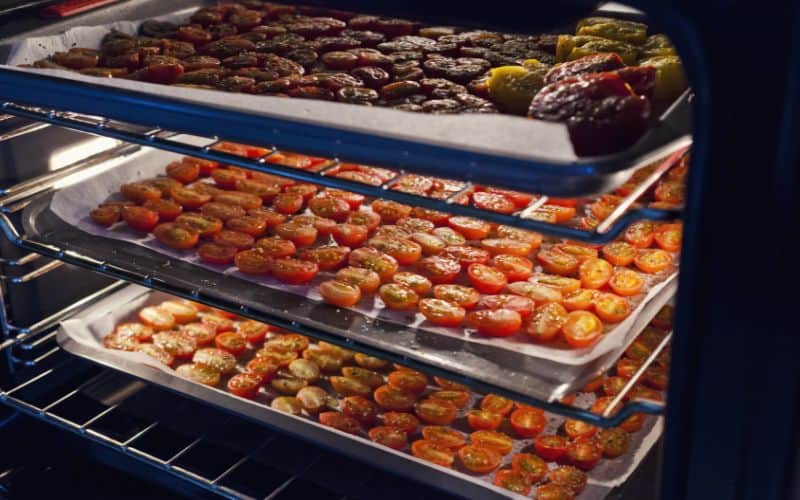
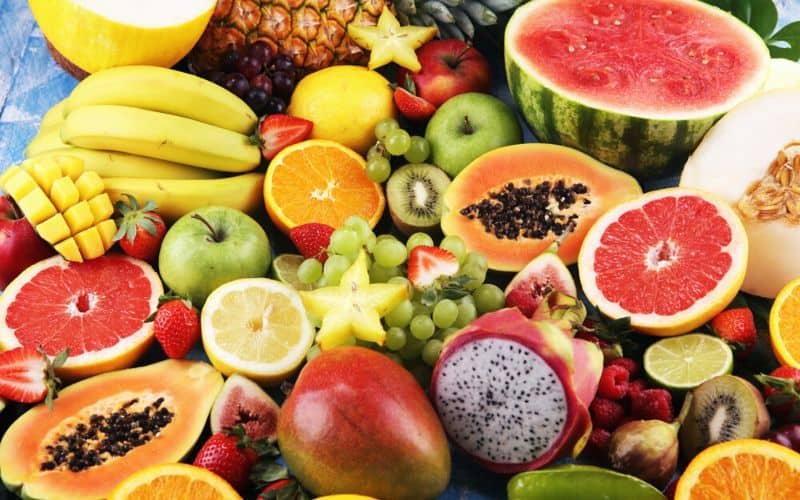
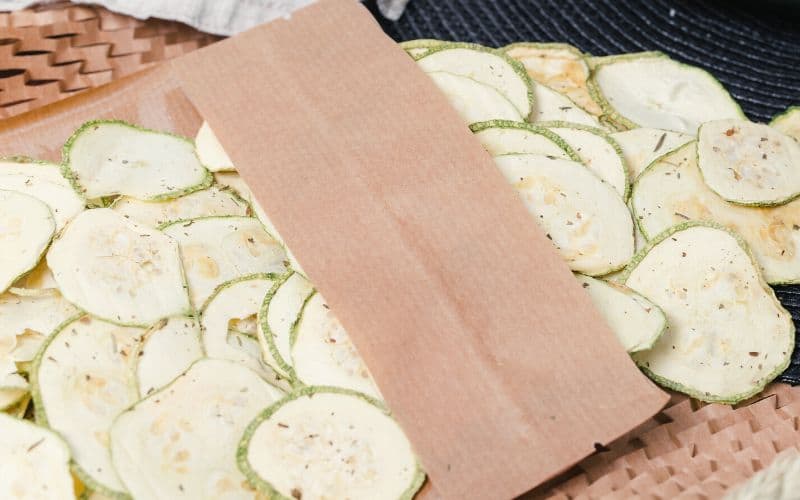
- Fruits and Veggies – Mangos, bananas, pineapple, berries, sweet potatoes, and even watermelon can be dehydrated in the oven. Don’t forget about your veggies, such as tomatoes, zucchini, cucumbers, carrots, and more.
- Meat – You can use your oven to make jerky and dry ground beef, chicken, and even fish. Dehydrating meat is a little more involved but yields a light, high-protein meal or snack.
- Sauces – Believe it or not, you can dehydrate sauce in your oven. For example, if you want to backpack with marinara sauce but don’t want the extra weight, dry it out in the oven. We recommend using a sauce that doesn’t have vegetable or meat chunks.
2. Wash and Dry Your Food
Wash and dry your fruits and vegetables before slicing them for drying.
Use a lemon juice spray to keep the produce from turning brown as it dries. Lemon juice isn’t required but helps slow oxidation and keep bacteria away.
With meat, it’s important to remove all fat (fat doesn’t dry out and can spoil your food) and cook the meat before dehydrating it. Make sure your meat reaches an internal temperature of 165° F before you slice it.
3. Prep Your Oven
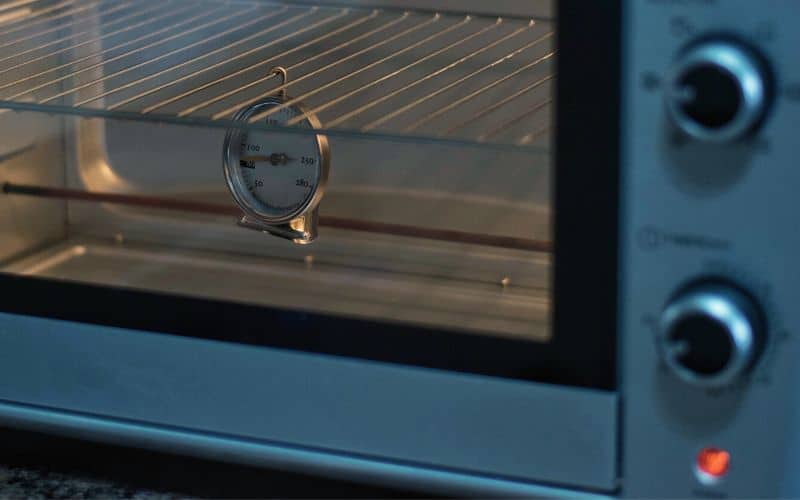
Oven temperatures depend on what you are dehydrating. A good rule of thumb is to set the oven to as low a heat as it goes. 140° F is the highest you’ll want for dehydrating fruits and veggies. For meat, you can go up to 160° F. If you can’t set your range that low, prop the oven door open to help remove excess moisture, provide good airflow, and cool the oven.
A dedicated oven thermometer will help ensure you’re dehydrating at a suitable and constant temperature.
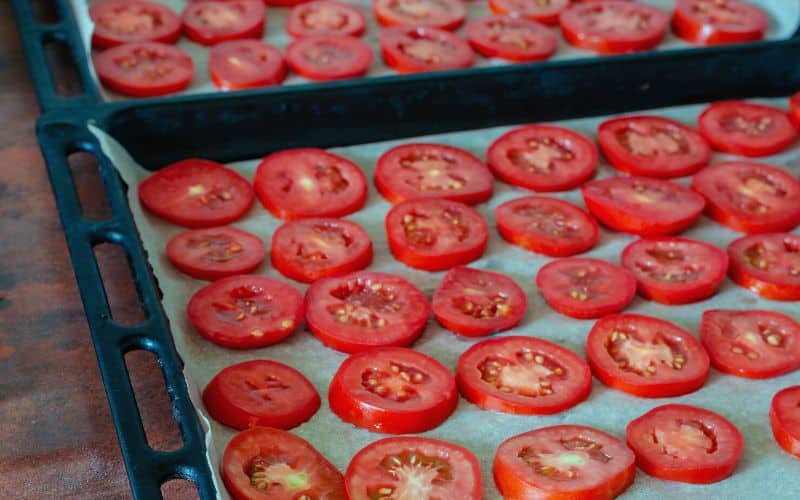
4. Slice
How you slice your food before dehydrating matters. First, everything should be the same thickness to ensure even drying. This can be tricky, and some prefer a mandoline, which guarantees every piece will be identical.
If you don’t have a mandoline, use a sharp knife to slice your food. Cut produce into 1/4 – 1/2″ slices. You don’t have to peel the fruit unless you wouldn’t eat the peel normally (bananas and mangos, for example). However, citrus peels don’t need to be removed before dehydrating.
For meat, remember to remove the fat and cut it into 1/8 and 1/4 inch thick by 1 to 1½ inches wide. For best results, slice with the grain.
5. Prep Your Trays/Racks
The best way to dehydrate food in most ovens is with cooking sheets and cooling racks. Put parchment paper between the cooling racks and the backing sheet. Spray the cooling racks with non-stick cooking spray and spread your food out on the racks.
Leave space between each food piece to allow airflow and help everything dry faster. If you don’t have cooling racks to place on your baking sheet, put the sliced food right onto the parchment paper.
6. Dehydrate
Now it’s time to put the trays and food into there. Drying time depends on the type of food and the moisture content. Most foods with higher moisture content require more time. Apples take a few hours, whereas watermelon and meat can take more than eight hours to dehydrate.
7. Flip
Flipping your food slices is only necessary if you don’t have a drying rack on top of your cooking tray. If your food is on parchment paper, flip it halfway through the drying process to make sure it “cooks” evenly.
8. Cool and Store
Once your food is dehydrated, take it out and let it cool right on the cooking sheets. Condensation will ruin your drying efforts, so make sure your food is completely dried before storing it.
Dehydrated foods are best stored in air-tight containers. Freezer-safe Ziploc bags and glass jars work well. Then store your sealed containers in a cool, dry place until you need them for the trail.
Oven Dehydration: Done!
Dehydrated food and backpacking are a match made in heaven. Dried food is lightweight and portable, and best of all, still highly nutritious and delicious. Luckily, with oven dehydration, you can dehydrate food with what’s already in your kitchen and avoid an expensive food dehydrator purchase.
Did you find this post useful? Let us know in the comment, and feel free to share it with your backpacking buddies.
