It’s a loaded question for any prospective backpacker or hiker, knowing you can only fit but so much in a pack:
What should I carry while out on the trail?
Whether you are preparing for your first trip into the backcountry, or a seasoned thru-hiking expert, analyzing your gear selections will become a habit for every adventure. One of the underlying joys of backpacking involves the process of discovering how little you, need to survive and thrive in wild, rugged environments.
Despite the increasing trend towards ultralight, or minimalist, backpacking, there are certain items that you should always consider. These essentials should become an integral part of your packing strategy, regardless of trip length.
Below, we’ll define these ten essentials for hiking, providing experienced insight on why they are important. We’ll, also, guide you into selecting the right items, within each category, to ensure that you are always prepared for the unexpected.
Table of Contents
What Are The ‘10 Hiking Essentials’?
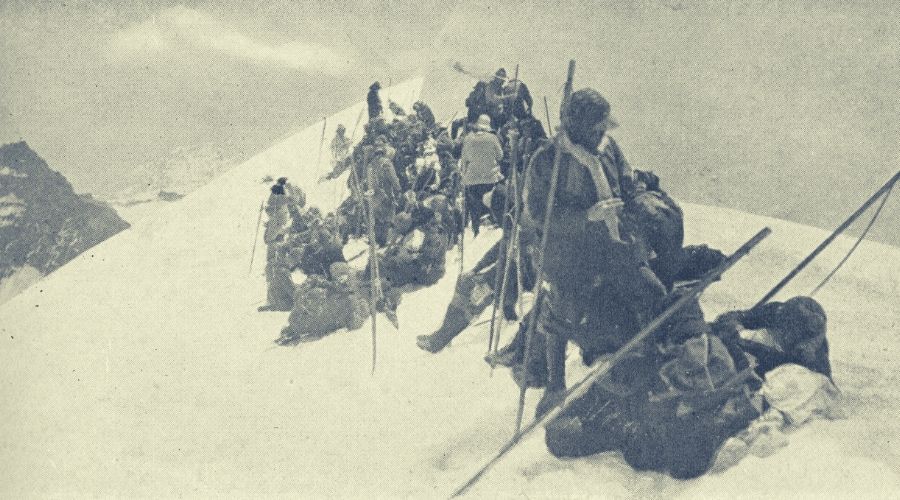
History
Evolving over time, a definitive list of essentials for backpacking and hiking first appeared in print within the 1974, 3rd edition of the popular mountaineering book series: Freedom of the Hills. The origin of that list, however, can be traced back to climbing instructional courses offered in the Pacific Northwest, in the 1930s, by The Mountaineers, a non-profit outdoor community organization. Organizers of this 12,000+ member community stress that the purpose of the hiking essentials list has always been to answer two questions:
- “Can you respond positively to an accident or emergency?”
- “Can you safely spend a night, or more, outside?”
Further reading: If you are new to the world of the outdoors then check out our guide to how to backpack for beginners.
Evolution Of The 10 Essentials
The classic essentials, those that formed from The Mountaineers classes and were popularized by Freedom of the Hills, involved a list of 10:
- Map
- Compass
- Sunglasses & Sunscreen
- Extra Clothing
- Headlamp or Flashlight
- First-aid supplies
- Firestarter
- Matches
- Knife
- Extra food
This served as the standard checklist for backpackers and hikers for nearly 70 years. As hikers and their gear evolved, so did the essentials list itself. In the 2003 edition of Freedom of the Hills, this transformation was confirmed with an updated list that now focused more on systems and less on the specific items chosen within each. The modern-day list of the day hiking essentials used by most experienced outdoor travelers is as follows:
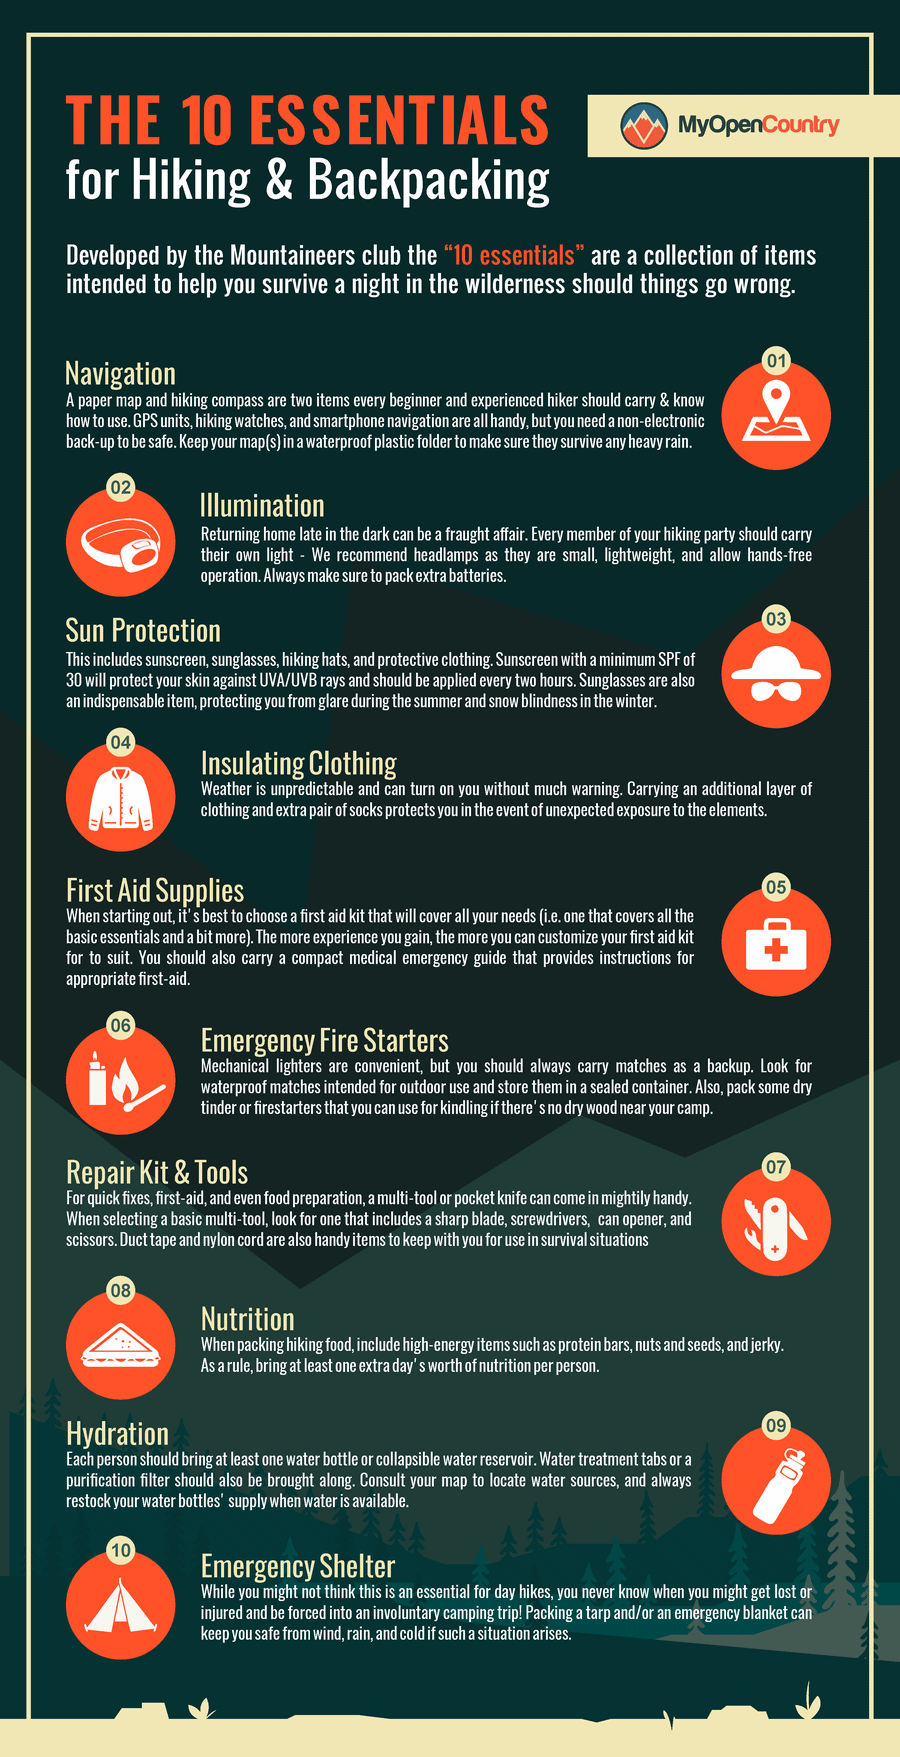
- Navigation
- Hydration
- Nutrition
- Shelter
- Sun protection
- Fire
- Illumination (lighting)
- First-aid supplies
- Toolkit
- Insulation (clothing)
Why Do You Need These Hiking “Necessities”?
Because they’re essential! Ok, on a serious note, there are a number of reasons you should have these items covered on every trip. First and foremost, they are an integral part of your enjoyment and participation on most outdoor trips.
Is it possible to hike for an entire day without food or water? Yep. Would it be much fun? Nope. Have you tried performing camp chores at night without the use of a headlamp? Would you enjoy hiking through a buggy swamp without head netting or bug spray? What about sitting in camp on a 28℉ night without proper jackets or insulation?

You get the idea. Without key gear items, many common hiking scenarios would be downright miserable or dangerous. Even items that aren’t frequently used can become essential life-saving tools in the event of an emergency. Bearing the extra weight and bulk is justified due to their importance when, or if, they are needed.
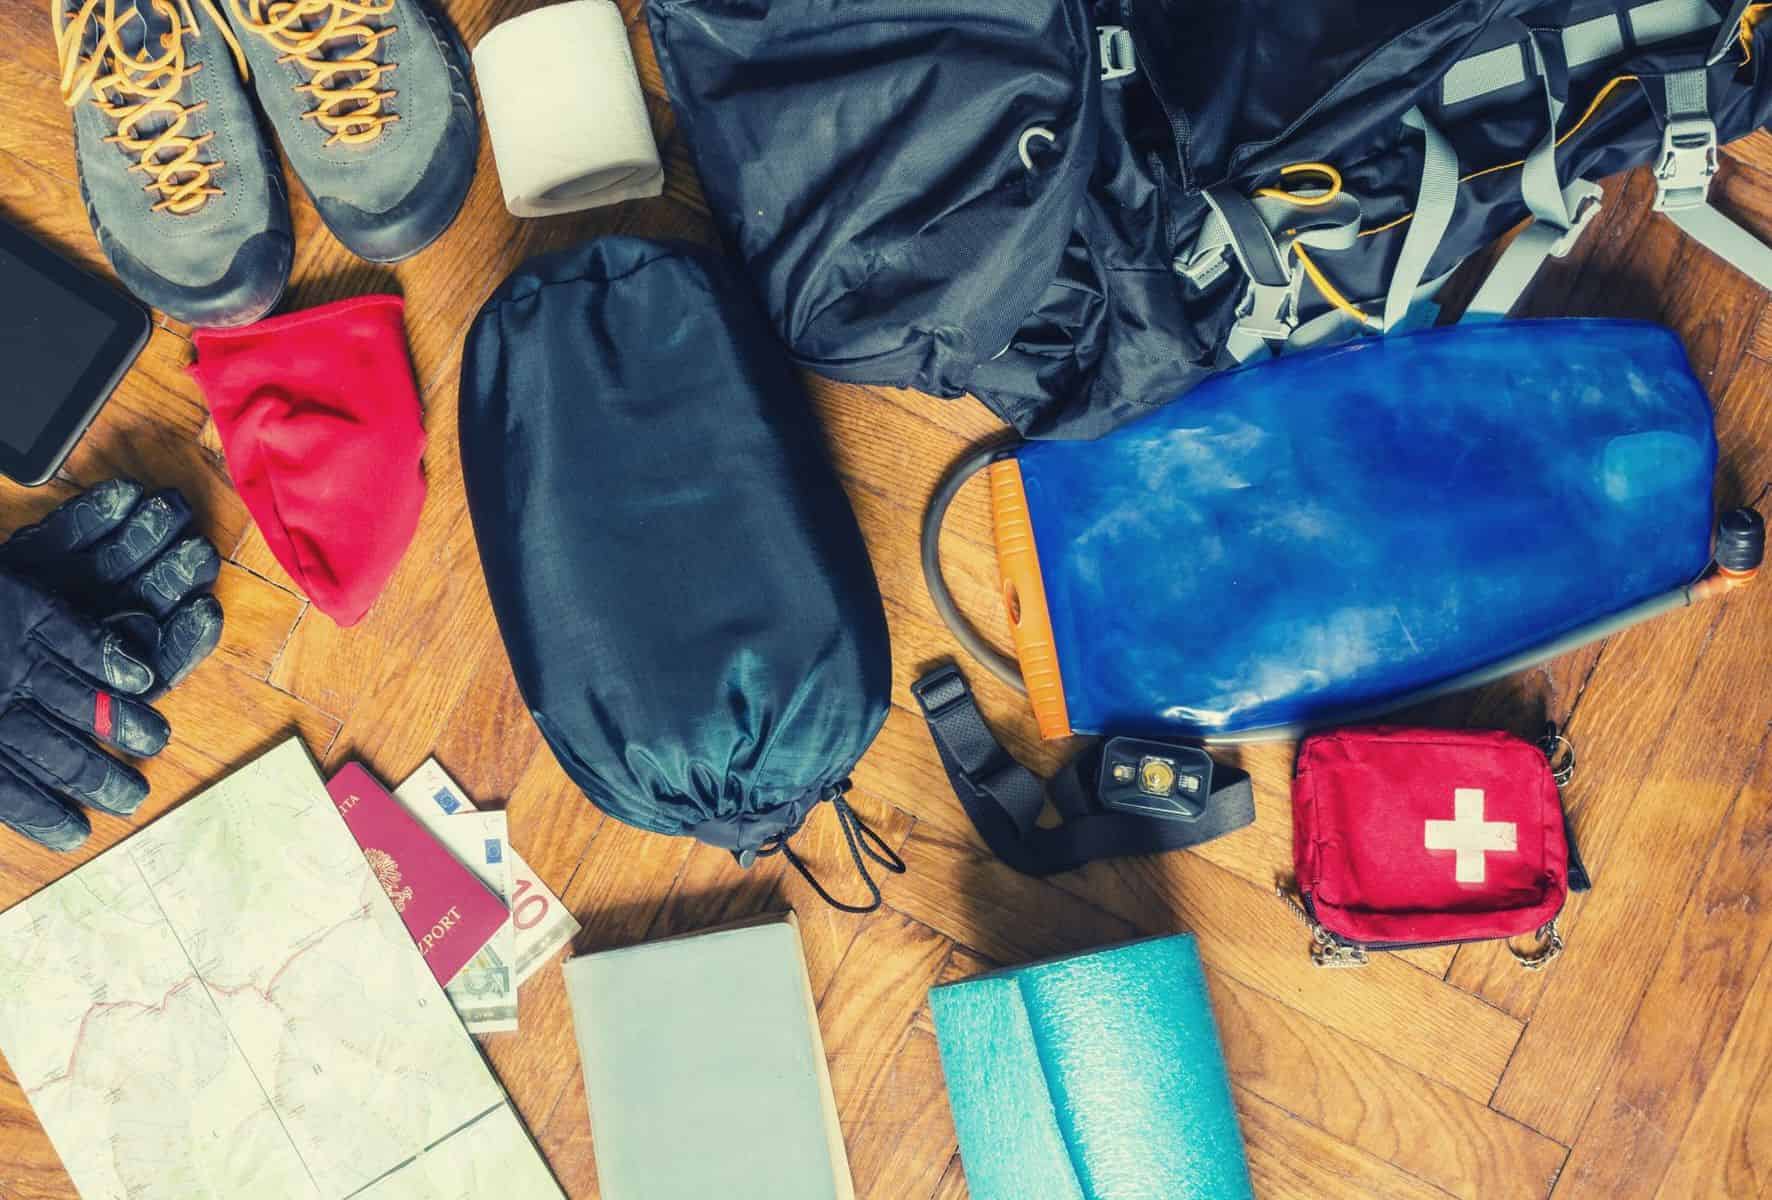
Ten Hiking & Backpacking Essentials
Most of us think of using a map and compass when referring to navigational tools for backcountry travel, however, this category has grown to include GPS units or cell-phone applications. For those traveling off-trail, deep within wilderness boundaries, or regularly experiencing the need to orient & direct their travel, the necessity for reliable navigation is obvious.
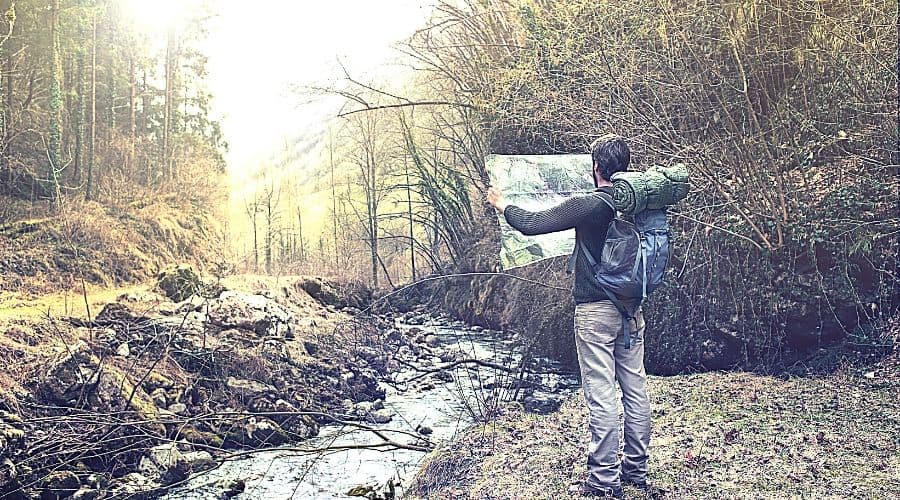
Albeit less obvious, carrying navigation tools can remain incredibly important for those who spend the majority of their time on-trail or closer to civilization. While it is possible to navigate many trail systems around the globe without a map (some A.T. hikers will hike over 2,100 miles without one since the trail is so well marked), its use may be paramount in the event you find yourself lost or confused.
There have been numerous accounts of lost hikers who were found only hundreds of yards from a trail, without ever realizing it was there. A map and compass can, also, be a fun way to orient yourself at a summit, identifying notable mountains in the distance or how far you have until reaching your next camp.
Remember, you should also carry a physical map and baseplate compass even if planning to rely on electronic versions. Batteries, which lose power in cold temperatures, shouldn’t be your only source of navigational power in the wild. Carry a map and know how to use it!
Sun Protection
Consider sun protection (both UVA & UVB) even when hiking through regions that won’t be hot or sunny. Don’t make us quote mom’s everywhere with the reality that you can still damage your skin (any tanning or ‘burn’ is evidence of such damage) on cloudy days, particularly at higher elevations. Reduce your risk of sunburn and skin cancer by packing a sun hat, sunglasses, and some sunscreen.

This can be achieved with traditional sunscreen on exposed skin. Additionally, you can protect your skin with a UV protectant hiking sun hat or clothing, like this hoody from Black Diamond, a favorite among outdoor professionals. This is growing in popularity, as it saves you from having oily, sticky skin throughout the day.
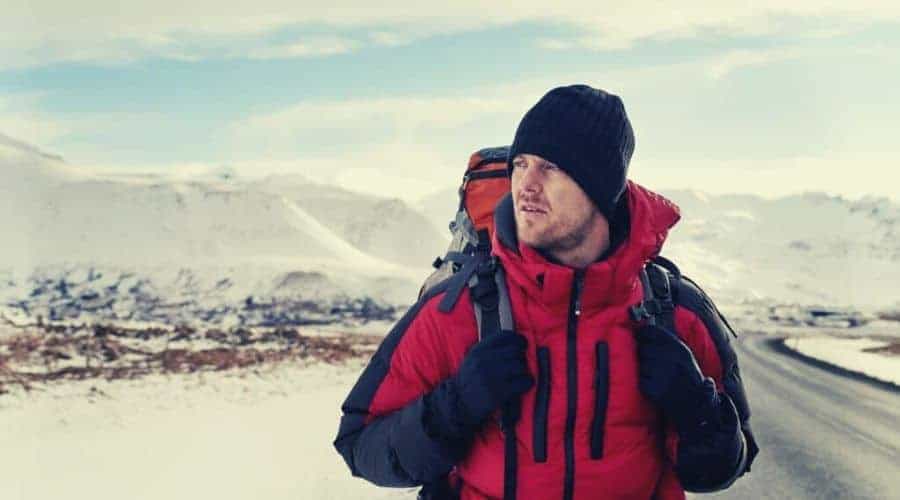
Insulation
Perhaps the best way to address your insulation (clothes) for future outdoor trips is to familiarize yourself with the concept of dressing your clothes in layers for outdoor travel (you can also check out our hiking clothing guide). When done correctly, this method allows you to be prepared for drastic changes in temperature, commonly experienced in wild, rugged places.
The general idea is for one layer to wick moisture away from your skin, a second layer to trap warm air, and a third to keep out the elements (wind & rain). Always be prepared to experience temperatures at least 10 – 20℉ below what is forecasted.
Also make sure to pack some rain gear, as even the weather forecasters get it wrong sometimes.
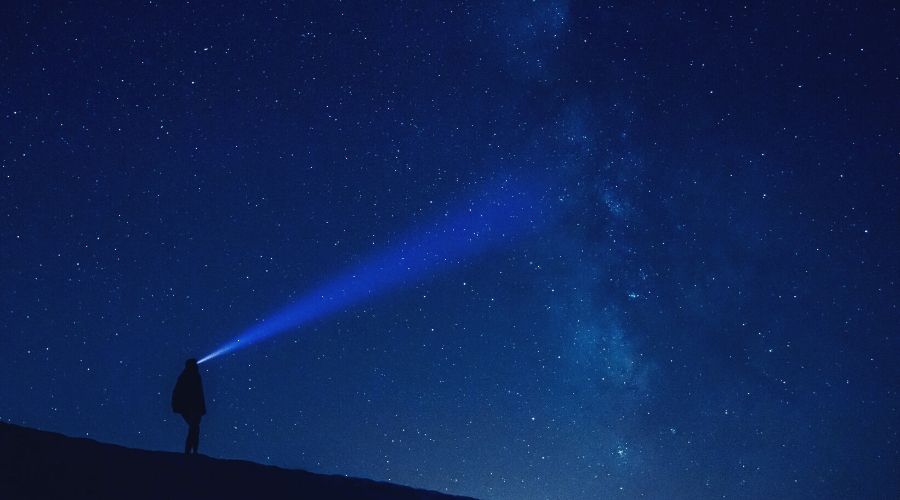
Illumination
Having light never seems that critical…until you don’t have it. It can be crucial in the event you need to attract emergency personnel or travel at night. Beyond that, it just makes life so much easier in camp. Small tasks such as cooking, hanging bear bags, or even finding zippers to get in/out of your tent can be frustrating without light.
Lanterns can be nice to have in a group camping environment but have little use elsewhere on the trail. Overall, we prefer the use of a headlamp, which keeps both hands free while still providing ample light where you need it.
Remember to always carry at least one set of extra batteries, and keep a headlamp in your pack even on day trips where you expect to be done before nightfall. We have passed many hikers stumbling down the trail in darkness, with no light, because they expected to be done earlier.
First-Aid Kits
We’re not going to waste much time explaining why you should carry first-aid supplies on a hike. Instead, here are some considerations to keep in mind when selecting which kit to bring:
- Purchasing a pre-made first aid kit is, typically, the easiest & most affordable option (Best Backpacking First Aid Kit) – You can also build your own backpack first aid kit or add/remove items from stock versions as your experience grows
- Only carry items that you know how to use – Carrying a needle and thread is rather pointless if you don’t have the skills to suture a wound
- Make sure to perform regular inventory checks – I once pulled out my first aid kit for a band-aid, a feature of virtually any kit, and discovered that I had none. I had used the last one on a previous trip and neglected to replace it. Know what’s in your kit before you go!
- Consider a first-aid class if you spend considerable time outdoors – Emergency medical supplies are only as good as the hands they’re in. Possible courses include basic CPR, Wilderness First-Aid or Wilderness First Responder
Fire
Ensuring that you will have the ability to start a fire can be done in a number of ways:
- Lighter
- Matches (be sure to store in watertight container)
- Striker & Flint (fire starter)
- Tinder (our favorites include Vaseline soaked cotton balls or dryer sheets)
Fire-starting tools are important for several reasons, particularly in those environments where the overnight temperature will be below 60℉ (hypothermia can happen at temperatures well above freezing).
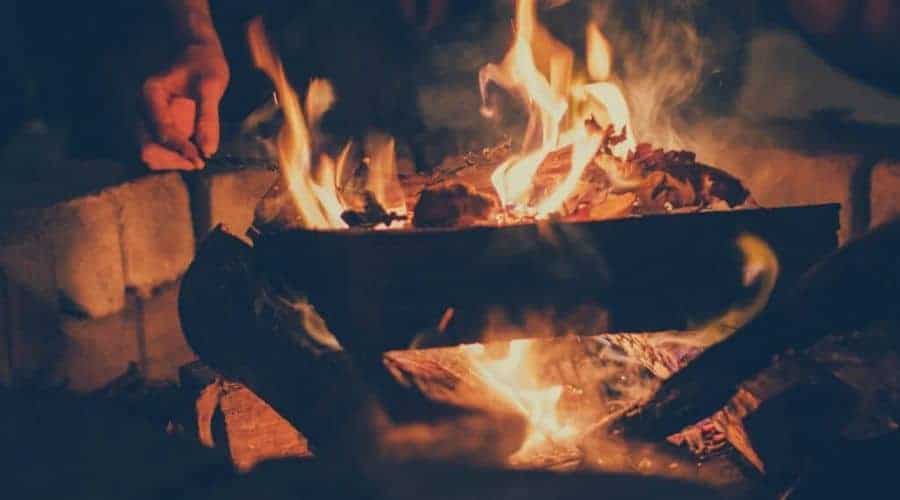
A spark is, commonly, used to start most backpacking stoves. A fire can, also, be used to help cook meals in the event of a stove malfunction, purify drinking water, keep you warm on an unplanned night in the backcountry, or even signal for help in dire emergencies.
Repair Kit And Tools
Your ability to repair critical gear items should grow, proportionally, with the length of your trip and/or the depth of wilderness that you will be exploring. Common items carried by many hikers and backpackers include duct tape, multi-tool or knife, spare cordage and patches to seal small holes in sleeping pads (these often come with the purchase of a new pad).
Develop the habit of customizing your repair kit for each and every trip. For example, there are several items that I carry in a repair kit while on a canoe or kayaking excursion that I would never care to bring on a backpacking trip. At the end of the day, it’s hard to beat the versatility of a single folding sheath knife and some duct tape, which find a space in my pack on almost every adventure.
Nutrition
Carrying the right food to take hiking or backpacking is a delicate balance of needing to bring enough to replenish the crazy number of calories burned while on the trail, while not, unnecessarily, weighing yourself down with several days of extra food.
A prudent hiker will always carry enough food to survive an additional 24 hours over what is expected on their trip.
Nuts, trail mixes, jerkies, chocolates, nut butters, cheeses, meal bars and dried fruits are common choices, providing the needed calories for an extra day hiking without relying on a stove to cook them, which you may not have in an emergency.

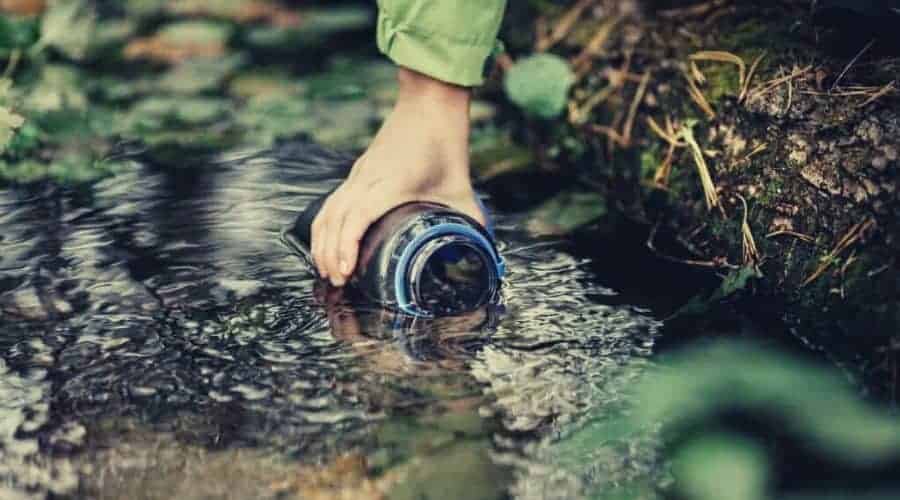
Hydration
How much water to bring backpacking? Consider three aspects related to hydration before heading out on any day hike or overnight backpacking trip:
- Your capacity to carry it – water bottle? reservoirs? how many liters?
- Water availability along your intended route
- Ability to filter and/or purify it
Always bring enough water to cover the duration of the trip, plus a little extra water and a water filter of some description should your hike take longer than expected.
We are big fans of the small, lightweight SteriPEN Ultra, which kills over 99.9% of all bacteria, viruses, or protozoa in 90 seconds, or less. A filter is not, typically, necessary unless your water sources are known to be filled with heavy sediments (muddy). If you choose a UV filter, keep in mind that they rely on battery power and so we still carry backup iodine tablets just in case.
Emergency Shelter
While it may not seem like one of the day hike essentials, a common mistake made by day-hikers is to forego any kind of shelter.
A small emergency bivy sack or tarp takes up minimal space inside your pack, yet provides critical warmth, insulation, and protection from the elements in an unexpected night out. Even circumstances that don’t require spending the night can benefit from a bivy.
Imagine breaking your leg only 2 miles from the trailhead on a popular hike. While it’s unlikely you would need to spend the night, being so close to the trailhead and amongst numerous other hikers who can seek help on your behalf, you may be sitting idle for multiple hours while rescue personnel reaches you with the proper equipment.
If it’s cold outside, that may be a serious problem, especially now that you won’t be generating any heat from movement.
At the very minimum, an emergency blanket should be packed – in a pinch these can be fashioned into an emergency shelter of sorts.
Beyond The Ten: Other Things to Bring on a Hike
Waterproofing
That new $300 down-insulated sleeping bag is so incredibly warm…until it gets wets. Don’t forget to waterproof critical items inside your pack, either with waterproof stuff sacks or a pack liner (or even a plastic bag). Contractor grade trash bags are a simple, cheap, lightweight option for waterproofing your pack. Traditional pack rain covers are heavy, bulky, expensive and rather ineffective when backpacking in rain for several days of steady drizzle.
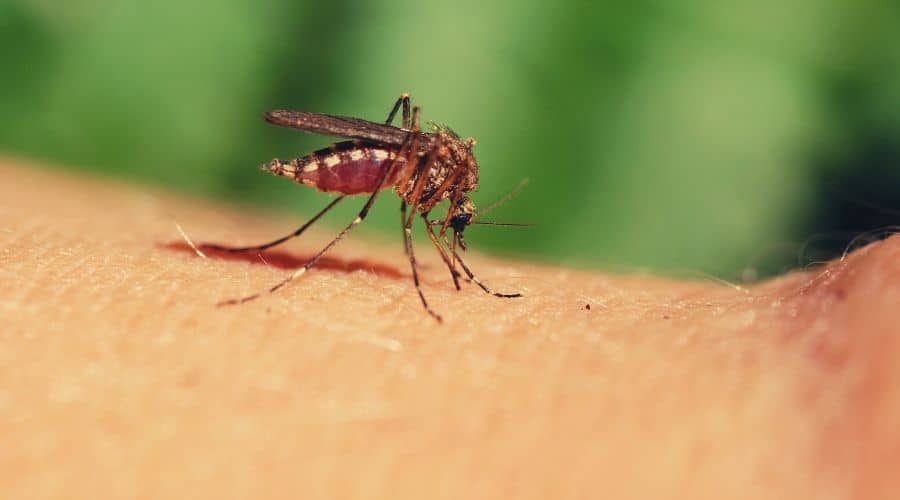
Bug Protection
We, typically, consider bug protection alongside sun protection as one of the essentials. Since it is not officially part of the modern list of essentials, however, we’ve included it here. Bug sprays are effective (look for picaridin – just as effective as DEET without the carcinogens) but protection can, also, come in the form of permethrin-treated clothing or bug-netting.
Bonus Tip: Remember to wipe excess bug spray or sunscreen off of your skin at the end of the day. The oils & chemicals found in each can be harmful to your sleeping bag insulation.
Communication Devices
Some adventures may require more reliable forms of communication, or signaling, than a cell-phone. These are, most often, used in big mountain ranges or extreme areas of isolation, far away from cell service. Popular options include:
- Personal locator beacon
- VHF radios
- Whistle
- SAT phone
Comfort
Remember, the goal of setting out into the unknown is not just to survive but, also, thrive! Below are examples of items that may not be essential to your survival, but essential to your comfort.
- Camp chair
- Lip balm
- Hygiene kit (wipes, soap, toothbrush/paste)
- Backpack pillow
- Camera equipment
- Field journal/notebook
- Hiking dog harness
How To Stay Outta Trouble
Panic Time
Having a panic time, and leaving it with someone you trust, is, perhaps, the single greatest step you can take to avoid backcountry emergencies.
What is a panic time?
It is a predetermined time by which you would advise your friends or family to start contacting authorities if they have not heard from you. Remember to consider the time to reach cell coverage once back in your car and always give yourself a reasonable buffer to allow for minor changes in your expected exit from the wilderness. For example, if I plan to be out of the woods by 3:00 pm, my panic time might be 8:00 or 9:00 pm.
Be sure to leave a contact list for the closest rescue personnel, as well as an intended route description. That is, likely, the key information that will help clue rescuers to your possible location in the event of an emergency.
How To Get Out Of Trouble If It’s Too Late
Don’t Panic
If you’ve followed our advice to here, yet still find yourself in a bad situation, remember to relax. Take a few moments to compose yourself before carving out a game plan for how you will proceed. It, often, feels grimmer than it truly is.
Focus On Priorities
One of the first topics discussed in survivalist courses is the proper order for survival tasks. If an unexpected night out is quickly becoming evident, focus on shelter and your ability to protect yourself from the elements. If that’s taken care of, start considering your hydration. How much do you have left? Is there a water source nearby? Be smart about what you do with your time when every minute counts.
Use The Essentials
If you’ve, smartly, carried the backcountry essentials that we’ve discussed in detail above, then you’ll have a plethora of tools at the ready. That, my friend, is the whole point!
Save for later! ⤵️

Hi!
I love the way you explain the hiking essentials very well. Your content is full of information and can’t wait to dig it into utilizing the resources you provided. I was actually writing a blog on “Hiking for Beginner – The Most Common Questions” and thanks for your point of view help me to find some key points to focus on.
In your comments, you do not mention the first aid kit or selection of the best clothing.