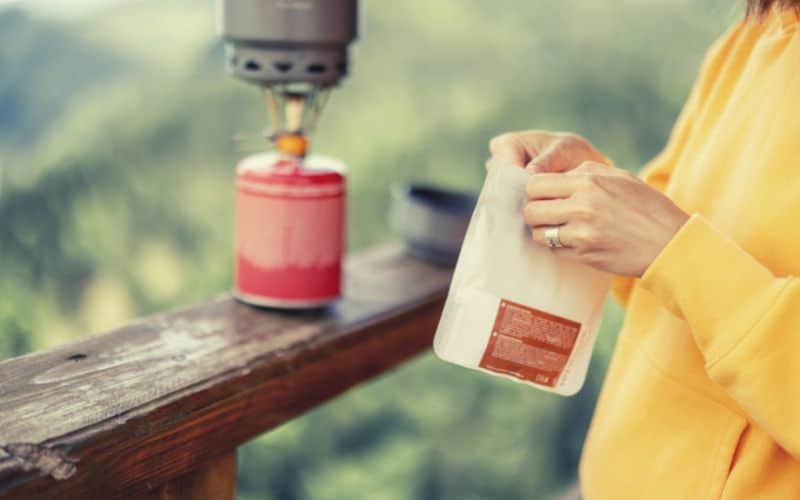
Packing dehydrated food for camping and backpacking trips is the easiest way to enjoy easy-prep, no-mess, yet delicious meals outdoors. Add hot water to the meal bag, and dinner’s ready!
Most people buy pre-packaged dehydrated meals, but did you know you can make your own? Dehydrating food and putting together your meals is simple once you learn how.
This guide covers everything you need to know to prepare dehydrated meals and snacks, including the ideal foods to use and how to go about dehydrating them.
Table of Contents

Why You Should Dehydrate Food For Camping and Backpacking Trips
Dehydrated meals offer campers and backpackers a lightweight and nutritious solution for preparing food in the backcountry. Food dehydration is the oldest food preservation technique and one of the fastest and cheapest ways of preserving food without refrigeration.
After dehydrating, a food’s moisture content is reduced to 5-20%. This eliminates most bacteria that cause rotting and makes the food last longer. Extreme water loss also lowers the weight of the food while still preserving its flavor and nutritional value.
Ultralight backpackers know dehydrated meals are essential for keeping their packs light and their meals filling. Dehydrated food weighs significantly less than other meal options. Imagine trekking for miles with five cans of chili on your back versus five bags of dehydrated chili. Every ounce counts when you’re backpacking, and we’d choose dehydrated over canned any day!
Although the thought of buying convenient pre-packaged dehydrated meals is tempting, one look at the receipt for a long trip will instantly change your mind. Some pre-packaged dehydrated meals can cost up to $7 per serving! Putting together your own dehydrated meals is an excellent way to save money for backpackers on a budget.
Dehydrating your own food is also ideal for those with dietary restrictions, people looking to eat healthier, or anyone who wants their meals seasoned just right. Preparing your own meals for backpacking and camping allows you to enjoy high-quality, delicious, and nutritious meals during your time on the trail, and reduce food waste.
How to Dehydrate Fruits and Vegetables
Most people use dehydrators to preserve their food, but you can also use an oven for some foods.
Dehydrating Fruits
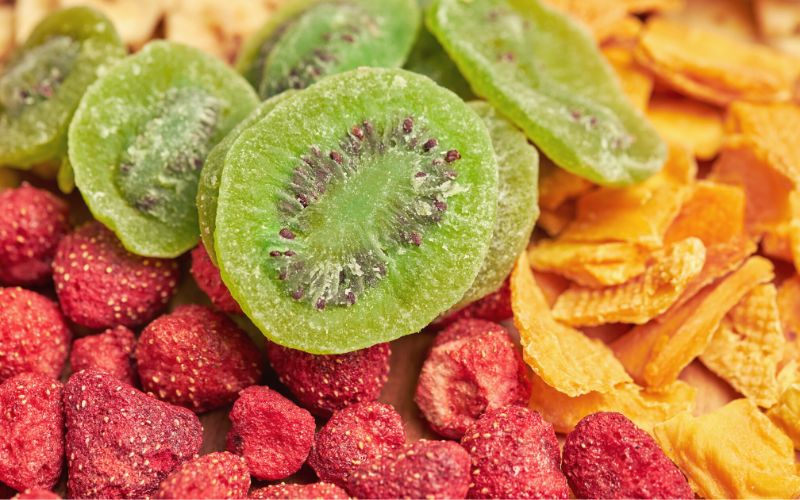
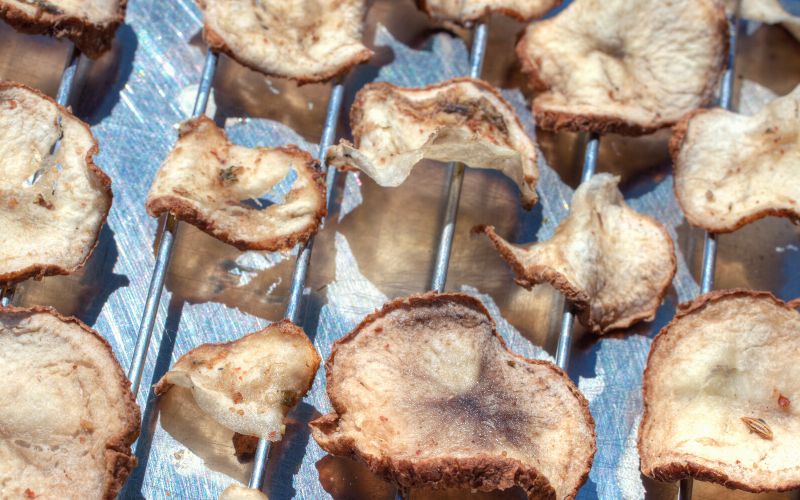
Fruit is one of the most popular foods for backpacking and camping. Dehydrated fruits are perfect for adding to trail mix, sprinkling on top of oatmeal, or enjoying it as a healthy sweet treat.
When buying fruit for dehydration, choose ripe fruits for higher sugar content and a sweeter taste. Pick fruits with little to no bruises to prevent unsightly black spots on the end product.
To prepare your dried fruit, wash to remove the waxy coating and dry the fruit thoroughly before cutting it. Core the fruit and then evenly slice or dice it to speed up the dehydration process.

Apples, bananas, mangoes, and strawberries dry faster when sliced thin. Dipping fresh fruit in a citric acid solution helps preserve the color. You can also puree a fruit (or a mix of them) and place it on a silicone drying sheet to make fruit leathers.
Watery fruits that need to be left whole, like blueberries, raspberries, grapes, and cherries, should be blanched in hot water and then immediately submerged in ice water to reduce dehydration times (a process called “checking”).
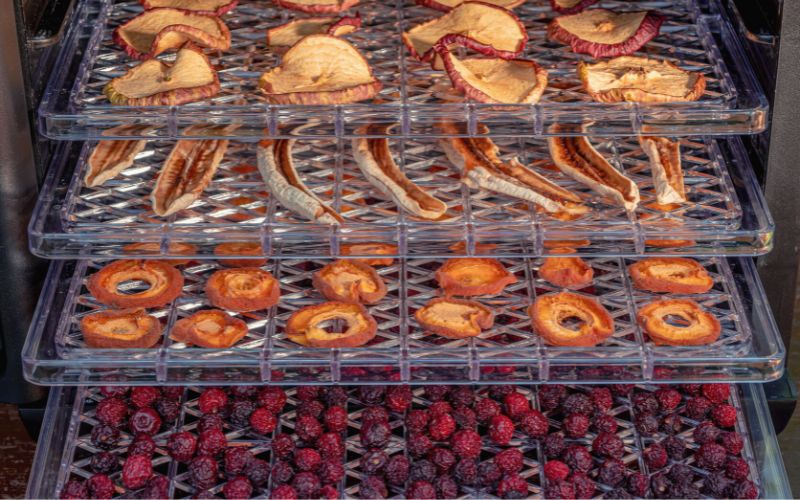
Once your fruits are prepped, spread them out in a single layer on the trays without overlapping. Set the dehydrator’s temperature at a low heat (135ºF to 145ºF). The time required to fully dehydrate each type of fruit varies. Do not add a new fruit to the dehydrator once you’ve started because the added moisture will rehydrate the original fruits.
Fruits with less moisture, like apples, bananas, and nectarines, take about 6 to 16 hours to dehydrate. Grapes, figs, and blueberries can take up to 36 hours. Check the fruit every 3 hours and rotate the trays as necessary. Fully dehydrated fruit feels leathery, pliable, and dry, not sticky.
Dehydrating Vegetables
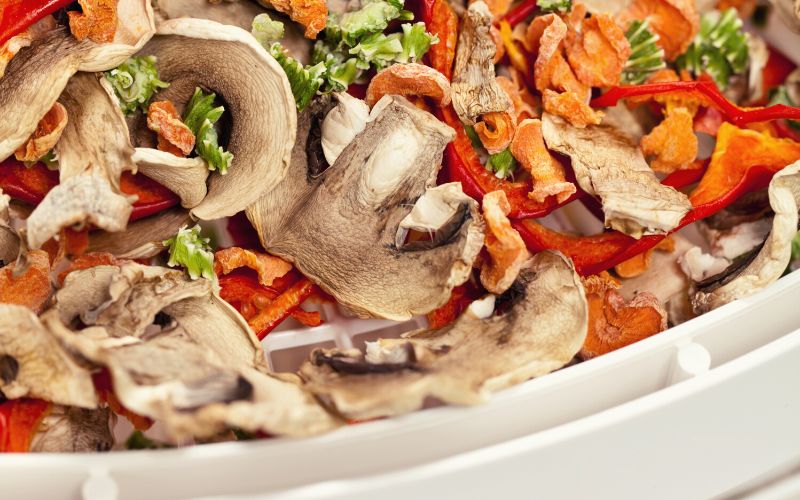
Throwing in a handful of dehydrated vegetables is an excellent way to boost the nutritional content of your backpacking food. Add some color to your meals with a sprinkle of green spinach in curry or yellow bell peppers in pasta.
When choosing vegetables for dehydration, opt for ones without blemishes or any signs of rotting. Dehydrate them as quickly as possible to preserve freshness.
In addition to washing, most vegetables need to be blanched or steamed before dehydrating, like potatoes, corn, carrots, and broccoli. Using frozen vegetables for dehydration helps save time since they’re already blanched. There’s no pre-cooking necessary for softer vegetables and greens, like spinach, bell peppers, mushrooms, onions, and zucchini.
Evenly dice vegetables or cut them into thin slices, about ⅛ of an inch thick. Be sure to peel off the skin if necessary and remove any extra-tough stalks. There’s no need to cut up corn, peas, and spinach.
To dehydrate, spread out the vegetable pieces on the dehydrating tray in a single layer without overlapping. Set the dehydrator to 125ºF for most vegetables, and 145ºF for tomatoes and onions. Avoid dehydrating vegetables with strong odors (like garlic and onion) along with other vegetables because they will absorb the smell.
Depending on the vegetable, drying times can take anywhere from 4 to over 12 hours. Fully dehydrated vegetables are crisp, hard, and brittle.
How to Dehydrate Meat, Poultry, and Fish
Meat, poultry, and fish can also be dehydrated and are a quick way to add extra protein to your backpacking and camping meals.
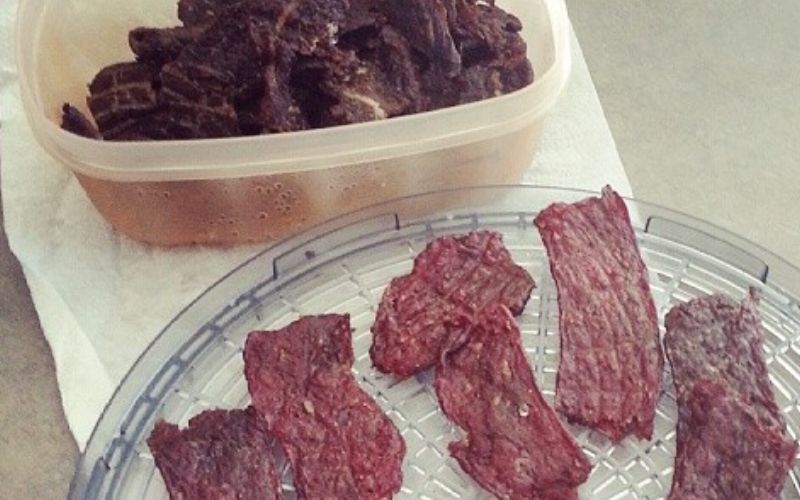
Since high-fat foods do not dehydrate well, lean meats and fish work best for dehydrating. Choose fresh, low-fat cuts of meat and varieties of fish for dehydrating and cook it to a safe temperature, at least 160ºF for beef and 165ºF for poultry. Sliced, cured ham is the only type of pork you should dehydrate.
To dehydrate the cooked meat, remove any fat and cut it into ½ inch cubes. You can also dehydrate cooked ground beef to avoid the extra prep time. Form a single layer on a tray and set the dehydrator to 145ºF. Check the meat periodically and pat off any oil or moisture with a paper towel. It takes about 6 to 12 hours for cooked meat to dry out fully.
To make homemade jerky, evenly slice the meat into thin strips, marinate in brine or dry cure, and brush off the brine or cure before dehydrating. Lay out the meat strips on a tray and begin dehydrating at 160ºF, eventually lowering the temperature to 145ºF until the jerky is dry and ready.
How to Store Dehydrated Foods
Once you have your food ready for your meals it’s time to store it properly! The food should be 100% cooled off before storing and the container should be completely dry.
Dried foods should be stored in an airtight container in a cool, dry space without direct sunlight. The storage container should be sanitized and your hands should be clean before handling the food to prevent bacteria from transferring over to your food and causing food poisoning.
To increase the shelf life of your dehydrated foods, keep them at a maximum of 60ºF, minimize exposure to light, and prevent any and all air and moisture from getting in contact with the food.
Vacuum-sealing bags or jars are the best way to store dehydrated foods. Mylar bags with oxygen absorbers are good alternatives. These are nice because you can store the ready-to-go meal in it, throw it in your pack, add the hot water, and eat directly from the bag.
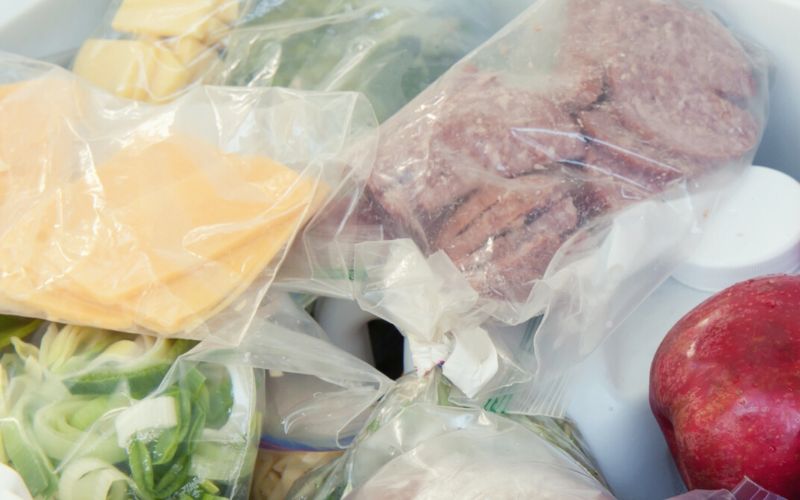
If you don’t have either of these, you can store dehydrated food in airtight containers, such as canning jars and plastic containers with properly sealed lids.
If you’re preparing food for an upcoming trip (within 14 days), you can simply store the food short-term in a resealable container in the refrigerator. When packing for your trip, avoid letting moisture into the containers. One important step is to let the food reach room temperature before opening the containers.
When properly stored, dehydrated foods can last for months or up to a year. Here is a list of the average shelf life for a variety of foods:
- Fruits – 1 year
- Fruit leather – 1 month (up to 1 year if frozen)
- Vegetables – 6 months (longer if vacuum sealed)
- Grains and legumes – 1 year
- Meats – 1 to 2 months (up to 6 months if vacuum sealed and frozen)

15 Best Foods to Dehydrate
Although you can dehydrate nearly any food, these are the top fruits and vegetables, meats, and legumes we recommend for backpacking and camping.
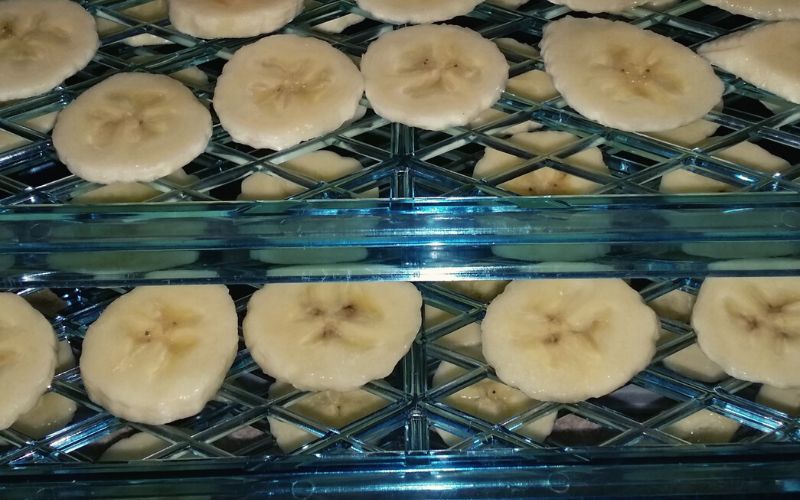
1. Bananas
Banana chips are not only the perfect healthy snack, but they’re also a breeze to prepare! To make dehydrated bananas, cut the banana into thin, round slices and arrange the slices in a single layer on the tray. Set the dehydrator to 135ºF and dry for 6 to 12 hours until the banana slices are a leathery texture.
To dehydrate bananas in an oven, use a baking sheet lined with a silicone mat. Set the oven to its lowest temperature, keep the door slightly open, and flip over the banana chips frequently.
2. Strawberries
Dried strawberries add sweetness to backpacking breakfasts like oatmeal. To make dehydrated strawberries, evenly slice the strawberries as thinly as possible and place them on a tray. Dry the slices for 6 to 7 hours at 200ºF until completely dehydrated.
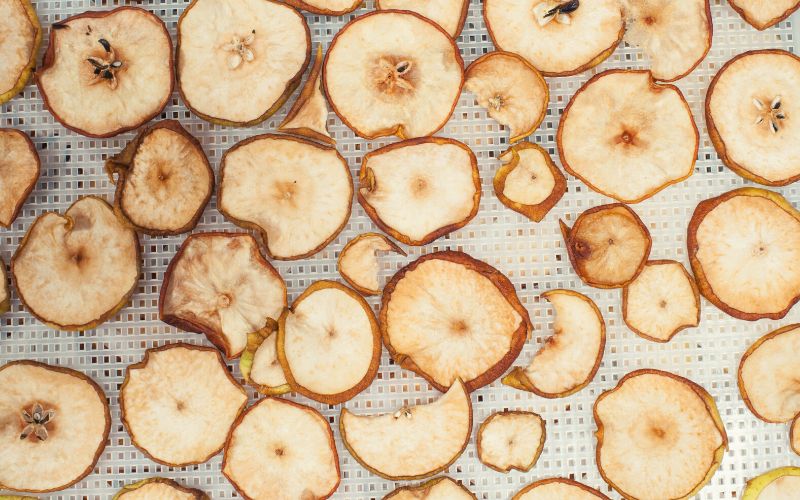
3. Apples
Apple chips are another great trail snack and diced dried apples also go great with oatmeal. Cut or dice the apples and dip them in lemon juice to prevent them from browning. Set the dehydrator at 200ºF and dry for 5 to 8 hours until leathery.
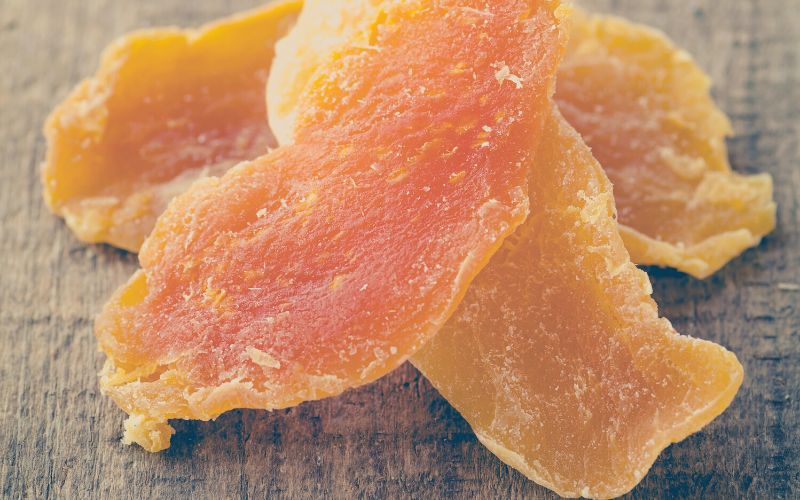
4. Mangoes
If you’ve never tried dried mango strips, prepare to become addicted! You can use fresh or frozen mangoes for dehydration. Cut the mango into thin slices or dice it into ¼-inch thick pieces.
Place the cut mango on a dehydrator tray and dehydrate at 135ºF for 6 to 12 hours until a leathery texture is achieved. Rotate the trays as necessary to dry all pieces evenly.
Oven-drying mangoes is also a cinch. Place them on a baking sheet lined with a silicone mat to prevent the pieces from sticking to the sheet. Set the oven to the lowest temperature and bake until dry. Keep the door slightly ajar to allow air circulation and flip the pieces hourly.
5. Pineapple
Dehydrated pineapples make a delicious treat on the trail. Add pineapple bits to granola, trail mix, or oatmeal. You can use fresh or canned pineapple for dehydration.
Cut the pineapple rings into thin slices or diced pieces (about ½-inch) for quicker drying times. Lay out the pieces in a single layer on a tray without any overlapping. Set the dehydrator to 135ºF for 8 to 16 hours until dry.
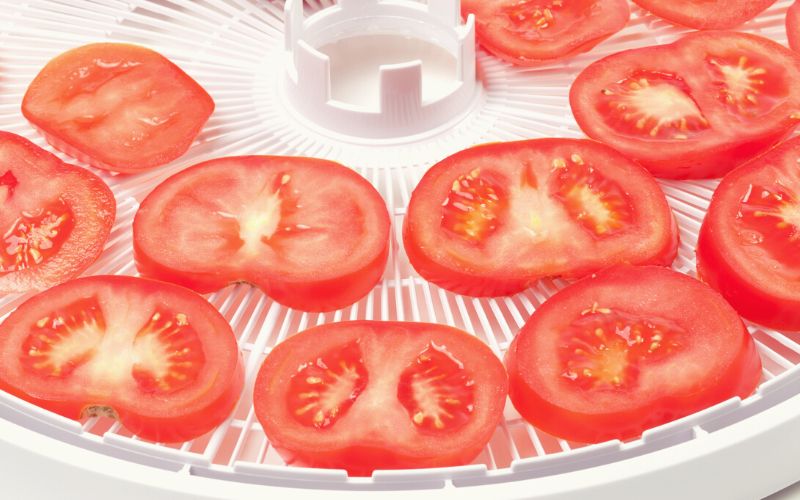
6. Tomatoes
Tomatoes are an essential part of most stews and dehydrating makes them so much easier to bring along camping. No more squashed tomatoes in your cooler!
To dehydrate tomatoes, remove the stems and cut them into ¼-inch slices. Arrange the tomatoes in a single layer on a tray. Dehydrate the tomatoes for up to 10 hours at 150°F until they become leathery.
7. Peppers
All types of peppers are suitable for dehydration, including bell peppers and chili peppers. Dehydrated bell peppers make a great addition to scrambled eggs (eggs don’t dehydrate well so use powdered eggs instead).
Cut bell peppers into small cubes or thin strips about ¼ to ½ inch thick at the most. Blanch them in hot water followed by an ice bath to quicken the dehydration process. Set the temperature to 125ºF and dehydrate for 8 to 12 hours until the pieces are crisp.
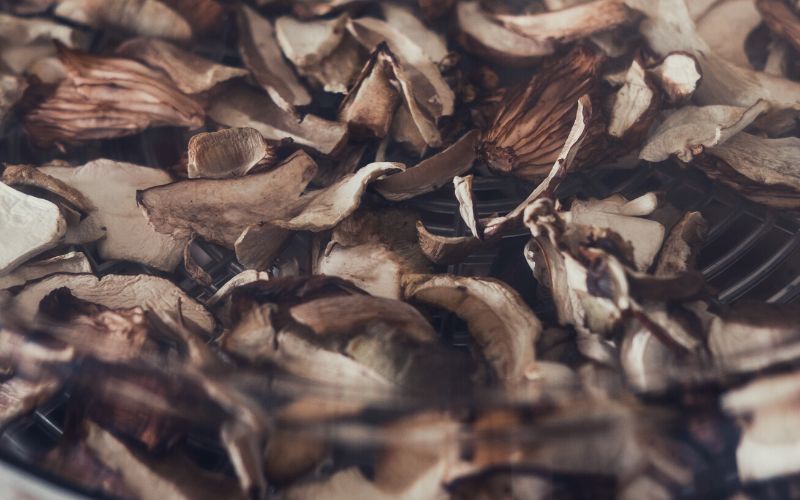
8. Mushrooms
Mushrooms add a meaty texture to vegan and vegetarian backpacking meals. To prepare mushrooms for dehydration, clean them with a wet paper towel and cut them into ¼-inch slices or small pieces.
Place the mushrooms on a dehydrator tray and make sure they’re not touching each other. Set the dehydrator at 125°F and dry for 3 to 8 hours. The mushrooms are fully dry and ready if they snap in half when bent.
9. Spinach
Washing and preparing greens on backpacking and camping trips is usually a tedious task, but dehydrated spinach saves you all the trouble and heavy water usage.
Spinach is one of the fastest vegetables to dehydrate and works well in soups, curries, and pasta. You don’t need to blanch or cut baby spinach, although you may want to cut adult spinach leaves into smaller pieces.
Place the spinach leaves on a dehydrator tray and dry for 4 to 8 hours at 125ºF. Some overlapping is okay, but don’t layer it on too much. Rotate the dehydrator trays as needed to encourage even drying.
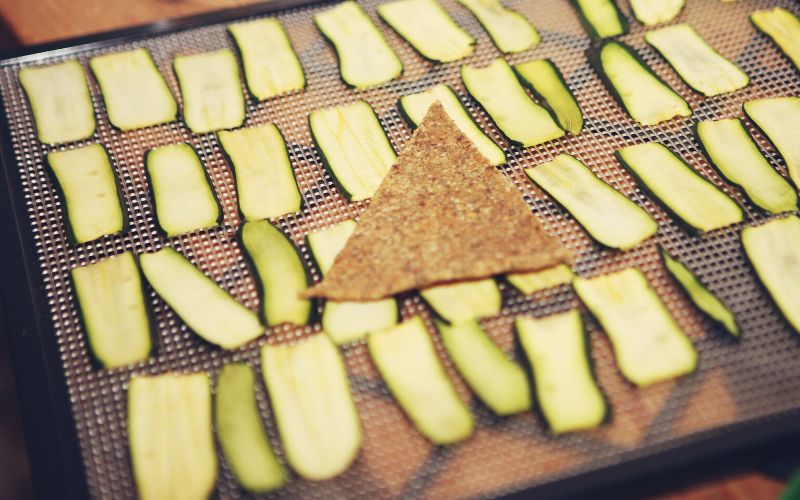
10. Zucchini
Zucchini is another great addition to campsite pasta and egg scrambles! The smaller the zucchini the better it works for dehydrating. Pick ones that are firm and not overly ripe.
Cut the zucchini into thin rounds or shred it using a grater. Place the zucchini on a dehydrator tray and leave plenty of space around each piece for ventilation. If using shreds, use a mesh tray liner to stop the pieces from falling through the tray openings. Zucchini should be dehydrated for 6 to 12 hours at 125ºF until brittle and fully dry.
11. Ground Beef or Turkey
Ground beef and turkey are the easiest meats to dehydrate. Choose low-fat beef or turkey because high-fat foods do not dehydrate well.
To speed up the rehydration time of your ground beef or turkey, mix in ½ cup of breadcrumbs per pound of meat before cooking.
Properly cook the ground beef (up to 160ºF) or turkey (up to 165ºF) and break it up into crumbles. Once cooked, use a paper towel to absorb as much oil and moisture as possible. Arrange the meat or poultry crumbles on a tray using a mesh liner.
Set the dehydrator to 145ºF and dry for 6 to 12 hours. Check on the progress frequently and rotate the trays and blot out moisture as needed.
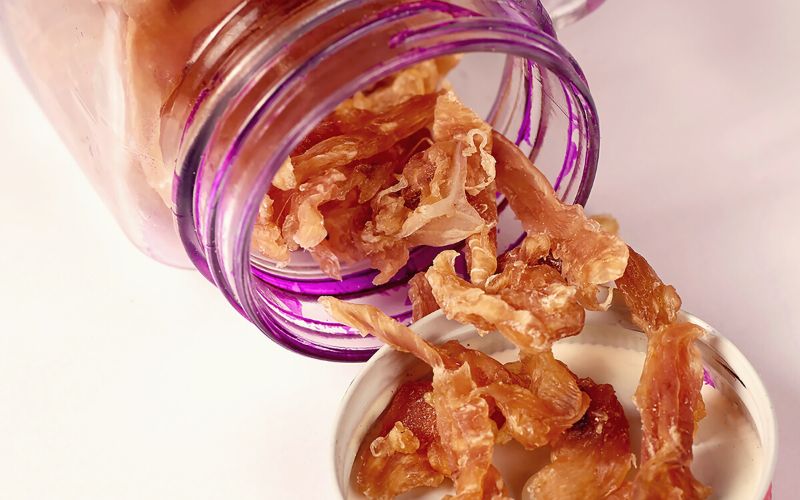
12. Chicken
Pressure-cooked chicken rehydrates best. Use pre-cooked canned chicken or use a pressure cooker to prepare your chicken. Remember, low fat is best for dehydrating so use white meat.
Remove any excess moisture with a paper towel and arrange the cooked and shredded chicken on a mesh liner for dehydrator trays. Dehydrate at 145ºF for 6 to 12 hours, continuing to blot dry and rotating the trays as needed.
13. Pasta
A filling pasta dinner is one of the most satisfying meals after a long day of backpacking. But who has the energy to cook after hiking for miles?
Dehydrating pasta doesn’t change its weight much but it makes it much faster and easier to prepare. To dehydrate pasta, cook, as usual, making sure to drain as thoroughly as possible. Spread the pasta out over the dehydrator tray and dry at 135ºF for 6 to 12 hours. Some types of pasta will take longer to fully dry, but it’s ready when you can break it in half.
14. Rice and Grains
Rice and grains serve as the base for many satisfying camping meals, like burrito bowls and curries.
Cook grains using water or use a non-fat broth for added flavor. Grains rehydrate best when they’re not overcooked. Set the dehydrator at 145ºF for 6 to 12 hours and dry until the grains are dry and hard.
15. Beans and Lentils
Beans and lentils are excellent sources of plant-based protein for hitting the trail. Pressure-cooked legumes are better for dehydrating. Use canned or cook beans and lentils at home using a pressure cooker for best results.
Arrange the legumes in a single layer on a tray. Dehydrate for 6 to 12 hours at 125ºF until they are cracked and dry.
Happy Dehydrating!
There are so many benefits to dehydrating your own food for backpacking and camping meals that it’s hard not to run out and pick up a dehydrator immediately!
Dehydrated meals weigh less and use up less space, but the prepackaged versions are often expensive and not as flavorful as a home-cooked meal. Preparing your own dehydrated meals is the easiest way to enjoy delicious food on your next camping adventure while saving money and reducing your pack’s weight.
What is your favorite dehydrated meal? Let us know in the comments below. Have we missed any of the best foods to dehydrate for hiking or camping? Feel free to share it with your family and friends.
