Doing a DIY-job on most items of outdoor kit is unthinkable for most of us, but with a little bit of time, effort, and the right materials, just about anyone can tick the shelter box by making their own tarp tent.
These shelters are not only very lightweight, versatile, and far cheaper than a store-bought tent, but are also fun and easy to make. Below, we show you how it’s done with a simple step-by-step guide on how to make a tarp tent.
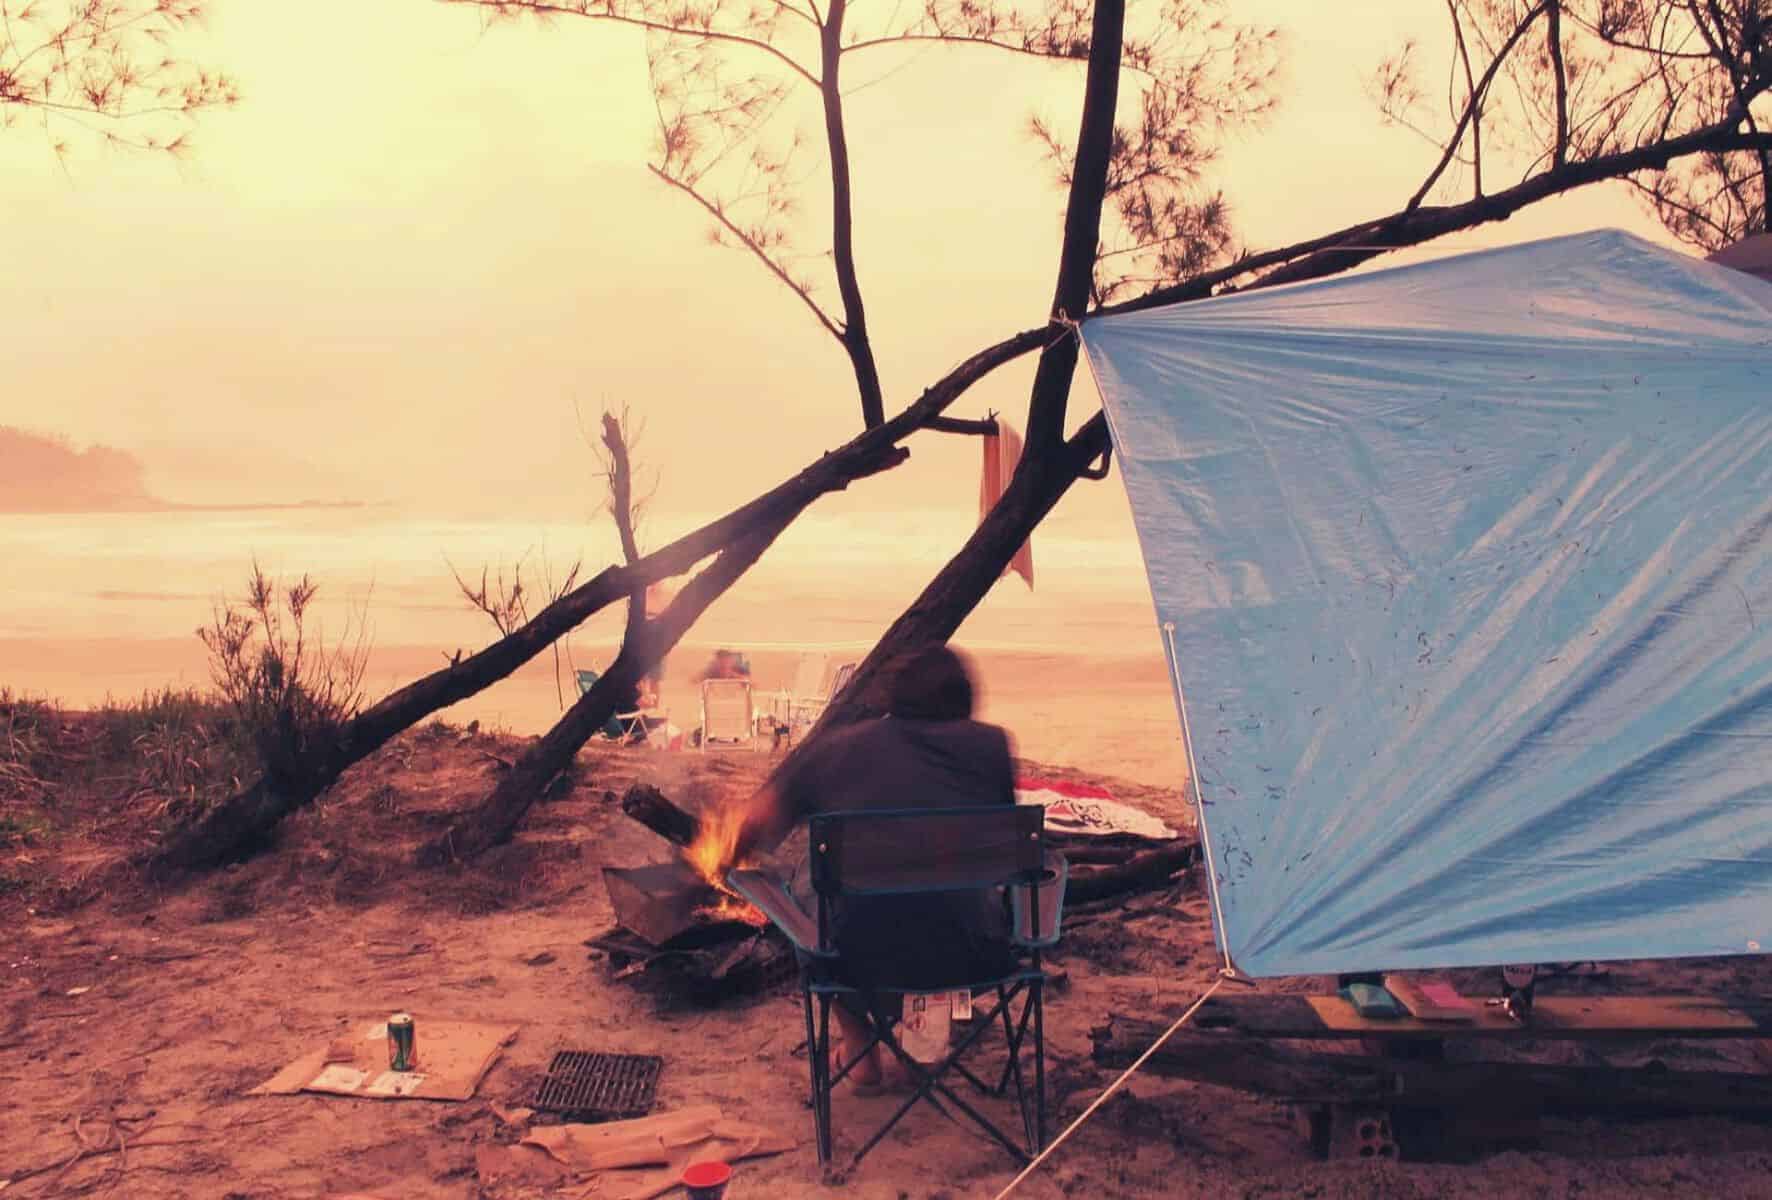
If you don’t fancy making your own tarp from scratch, then check out our guide to the best camping tarps.
Table of Contents
How to Make Your Own Outdoor Shelter Using a Tarp
Step One: Collect Your Materials and Tools
To make your own tarp tent at home, you’ll need the following tools and materials:
- A 12-by-12-foot sheet of silnylon fabric or cuben fiber*
- Thread: nylon or Kevlar are the toughest
- 48 feet of 5-8mm accessory rope
- A grommet kit
- A guyline kit with at least 4 lines
- 3 feet of flat nylon webbing (2.5-inch width)
- Superglue
- Scissors
- Measuring tape
- A sewing machine (or, alternatively, the patience of a saint and time to spare!)
*this size of fabric will allow you to make a 2/3-person shelter using the configurations below. For a 1/2-person shelter, 8×8’ or 10x’10’ feet of material should be adequate.
Step Two: Reinforce Your Tarp’s Edges/Hems
1. Lay out your silnylon or cuben fiber fabric bottom up on the floor.
2. Dab a small amount of glue at 5-inch intervals along the edge on one side.
3. Cut your accessory rope into 12-foot lengths (or the length of your fabric).
4. Place one length of rope along the glued edge and fold the edge of the material over the rope.
5. Repeat stages 2-4 for all sides of the fabric.
6. Get your sewing machine (or thimble, needle, and reserves of patience!) out and sew a seam along the length of the folded fabric on the inside of the accessory rope.
7. Back-stitch at each of the corners for added strength.
Step Three: Add Grommet Holes and Webbing
1. Cut your nylon webbing into eight strips measuring roughly three inches long and singe the ends with a flame to prevent fraying.
2. Sew the strips onto your fabric in each corner and at the mid-point on each side, folding the webbing so as to sandwich the tarp body fabric between the two ends of webbing.
3. Add more grommet holes at the quarter-length point on each side if desired.
4. Use your grommet kit to punch holes in the center of each fabric-webbing sandwich and fix the grommets in place.
How to make a Tarp tent: Which Material Is Best?
The most important decision you’ll have to make when creating your own tarp tent, and that which will have the most bearing on its effectiveness, is the material. Below, we provide a quick overview of the most popular options:
Silnylon: By far the most popular tarp fabric out there, this material is made of silicone-impregnated nylon, hence the name. Silnylon is both waterproof and reasonably lightweight but loses a few points on account of poor breathability and its tendency to stretch and sag when wet.
Cuben Fiber: This fabric (also known as Dyneema Composite Fabric) is made by sandwiching Dyneema fibers between two layers of polyethylene terephthalate film. It is much pricier than silnylon but in return offers comparable waterproofing, superior strength, a smaller packed size, won’t stretch when wet, and will save you a few ounces of weight.
Tyvek: This budget choice of material is not as strong, lightweight, or packable as silnylon but is equally water-resistant and far cheaper.
4 Simple Tarp Tent Pitching Methods
Method #1: The A-Frame
This tarp shelter is probably the most popular of all the potential tarp tent configurations, mainly on account of its simplicity. It is made by tying a guy line between two trees spaced 10-15 feet apart at a height of around 5 feet from the ground.
Next, sling your tarp over the line so the mid-point rests on the line and both ends touch the ground and then peg these out so the material is taut, leaving an A-shaped nook underneath.
A-Frame Pros
- Very simple to set up
- Angle allows rain to run off fabric easily
- Spacious inside
A-Frame Cons
- Trees required
- Can be drafty
- Can sag easily if not pegged out correctly or guy line is slack
Method #2: Lean-to Tarp Shelter
This simple shelter doesn’t provide as much protection from the elements as the A-Frame but offers a roomier sleeping area and excellent ventilation.
As with the A-frame, tie your guy line between two trees roughly 10-15 feet apart, using a trucker’s hitch to minimize the amount of slack. Fold the tarp over the guy line, this time leaving about 3-4 feet of material one side.
Peg out the longer side of fabric at a 30-degree angle to the guy line. Use two more guy lines to attach to the grommet holes in the corners of the loose end of fabric. Peg these out so the material is taut, creating an open-fronted shelter.
Lean-to Pros
- Good weather protection on one side
- Spacious
- Easy to erect
- Excellent ventilation
Lean-to Cons
- Poor weather protection at front and sides
Method #3: Diamond Fly
The diamond fly configuration requires only one tree or suspension point and provides a nicely sheltered area with only one exposed side.
To make this shelter, lay your tarp on the ground with one corner pointed towards the base of the tree. Attach the opposing corner to a guy line and peg both into the ground, then tie the opposite end of the guy line to the tree at a height of 5/6 feet or a 40/45-degree angle.
Peg out the other two corners, ensuring that the edge of the fabric is touching or very nearly touching the ground between the pegs.
Diamond Fly Pros
- Provides shelter on three sides
- Spacious
- Perfect angle for rain runoff
- Only one tree required
Diamond Fly Cons
- Slightly trickier to set up than A-Frame or Lean-to shelter
- No protection on one side
Method #4: Tree-Free A-Frame
If you happen to be traveling in treeless terrain and have a pair of hiking poles to hand, this one’s a winner every time.
To make this variant of the traditional A-Frame, simply adjust your hiking poles to their max height and place the tips in the grommet holes either side of the center of your tarp, where the guy line would pass if suspended between trees. Peg out the corners on both sides, taking extra care to ensure there is enough tension to keep the tent stable and standing.
Tree-Free A-Frame Pros
- No need for trees
- Surprisingly stable
- Good weather protection
- No guy lines needed
Tree-Free A-Frame Cons
- Less stable than A-Frame with ridgeline suspended from trees
- Tricky to pitch if camping alone
- Poles interrupt sleeping space
