
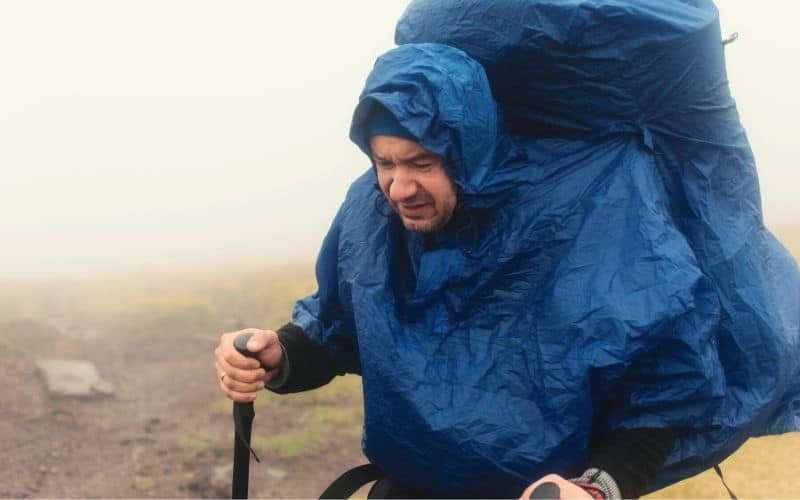
Ready to take your hiking to the next level? Taking a day hike is one thing, but walking into the wilderness for a few days (or weeks) with everything you need to survive on your back is another story!
Even if you’re an avid hiker, it’s important to train for your first backpacking trip. Carrying a loaded pack on your back for miles each day requires extra strength, balance, and endurance than your regular day hike.
This guide has all the info you need to prepare for your trip, including a workout plan, simple exercises, useful gear, and other important training tips.
Ready to get started? Let’s do it!
Table of Contents
Top Tips, Training Plans, and Backpacking-Specific Exercises
1. Set Goals
Goal setting is essential for creating any successful training plan. To set these goals, you need to have your trip itinerary ready.
When planning out your backpacking adventure, take note of the length of the trip, total mileage, total elevation gain, and the estimated weight of your backpack. All of these, including unpredictable things like the weather, will directly affect your performance on the trail.
Use your trip itinerary to set attainable goals and incorporate the trip’s specific demands into your training program.
For example, if you’re trekking a total of 21 miles over 3 days, you need to be able to hike 7 miles per day. But you also need to keep in mind that the amount of weight on your back and the route’s elevation gain will slow you down and increase the demand on your body.
In this scenario, you should set a goal of successfully hiking 7 miles per day while carrying the same amount of weight you will during your trip. You’ll also need to increase the elevation to match the trail’s elevation gain.
To do this, we recommend starting at around 30-50% of total weight, distance, and elevation gain, then gradually building things up until you can comfortably cover the full 100%.
2. Make a Schedule and Training Program
Start training at least 8 weeks before your trip. Some hikers prefer to begin earlier, especially if they’re preparing for especially strenuous or long treks.
Develop a personalized training program with a combination of workouts to address your trip’s unique demands including strength training, endurance building, and increasing balance (necessary on more rugged trails).
For the best results, create a weekly training schedule and stick to it! Mix up the workouts and spread them out throughout the week so you’re not doing the same exercises 2 days in a row.
Here’s a sample weekly backpacking training routine that you can adapt to your needs:
- Monday – Strength Training
- Tuesday – Cardio
- Wednesday – Strength Training
- Thursday – Cardio
- Friday – Rest Day
- Saturday – Hike / Cardio
- Sunday – Rest Day
Beginning around 2 weeks before your trip, switch up the cardio for a few long hikes. These hikes should be at least an hour long and you should wear a backpack or weight vest with at least 80% of the amount your pack will weigh during your trip. Take breaks when needed and be sure to rest a few days leading up to your trip.
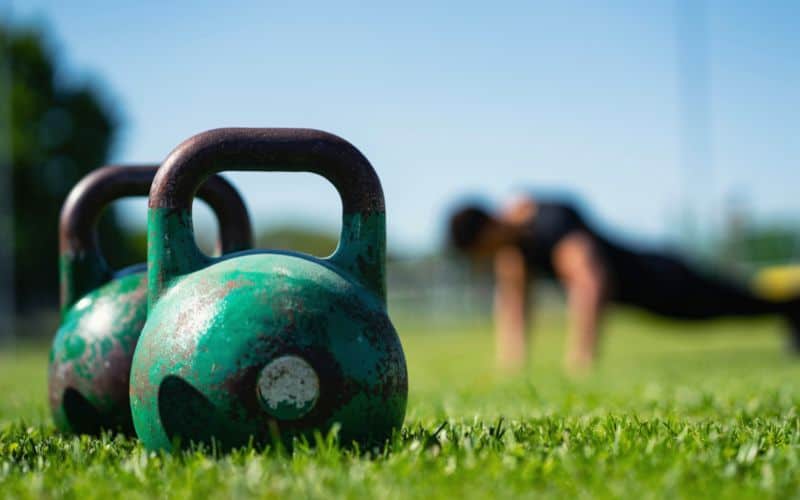
3. Training Exercises for Hikers and Backpackers
These simple exercises are designed to help you train for hiking and backpacking trips by working out the parts of your body and major muscles you’ll use the most, including your legs, core, and back.
All of these exercises can be completed at home or at a gym. Remember to always consult your doctor before beginning a new exercise routine, listen to your body, go at your own pace, and modify the exercises when needed.
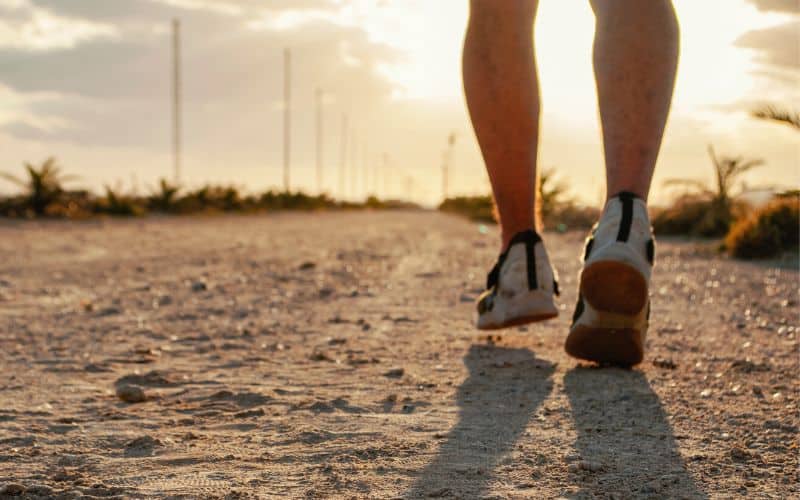
Warm Up
Start your backpacking training routine with a brisk walk or jog for 5 to 10 minutes to warm up and prepare your body for the workout.
Jump Squats
Jump squats are ideal for training because they work out all main muscles used during backpacking in the legs and lower body. The jump between squats adds an extra boost to this exercise.
Here’s how they’re done:
- Place your feet shoulder-width apart.
- Squat down until your thighs are parallel to the floor with your knees above your feet. Keep your chest up and your feet flat on the ground.
- Push back up through your heels into a jump a few inches from the ground.
- Repeat 15 to 20 times.
Standing Hip Rolls
This exercise helps prepare your hips for carrying most of the weight of your pack. Hip rolls work the muscles around the hips to increase balance and build endurance.
- Stand on your left leg.
- Bend forward at the hips while keeping a straight back and lifting the right leg a few feet off the ground directly behind you.
- Turn your body to the right and roll your right hip up and back so your body is in a straight plane.
- Repeat 10 to 15 times per leg.

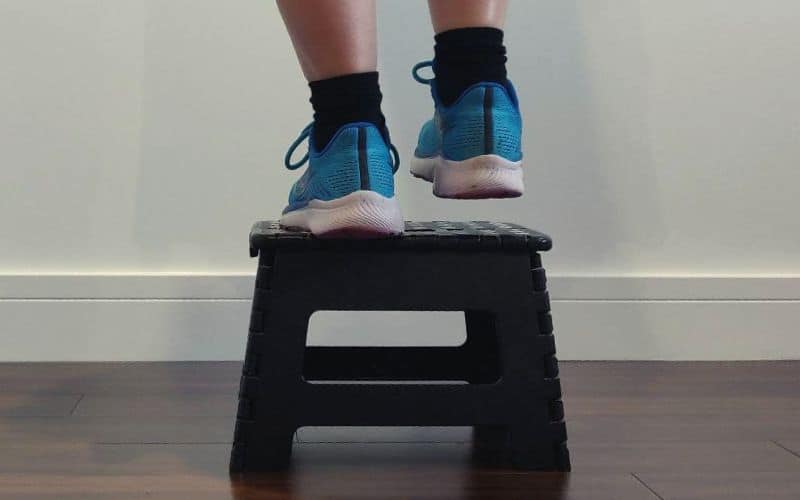
Step-Ups
Step-ups work the quads and glutes to increase strength and endurance in the lower body. This helps improve your ability to step over obstacles along the trail repeatedly while carrying a heavy pack.
Wear ankle weights to begin increasing the intensity of this exercise, or a weight vest with at least 80% of the weight you expect to carry on the trail.
- Use the bottom step of the stairs or another flat and stable surface approximately 8 inches above the ground.
- Place your left foot on the step, leaving your right foot on the floor.
- Step up and float your right foot about an inch above the top of the step without touching it.
- Pause in this position for a moment while standing up straight on the left leg and hovering the other foot above the top of the step.
- Step down with the right foot first and return both feet to the floor.
- Repeat 15 times on one side and another 15 times on the other.
- Rest for 15-30 seconds and repeat!
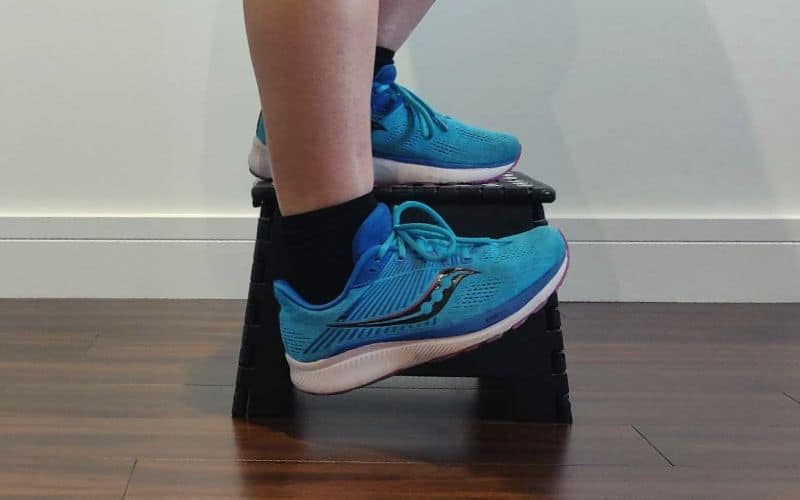
Heel Downs
This exercise targets the quads and glutes to improve your strength and equilibrium. Heel downs help you practice the motion involved in stepping over rocks on the trail while keeping your balance and building up the muscle around your knees to prevent injuries.
As with step-ups, wear ankle weights to begin increasing the intensity of this exercise or a weight vest with at least 80% of the estimated pack weight on the trail.
- Use the bottom step of the stairs or another flat surface approximately 8 inches above the ground.
- Stand on the step sideways, keeping your left foot on the top of the step and your right foot floating off the side of the step.
- Point the toes of your right foot up and bend your left knee until the heel of your right foot grazes the ground.
- Use your right leg to push back up into a standing position.
- Repeat 15 times on one side and another 15 times on the other.
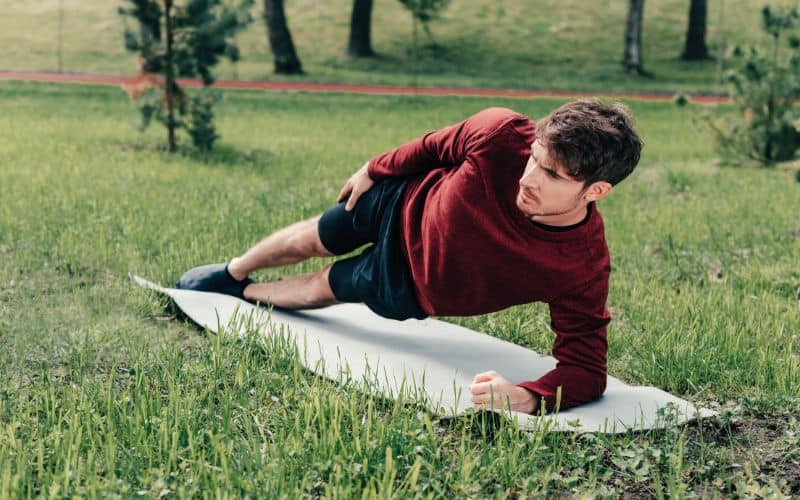
Side Planks
Planks are excellent for building core strength. This side plank adds a hip dip for an extra challenge. A stronger core means less back pain and fatigue when carrying your pack for miles every day, and helps you keep good posture while schlepping all the extra weight.
- Start by laying on your left side with your legs stacked on top of each other. Place your elbow and forearm on the floor and perpendicular to your body.
- Put your right hand on your right hip and point your elbow toward the sky.
- Keep your core muscles tight while you raise your hips until your body forms a straight line from your head to your heels. Your weight should be distributed amongst your elbow, forearm, and the side of your left foot.
- Hold in this position for a moment before lowering back down.
- Repeat 10 times on one side and then 10 more on the other.
Single-Leg Deadlifts
Single-leg deadlifts strengthen the core and hip muscles used for backpacking. While having to center your weight improves your balance, which will help to prevent falling when carrying a heavy pack.
You’ll need a lightweight hand weight for this exercise. Use a heavier dumbbell if needed.
- Hold the weight in your left hand and stand with your feet shoulder-width apart.
- Bend forward at the hips while balancing your weight over your left foot and lifting your right leg back.
- Keep your hips straight and lower the weight toward the floor without letting it touch.
- Return to the starting position using your glutes and core muscles while keeping your back straight.
- Repeat 20 times on one side and 20 times on the other side.

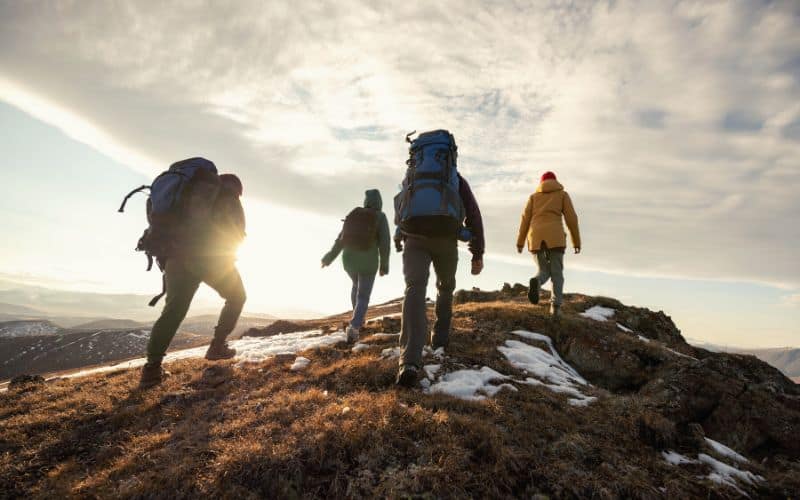
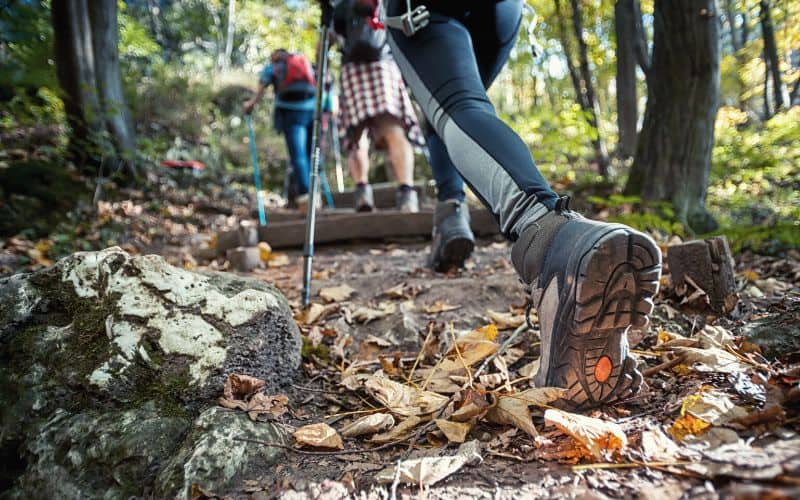
Training Hikes
Build endurance on the trail by incorporating hiking into your cardio training routine. Try to increase the distance, elevation gain, and your pack weight gradually throughout the training process.
Practice hiking on uneven terrain and the same type of trail as your backpacking trip. If you’re hiking through dunes or a desert, train on a long, sandy beach. If you’re headed to rocky terrain, find a hiking trail nearby with a rugged path.
Whether you prefer trail running shoes or hiking shoes, try training in the same shoes and socks you plan to wear during your trip. This will help you get used to walking long distances in your shoes and reduce blisters on the trail.
Ideally, you should be wearing your backpack during these pre-trip training hikes. Figure out how much weight you’ll be carrying on your actual trip and work up to carrying about 80% of that on your training hikes.
Other Exercises
We’ve given you a few examples of strength training exercises that will help you get in tip-top shape, but there are plenty of others you can do as well.
Any exercise that will improve your aerobic capacity will help, like running, jogging, and biking. You can also incorporate strengthening exercises for your upper body, including push-ups, mountain climbers, and holding a high plank position into your backpacking fitness routine.
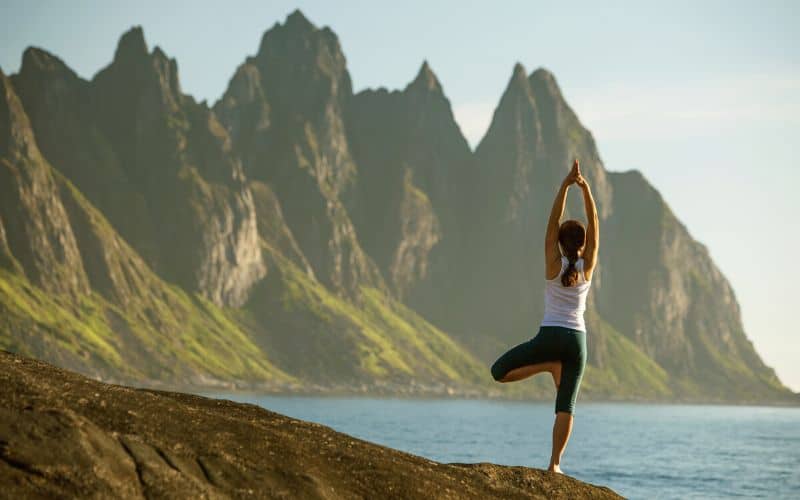
Because carrying a pack alters your center of gravity, yoga can be especially beneficial for those who need to work on their balance and stability.
4. Buy Gear for Impromptu Training
You can use the gear you have to train for your backpacking trip, but there are a few items that will make training easier and the preparation faster.
Weight vests, ankle weights, and weight belts simulate the additional weight from your pack and help you build the strength to carry your pack weight on the trail. Keep these on hand so you can quickly grab them and head out to train.
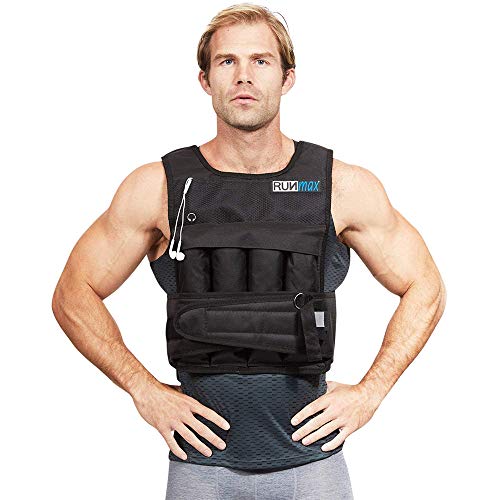
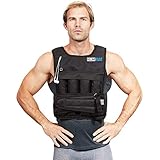
Weight Vest
A weighted vest is a vest with weights distributed evenly across the torso. It increases body weight to build muscle strength while training for hiking or backpacking. This is a low-impact way to build your core resistance and shoulder strength during your cardio workouts and day hikes.


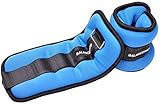
Ankle Weights
Ankle weights are strapped around the ankles to add extra weight to your legs. These types of weights are useful for exercises that work the leg and hip muscles, like hip rolls and step-ups.
What we love most about ankle weights is that they can easily be used for stealth training. Whether you’re heading into the office or on a night out with friends, you can slip them on and reap the benefits without anyone knowing.


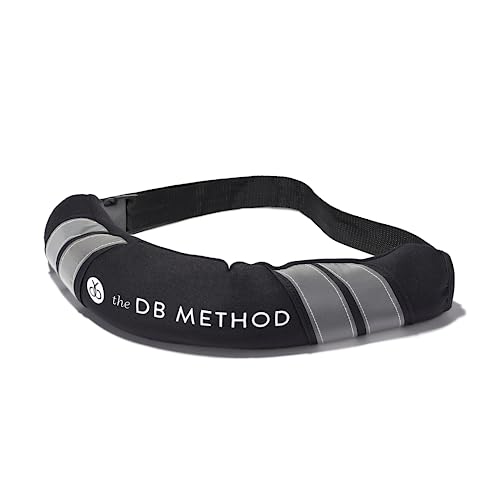
Weight Belt
A weight belt with about 10 pounds worth of weights is helpful when beginning your backpacking training. You can wear your weight belt along with a daypack during hikes and cardio to avoid tiring out your shoulders with a heavier pack.
If you don’t have any of these items, carry the same pack you’ll wear on your trip and add some weight to it. Start light and gradually add weight throughout the training process until it weighs about the same as your anticipated pack weight.


5. Monitor Your Progress with Tech
It’s important to monitor your progress to be sure you are working towards and achieving your goals. It’s also crucial for figuring out if your backpacking itinerary is realistic for your physical fitness level. Once you know your actual hiking speed and endurance limits, it becomes easier to plan your backpacking trips with confidence instead of relying on guesstimates.
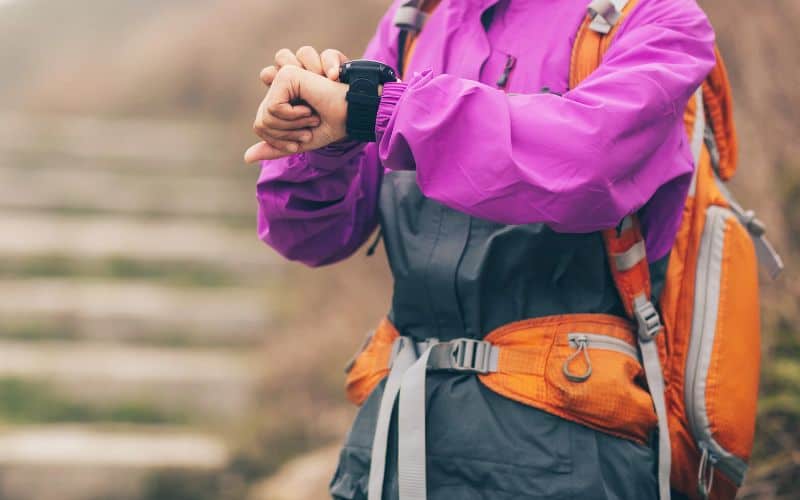
Fitness trackers, like Fitbit and Garmin hiking watches, are an excellent way to measure your progress. Depending on the model, they can track your heart rate, blood oxygen (important for overall wellness and avoiding altitude sickness), hiking speed, distance, and more.
Monitoring your heart rate with a wristwatch or chest band lets you know when you are training in the proper heart rate zone to build up endurance.
In addition to wearing a fitness tracker, downloading smartphone apps, like Gaia GPS can help you record elevation gain and total miles hiked. Apps like these record all types of information about your hiking route.
Using a combination of fitness trackers and apps can give you great insight into your hiking ability, including what you need to work on the most.
Monitoring your progress with technology can help you adjust your training routine to match your needs. For example, you might realize your hiking pace is fine on flat land but you struggle when going uphill. In this case, you’ll want to train on hiking trails with some elevation gain rather than those without any.
6. Get Creative
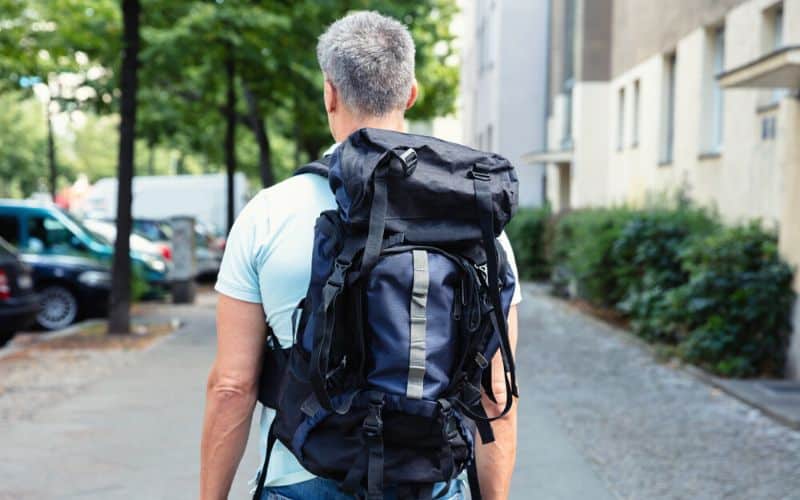
If you’re stuck in the city without easy access to hiking trails, you’ll need to get a little creative with your backpacking training.
In addition to all the exercises listed above, city dwellers can seek out natural areas in the urban landscape like parks, lakes, or beaches where they can train on uneven terrain while wearing their hiking shoes and backpack. Practice walking on pebbles, sand, and dirt to build up your stability on rugged surfaces.
Apartment building stairwells, the steps down to the subway station, or just taking the stairs instead of the elevator at work, are all stair workouts that can help you increase your ability to deal with steep inclines on the trail.
Build up endurance for elevation gain by running up a long set of stairs repeatedly or searching for the steepest street in town to walk up. Climb stairs two at a time or take extra long strides up the hill to up the challenge.
Use a combination of Google Maps and topographic maps to find green spaces in your city to train.
7. Gradually Increase Pack Weight
Even if you are a frequent hiker, trekking for days while carrying a fully loaded backpack through the wilderness is a much different experience than your typical day hike along a well-maintained trail.
Learning how to hike with a backpacking pack can take some time and practice. You need to get used to the strain on your shoulders and the weight on your hips and leg muscles, in addition to learning how to distribute the weight properly.
Start training for your backpacking trip by wearing your pack on day hikes. Begin by carrying just your full water bottle and other essentials to get used to the feeling of your pack and carrying weight in it. Slowly add in more weight on each hike.
To increase the weight of your pack, you can place any number of objects inside, like 5 or 10-pound hand weights, multiple water bottles, cans of food, or heavy books. Use anything you have on hand to simulate the weight you plan on carrying on your actual trip.
Gradually add a bit more weight on each hike until you reach about 80% of the estimated pack weight for your trip.
Even if it’s just a short trail, practice carrying your backpack with some weight in it. It will help you adjust to this new center of gravity and you’ll strengthen the specific muscles needed for backpacking.
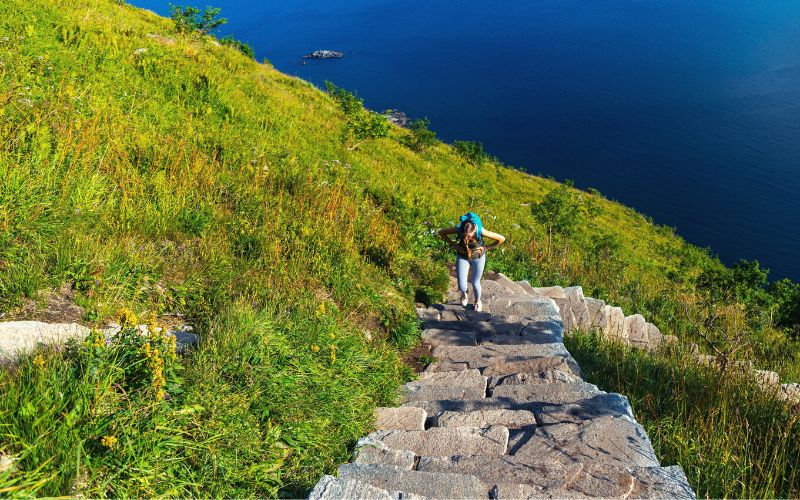
8. Gradually Increase Elevation Gain
While you might not think twice about climbing up a path without a pack, carrying a heavy backpack up a steep incline can prove to be quite the challenge, especially on rocky trails.
Incorporating uphill hikes into your routine is an important aspect of training for hiking or backpacking. You’re bound to encounter at least some degree of elevation gain on most backpacking trails.
Whether you’re training by hiking up a nearby mountain or jogging up your apartment’s stairwell, find a way to incorporate elevation gain into your training program.
If you’re working out at the local gym, use the stair climb machine or hop on a treadmill or elliptical and set it to the highest incline. Take the stairs whenever possible and start skipping a step to make it more difficult. Alternatively, find the steepest hill in town and run up it repeatedly.
Start slowly and gradually increase the elevation gain as needed. You might find it difficult at first, but eventually, you’ll build up the necessary endurance to deal with even the steepest sections of hiking paths.
How to Train for Backpacking!
From a weekly routine to training gear, we’ve covered everything you need to train for your next backpacking trip!
Remember to set goals according to your trip itinerary, create a personalized training program, incorporate the strengthening exercises into your weekly schedule, and hike wearing your weighted pack.
So what are you waiting for? Now you know how to train for backpacking get out there and start training for your trip!
What’s your favorite way to train for hiking and backpacking? If you have any comments or questions, please leave them in the comments below. And if you found this article useful, feel free to share it with others.
