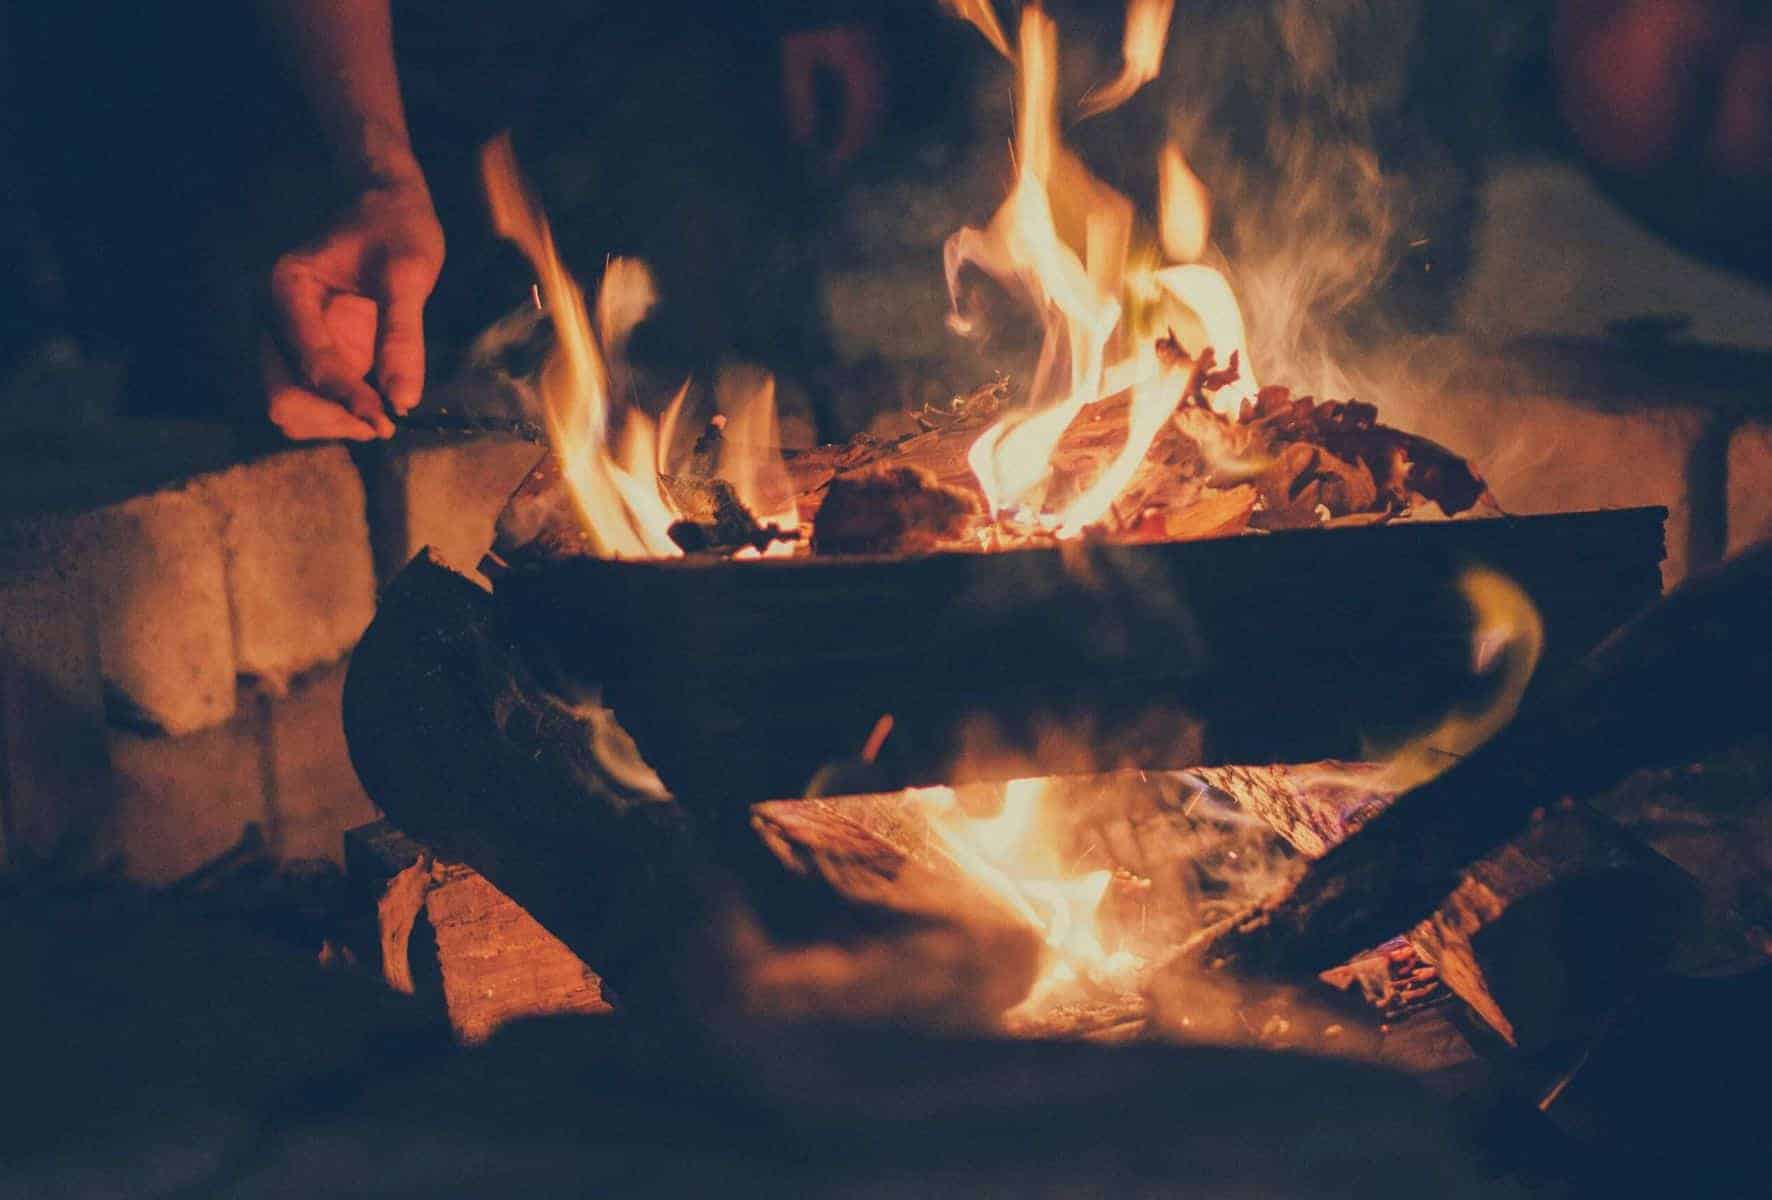
Sitting around a crackling campfire under a starry night sky is truly magical but do you know how to build a fire? Whether you’re a seasoned camper or embarking on your first outdoor adventure, mastering the art of campfire building is crucial for both cooking and keeping warm.
In this guide, we’ll explore five different methods for crafting the perfect campfire: the teepee fire, the upside-down (pyramid) fire, the star fire, the lean-to fire, and the log cabin fire. Additionally, we’ll discuss selecting the right firewood, essential campfire tools, and building a fire pit. Given that fire presents risks, we’ll delve into fire extinguishing techniques and the essential safety rules to adhere to.
Whether you’re gearing up for a weekend camping trip, considering a backyard bonfire, or simply intrigued by the art of crafting the perfect campfire, read on for a comprehensive exploration of campfire mastery.
Do
Don’t

Save for later!!! ⤵️
Table of Contents
- Best Way To Start a Campfire? Key Takeaways
- How to Build a Campfire? 5 Fire Building Techniques
- What Wood is Best For Building a Campfire?
- What Tools Are Needed For Starting a Campfire?
- How Do You Make a Fire Pit?
- How Do You Put Out a Campfire Safely?
- What are Campfire Rules?
- How To Start a Fire in The Wild Safely?
How to Build a Campfire? 5 Fire Building Techniques
Each method of campfire building has its own benefits and each has its uses. This list covers our five go-to choices for fire structure.
- TeePee
- Upside-down (pyramid)
- Star
- Lean-to
- Log cabin
1. TeePee Fire
The classic fire shape, the teepee campfire is the usual method people use when learning how to build a camping fire. It’s an easy technique to learn and useful for boiling water, cooking, or as a means to get tinder and campfire kindling started.
Unfortunately, the teepee campfire is also not long-lasting as it’s prone to collapse, so it’s best to have a backup plan in mind. I taught a nephew to build a teepee fire and then add additional firewood to form a log cabin (see below).
Here are the instructions for building a teepee fire.
- Place your tinder (dryer lint, leaves, etc) on a piece of bark, or simply on the ground.
- Get a long piece of kindling and jab one end into the ground. Use four-five pieces to form a teepee over the kindling.
- Continue to add kindling to the structure but make sure to leave open access to start the fire by lighting the tinder within.
- Once you have the fire going, and the structure burns add additional kindling and firewood. When it collapses you can start placing larger logs on the coals.
2. Upside-Down (Pyramid) Fire
An upside-down or pyramid fire results in an intense burning, long-lasting campfire. In this setup, tinder and kindling are positioned on top, while the firewood is placed underneath. As the smaller wood burns, hot embers fall onto the logs, eventually igniting them which can take up to half an hour for the fire to become visibly active. Although it requires practice, this method is a valuable fire-making skill.
Here are the instructions for building an upside-down (pyramid) fire.
- Layer the largest firewood on the ground with a bit of space between each log. Alternate the layers as you lay them (some go east-west while others go north-south).
- Place your kindling in the middle tier of the structure and your tinder at the top.
- Light the tinder and allow the hot embers to drop to the larger wood logs below. This can take a while and may require a few additional attempts at lighting, or additional tinder and kindling.
- Once it’s roaring, you’ve got a fire that could last as long as 7 hours.
3. Star Fire
The star fire setup is an iconic image of a campfire in the wild and is an excellent method for building a larger campfire. The main drawback of this method is that the star fire takes some time to get going. However, it’s a suitable option when there is little fuel around, as it uses minimal firewood and requires minimal maintenance.
Here are the instructions for building a star fire.
- Place a bit of tinder in the center of your campfire pit. Lay out large pieces of firewood radiating from this center point like you’d see on the face of a compass.
- Over the tinder add additional kindling, and once ready ignite the tinder.
- Continue feeding the fire until the radiating logs start to burn.
- You can push the logs towards the center of the fire as it burns for more fuel, or leave them alone to burn slowly.
4. Lean-To Fire
The lean-to fire is the simplest method for making a campfire and the best option for fire building in bad weather due to its quick ignition. You’ll need to know the wind direction and place the large log you are using perpendicular to it to create a windbreak. While this style of fire building doesn’t have optimal airflow, it remains one of my favorite methods for starting a campfire.
Here are the instructions for building a lean-to fire.
- Place a large wood log in your fire ring and place some tinder underneath it.
- Lean pieces of kindling over the tinder and onto the log (downwind of the log).
- When it’s lit, and as the fire burns you’ll continue adding pieces of tinder/kindling on the log to keep your fire going.
5. Log Cabin Fire
The log cabin fire structure takes some time to build, but it’s effective in various conditions. It provides great airflow and is ideal for using different types of firewood. However, it is resource-intensive, consuming a large amount of wood.
Here are the instructions for building a log cabin fire.
- Make sure to place your tinder in the center of the fire pit.
- Lay your largest kindling parallel to each other (facing east to west), about a foot apart. Place two similarly-sized pieces of kindling on the ends of these pieces running north to south.
- Continue building the log cabin until you reach a height of at least 6”.
- Light the tinder and watch it go up. As the fire grows, and starts to collapse, you can add larger kindling and fuel to the structure.
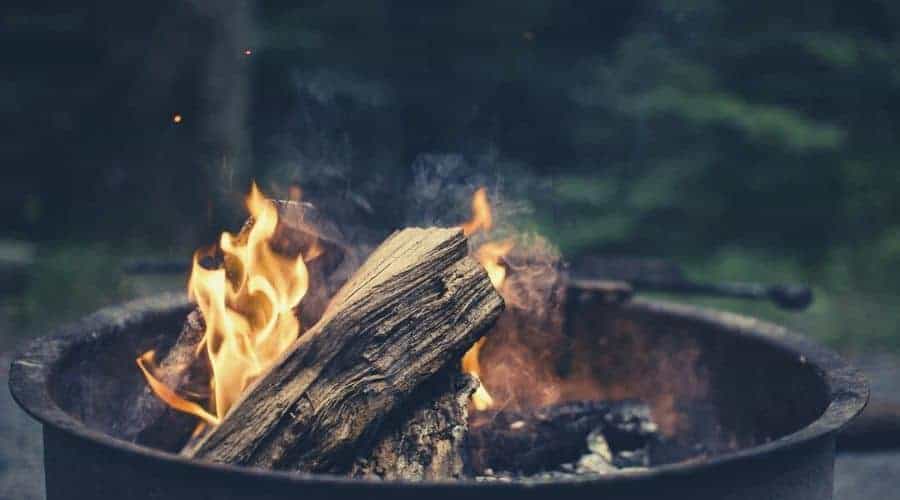
What Wood is Best For Building a Campfire?
When building a campfire look for dry wood; wet wood is difficult to burn and produces a significant amount of smoke. Kiln-dried wood is the preferred option when buying firewood, but when you’re in the backcountry selecting your firewood becomes a more complicated process.
Backcountry or Campsite Sourced Wood?
If car camping, whether at a campsite or in the backcountry, it’s always advisable to purchase your wood from the camp store or a nearby location. Many homeowners sell firewood at roadside stands near campgrounds, and box stores also offer sacks of firewood for sale.
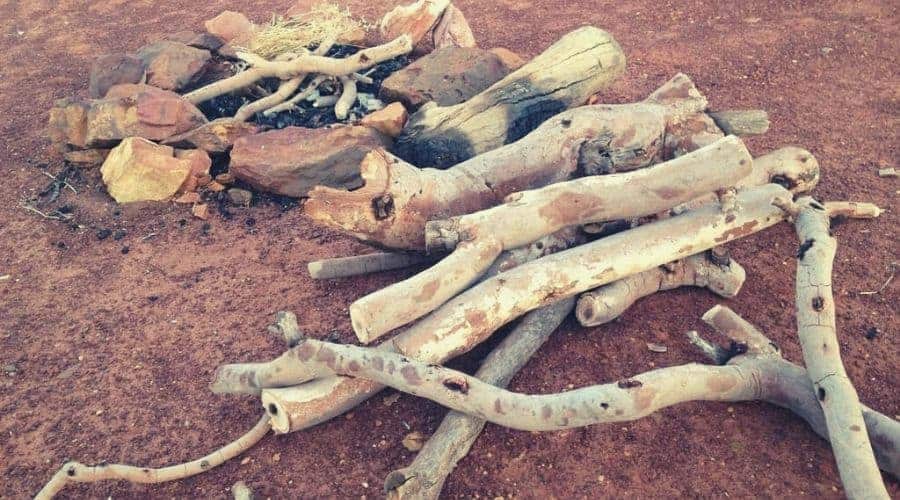
In the backcountry, you’ll need to find your own. Always select dry, dead wood that’s on the ground. In many forests it is illegal to remove dead wood from trees, so limit your selection to what you find on the ground.
If you’re in an area where park officials allow you to remove dead branches, always use a handsaw to cleanly remove the branches and limbs from a tree. Snapping the limbs from a tree can cause tremendous damage and kill the plant.
Never transport firewood. Invasive insects like the emerald ash borer, spotted lantern fly, and other insects capable of decimating forests love to hitchhike with firewood.
What’s The Difference Between Tinder, Kindling and Firewood?
Tinder is used to ignite the kindling, and the kindling fuels the larger pieces of firewood. If you have an ample supply of matches or a lighter, and the conditions are dry, you could skip the tinder, but I recommend practicing with it when learning the ropes.
- Tinder: The light, easily combustible stuff. If you’re sourcing your tinder from the field use stuff like dry pine needles (not spruce or fir), dry grasses, dry leaves, and wood shavings. You could also use newspaper (or any paper), dryer lint, and char cloth if you like to come prepared with tinder from home.
- Kindling: Smaller pieces of wood, e.g. small twigs and larger sticks, usually no thicker than 1-2 inches in diameter (about the thickness of your thumb). Break these into roughly 12” pieces.
- Firewood: These are your larger pieces, so anything larger than kindling. This could be a log, thick branches, or any other large, slow-burning fuel.
What Tools Are Needed For Starting a Campfire?
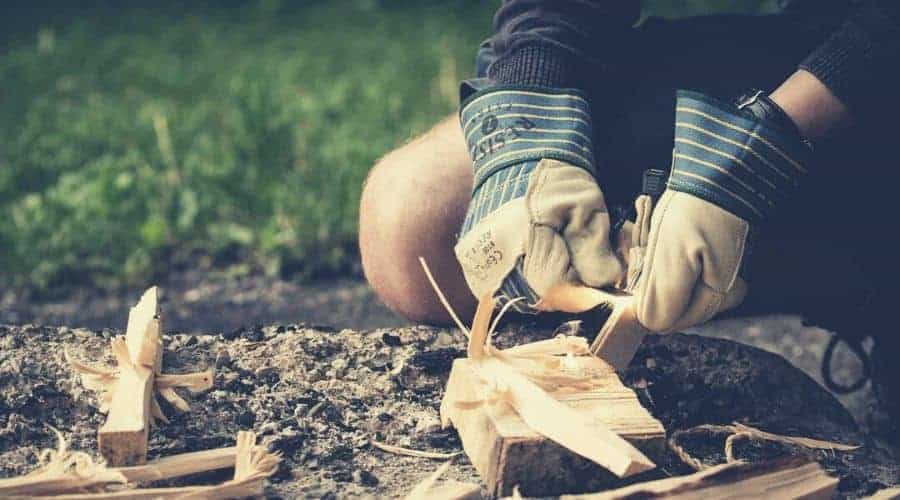
Several tools are essential for starting a campfire, including a saw or hatchet, rope or paracord, matches or a fire lighter, extra water, and gloves. Below we provide more detailed descriptions of the tools needed at the various stages.
- Campfire prepping
- Campfire starting
- Campfire tending
1. Campfire Prepping
For campfire preparation, you’ll want a camping saw or a small hatchet to break up firewood. I swear by the Gerber LMF II survival knife which has been at my side for every camping trip for over a decade and is excellent for chopping wood.
Some rope or paracord can be useful for bundling firewood together. A stuff sack and shovel/trowel are handy when building a mound fire.
2. Campfire Starting
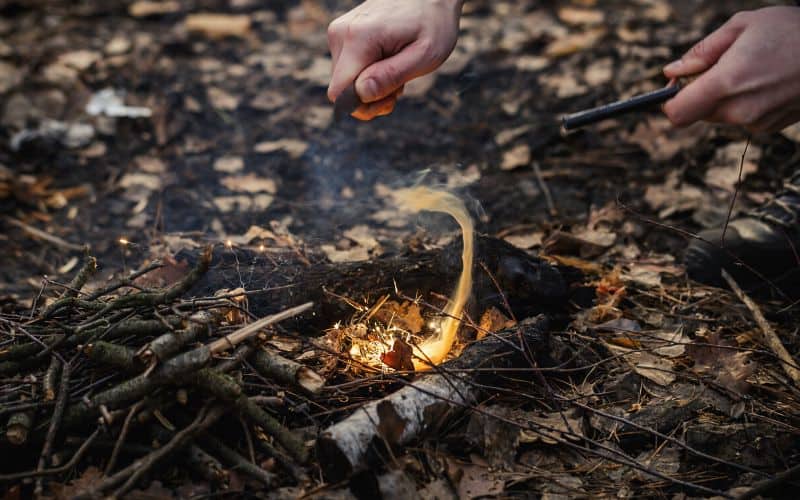
For starting a campfire, you can choose matches, a lighter, or flint and steel. Always carry a backup method for starting a fire; remember the motto “Two is one and one is none” when planning outdoor trips.
You can use waterproof matches like these or make your own. I’ll get strike-anywhere matches and dip the match head in hot candle wax. Once the wax begins to harden, press the wax against the wooden stick of the match to seal it tightly.
If you’re a badass and up for the challenge, use some flint and steel. Starting a fire with these things is an art form, but no other method is as satisfying. Consider it the graduate course on how to start campfire.
3. For Campfire Tending
When tending your campfire, having extra water on hand is essential. Even water from a nearby stream, contained in an unused cooking pan, can help save the day if sparks, ashes, and coals cause trouble.
If you don’t like ash and charcoal on your fingertips, a pair of gloves is useful. Unless your hands are conditioned from regular labor or activities like rock climbing, gloves are also handy for breaking up firewood and chopping/sawing.
These tools make building campfires a more straightforward experience.
How Do You Make a Fire Pit?
To make a fire pit, firstly choose a location with a clear opening above, free from anything that could catch sparks and embers. Clear out flammable material in a ring around the campfire; at least a 10-foot clearance is recommended, making it larger in dry conditions.
Keep your tent a good distance from the fire. A single spark can cause your tent to catch fire, along with everything inside of it. Do you want to burn everything to the ground when practicing campfire building? Didn’t think so!
Remember fires spark, so keep yours a safe distance (minimum 10-15ft) from anything that could catch. There is also the danger of smoke inhalation, so play it smart and set your tent at least 15’ from the fire itself.
Most campgrounds will have metal campfire rings. Always make sure to use these when present. Fires cause permanent damage to the topsoil of the area, and building a new fire pit causes damage to the ecosystem.
Then you have two options to decide between to finalize your fire pit.
- Make a stone campfire ring
- Make a mound fire
1. Build a Stone Campfire Ring
Only build a permanent stone campfire pit if you anticipate using it regularly. Choose the ideal location, clear away all debris, and gather fist-sized or larger rocks to form a circle of the desired size.
The backcountry is littered with fire pits that are never used twice, making for an ugly camping and hiking trip for everybody involved so only make this type of fire pit for places you visit often.
2. Build a Mound Fire
To build a mound fire, gather an old piece of tarp or similar material, a trowel or camp shovel, and a sack or container for transporting dirt.
Prep the location of your firepit. Scrape loose heavily mineralized dirt (from a stream bed, or the kind stuck to the roots of a downed tree) into your container and pour a layer 4-6 inches thick on top of your tarp. It should be the size of a car tire or so.
Form a small wall with the dirt to help keep sparks, ashes and coals in place, make your fire, and do your thing. After the fire has been extinguished, you can easily spread all of the ash and soils around the forest floor.
High heat can sterilize dirt and kill all of the vital microorganisms living in it. The solution for minimizing any damage you do (the unspoken code to keep in mind when learning how to start a campfire), and practically erasing any trace of your presence, is to craft a mound fire.
How Do You Put Out a Campfire Safely?
Before starting a campfire, familiarize yourself with the steps below for safely putting it out.
- Let it all burn
- Extinguish it entirely
1. Let It All Burn
In an ideal situation, you’ve let it all burn until you have nothing but ashes and smaller pieces of coal remaining. Once they are cool to the touch, sprinkle and scatter the ashes around the campsite to eliminate any trace of your presence.
If you need to break camp and have larger pieces of firewood remaining, heed the following advice.
2. Extinguish It Entirely
Pour water over anything still burning or smoking in the campfire to fully extinguish it. Continue applying water until it stops sizzling on contact with the wood. Use a stick to turn over the logs and reach all hidden nooks and crannies to ensure complete extinguishment.
Don’t leave until it’s out, simple as that. If you can’t practice this basic fire safety, you’ve got no business learning how to build a campfire.
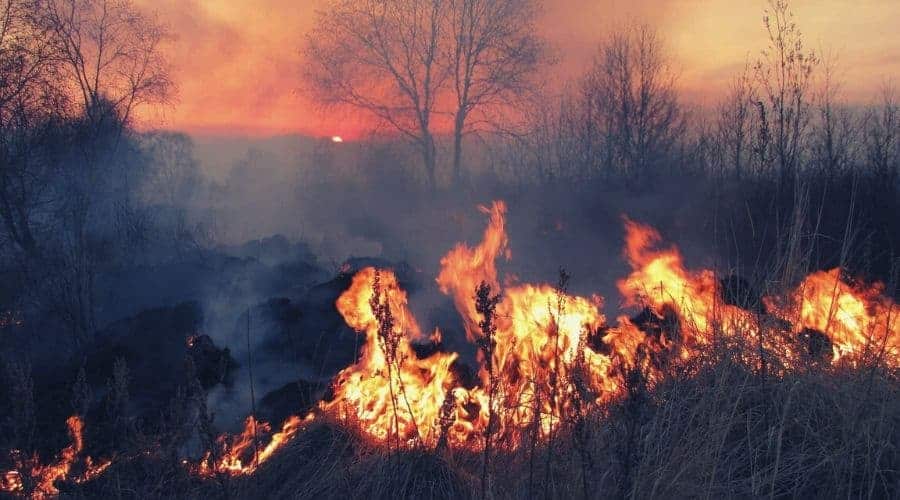
If the illegality of leaving a fire burning isn’t enough to sway your decision, there are also first-hand safety issues involved (to you and others around you) and of course the danger of starting a wildfire.
What does a Campfire Need To Burn?
As Smokey the Bear taught me, all fires need to burn is heat, fuel, and oxygen.
- Heat: This is what gets the party started. Heat can be anything from an external flame source (match or lighter) to sparks to concentrated sun rays, to straight-up extreme heat.
- Fuel: Any sort of combustible material will start a fire. The moisture of this fuel determines the quality of the fire and the intensity it will burn. For our purposes, we’re looking at tinder, kindling, and pieces of wood.
- Oxygen: Fire is a chemical process, and the presence of oxygen allows it to occur. Fires need airflow to get going.
What are Campfire Rules?
At a minimum, we should be adhering to the following standards and guidelines before attempting to start a campfire.
- Practice leave-no-trace
- Use existing fire pits
- Have permission to burn
- Never leave a fire unattended
1. Practice Leave No Trace
With campfires, practicing leave-no-trace means minimizing, as much as possible, the evidence of a campfire after it’s been extinguished. This is more challenging in some situations than others but should be the goal after every campfire and important to mention before learning how to start a fire.
2. Use Existing Fire Pits
Use designated fire pits if available, and when dispersed camping look for pre-existing campsites and fire pits. This is the safe and responsible way to have a campfire.
3. Have Permission to Burn
Always make sure you have permission to have an open fire before starting one. Adhere to all fire restrictions to avoid endangering other people or the environment. Fire safety is a crucial aspect of building campfires.
4. Never Leave A Fire Unattended
Never leave fires unattended. as they can rapidly escalate, particularly in dry conditions, strong winds, or when sparks are present. It’s essential to continuously supervise a campfire, ensuring it remains under control and contained, and being prepared to act promptly if any issues arise.
How To Start a Fire in The Wild Safely?
So now you’ve got all you need to know to build a campfire safely in the wilderness. Make sure to put those skills to good use, and always practice fire safety!
Further reading: If you’re new to camping then check out our beginner’s guide!
Save for later!!! ⤵️